Stabilizing Container Loads
This interesting problem originates from a real case. A customer needs to transport four different types of products by land. These products are color-coded and need to be moved in a 45' container. In any case that the container is bigger than the load, there is nothing else to fill the container with.
The first step is to run QPM and open a new Fill Container window using the File - New Data Sheet - Fill Container command.
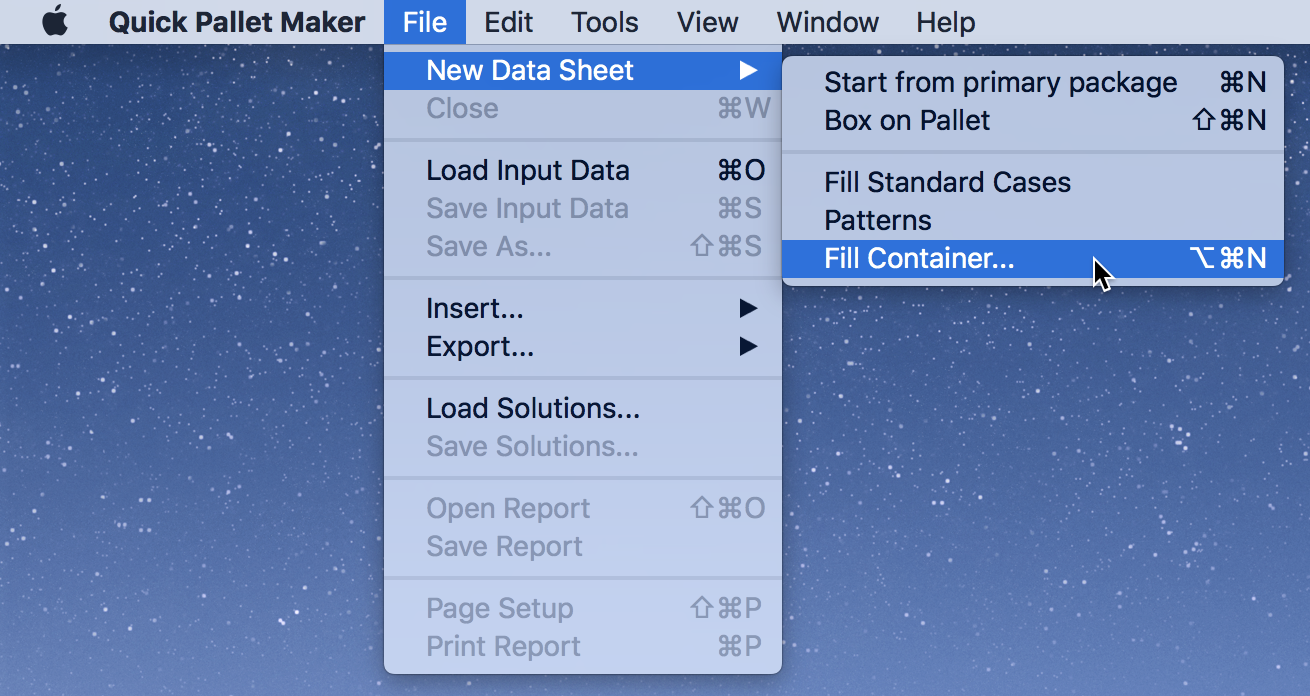
Once this has been done, we will see a Container Fill window with the default values.
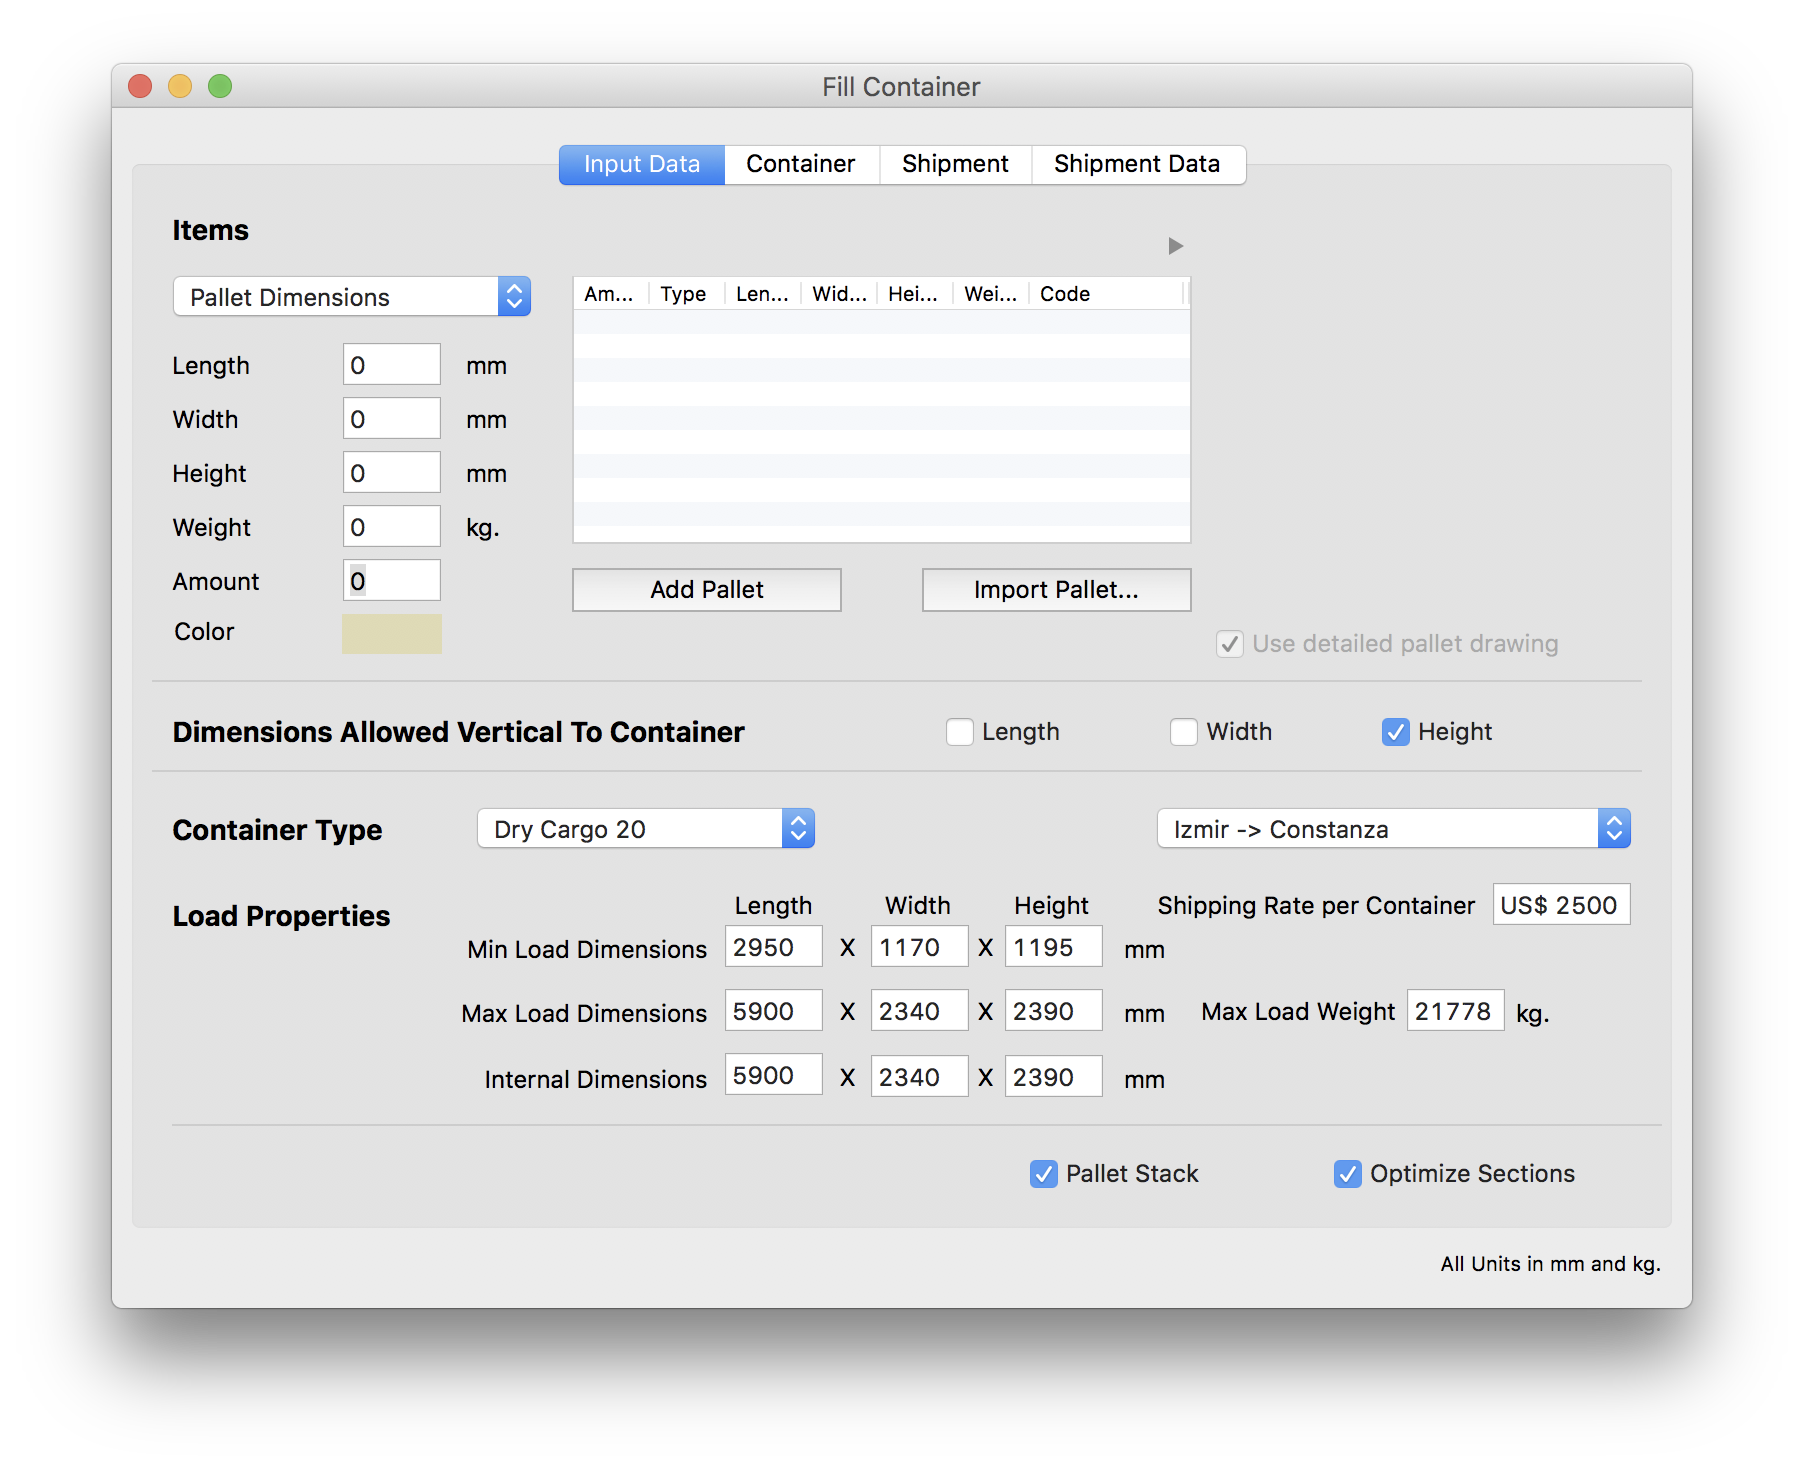
Since we will be introducing the case dimensions manually, we select Case Properties from the pull-down menu at the top-left corner of the Container Fill window. The case specifications are the following:
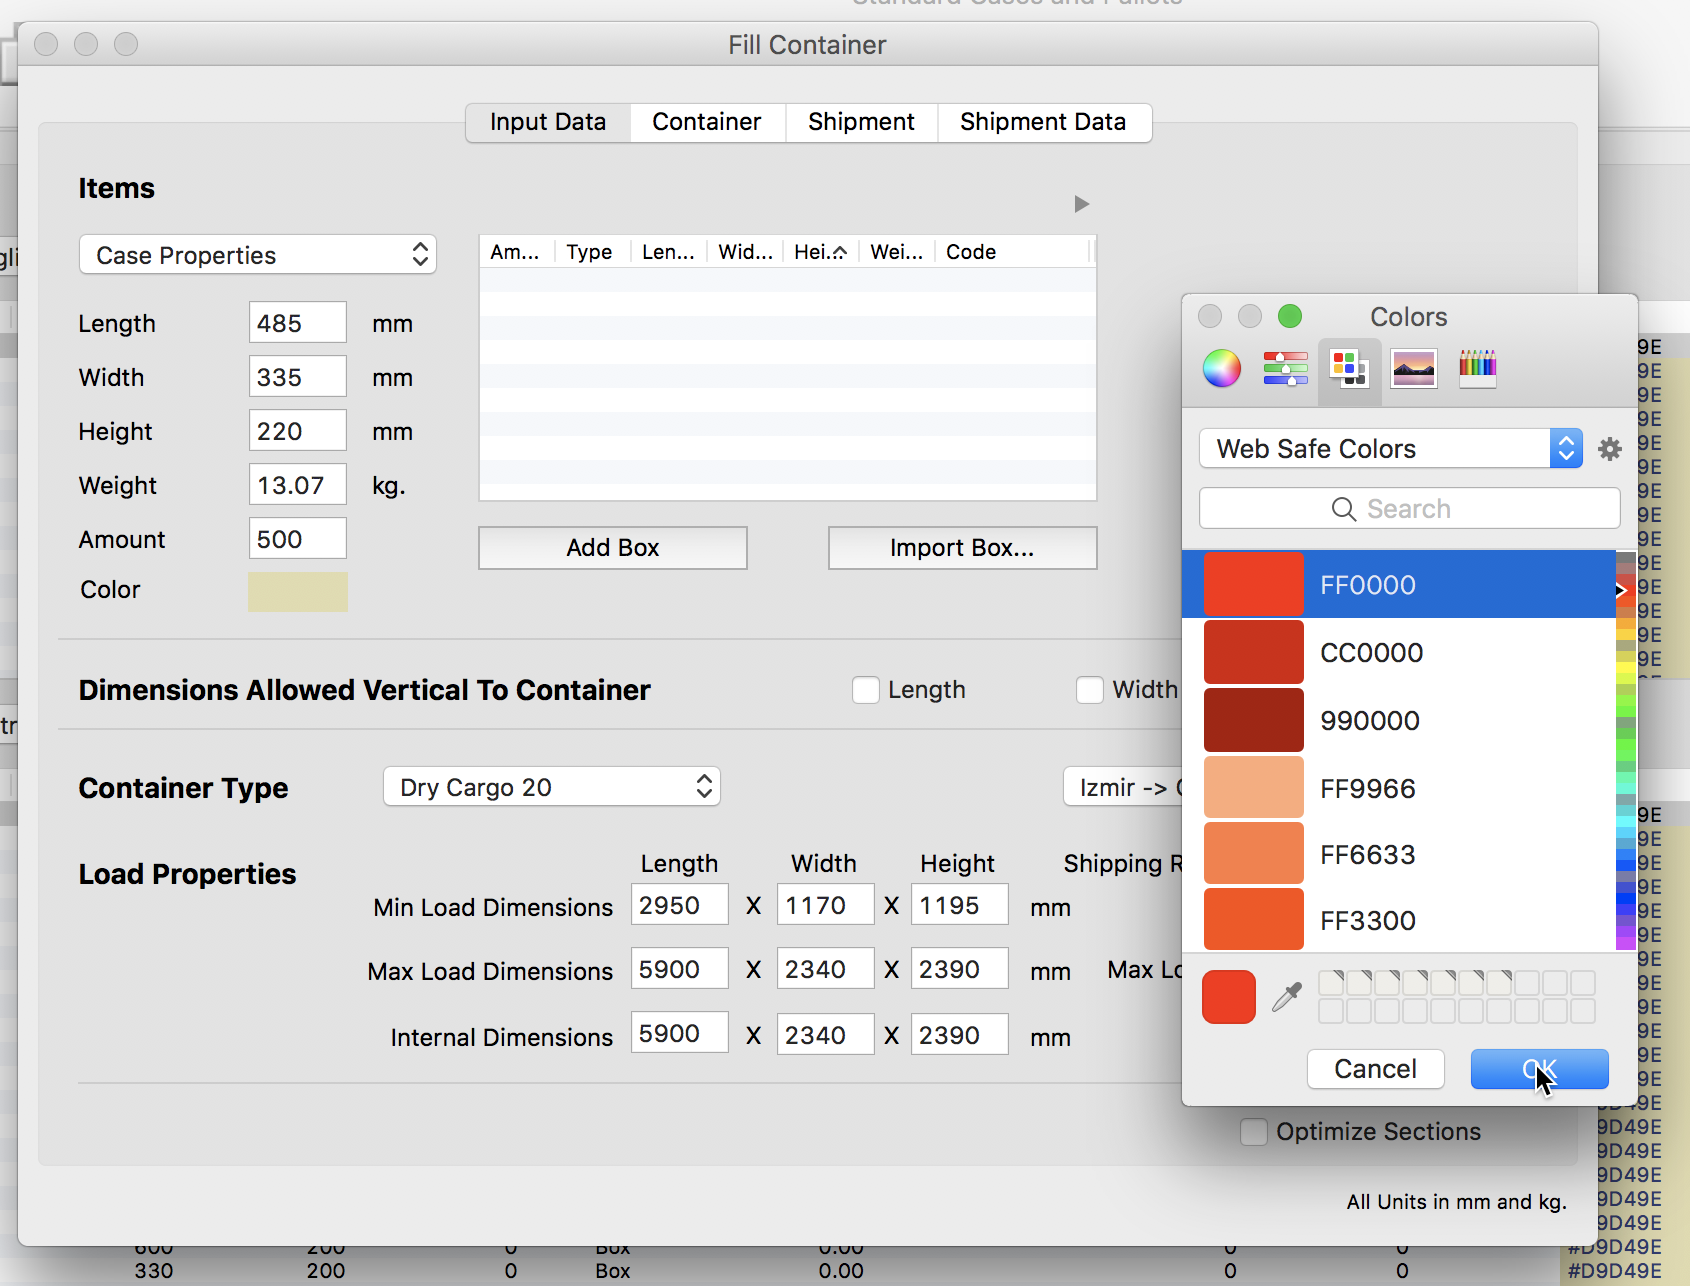
Clicking on the color box under the dimensions should allow you to choose the right one. These boxes can also be copied and pasted from the spreadsheet that you can download through the following link.
- 500 red boxes that measure 485x335x220mm and weigh 13.07kg
- 250 blue boxes that measure 485x335x220mm and weigh 13.07kg
- 300 green boxes that measure 340x225x260mm and weigh 11.34kg
- 500 black boxes that measure 485x335x220mm and weigh 13.07kg
Clicking on the color box under the dimensions should allow you to choose the right one. These boxes can also be copied and pasted from the spreadsheet that you can download through the following link.
Once all boxes have been added, we change the container type to 45' container. The container restrictions change automatically.
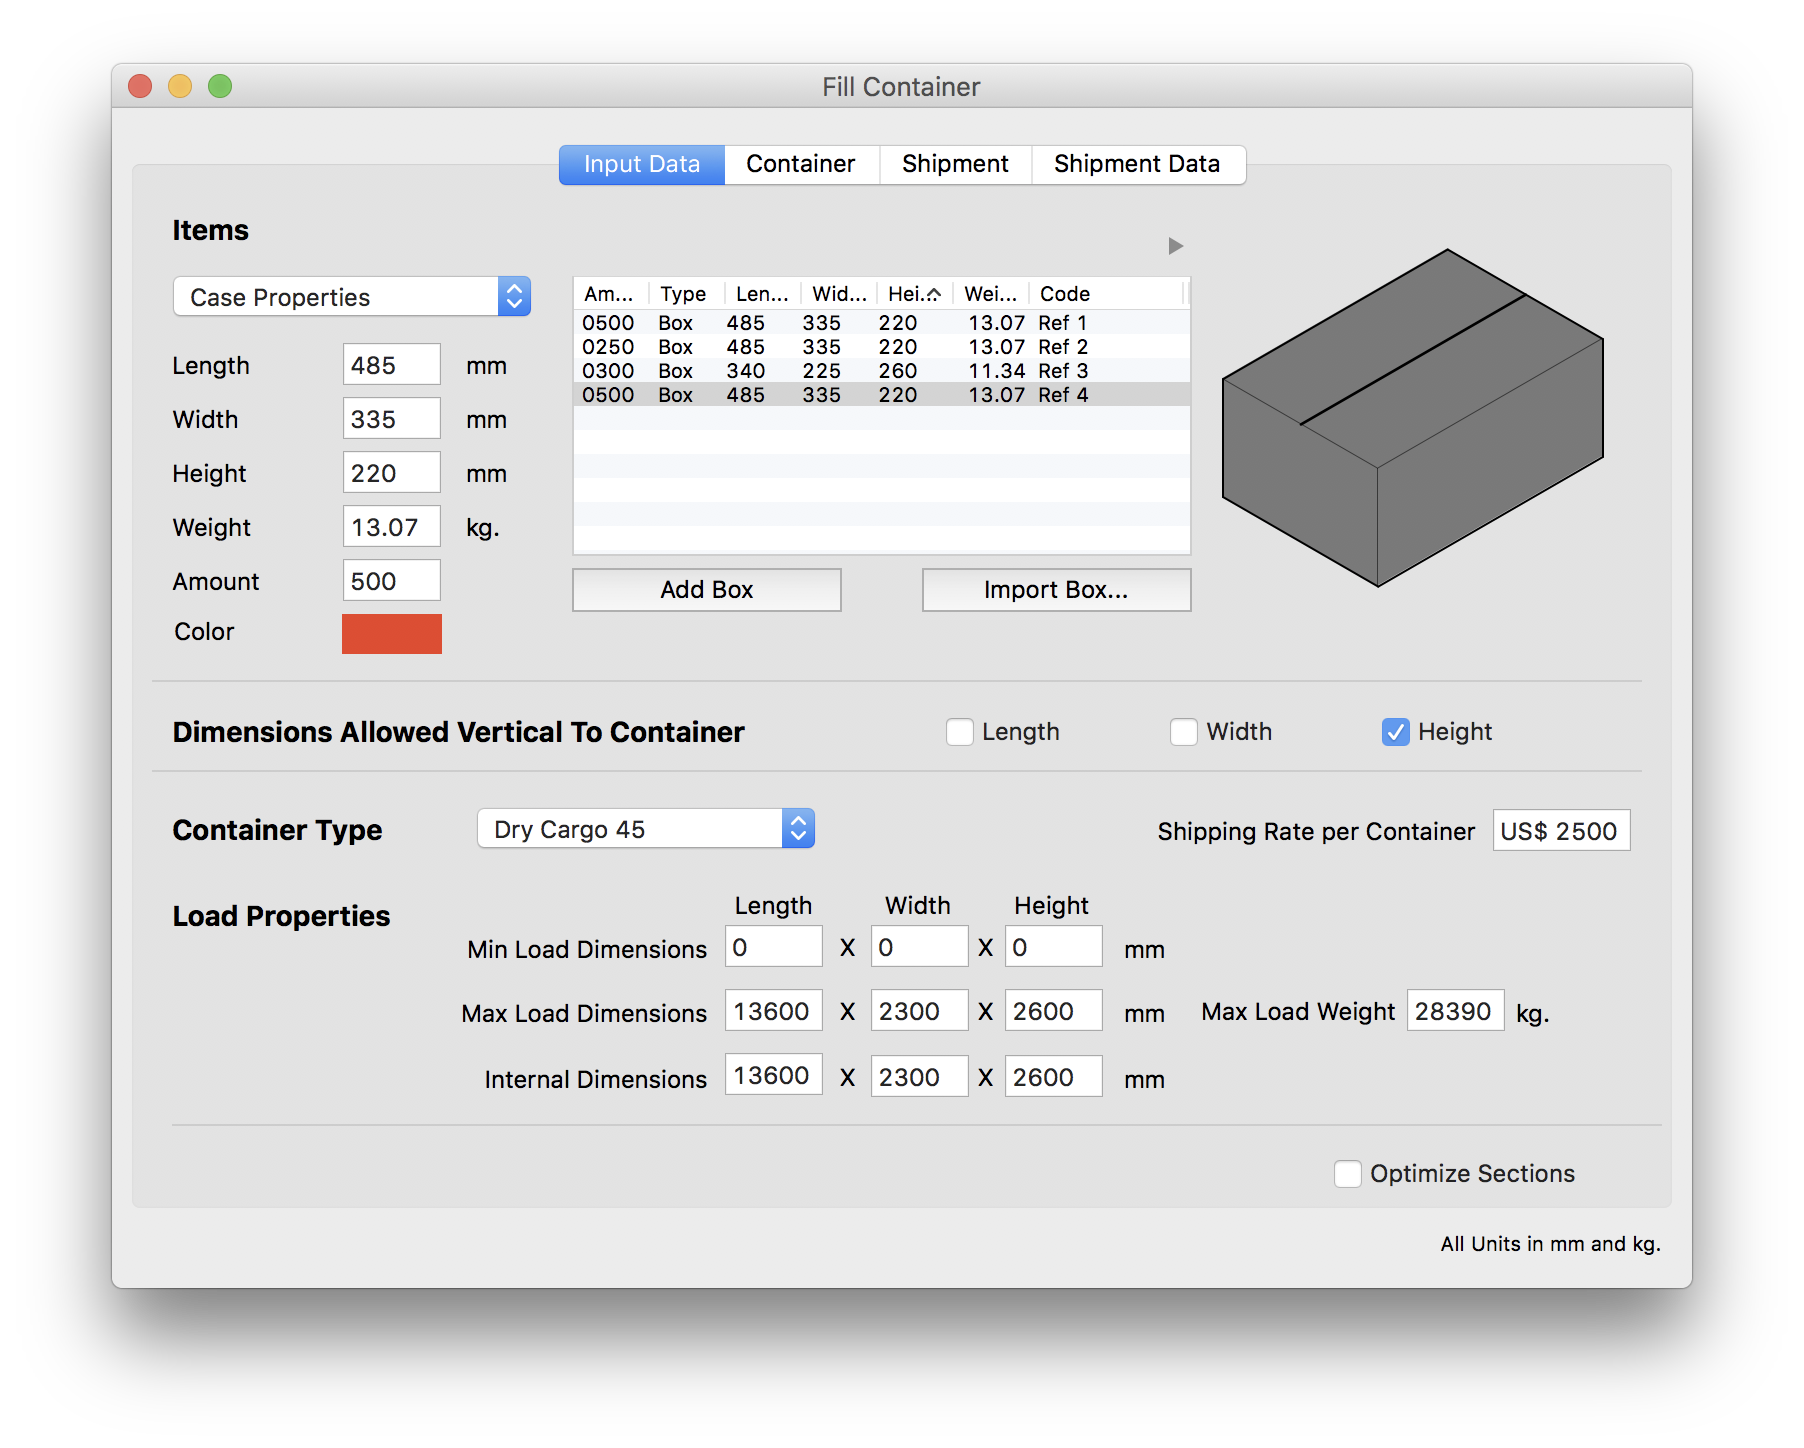
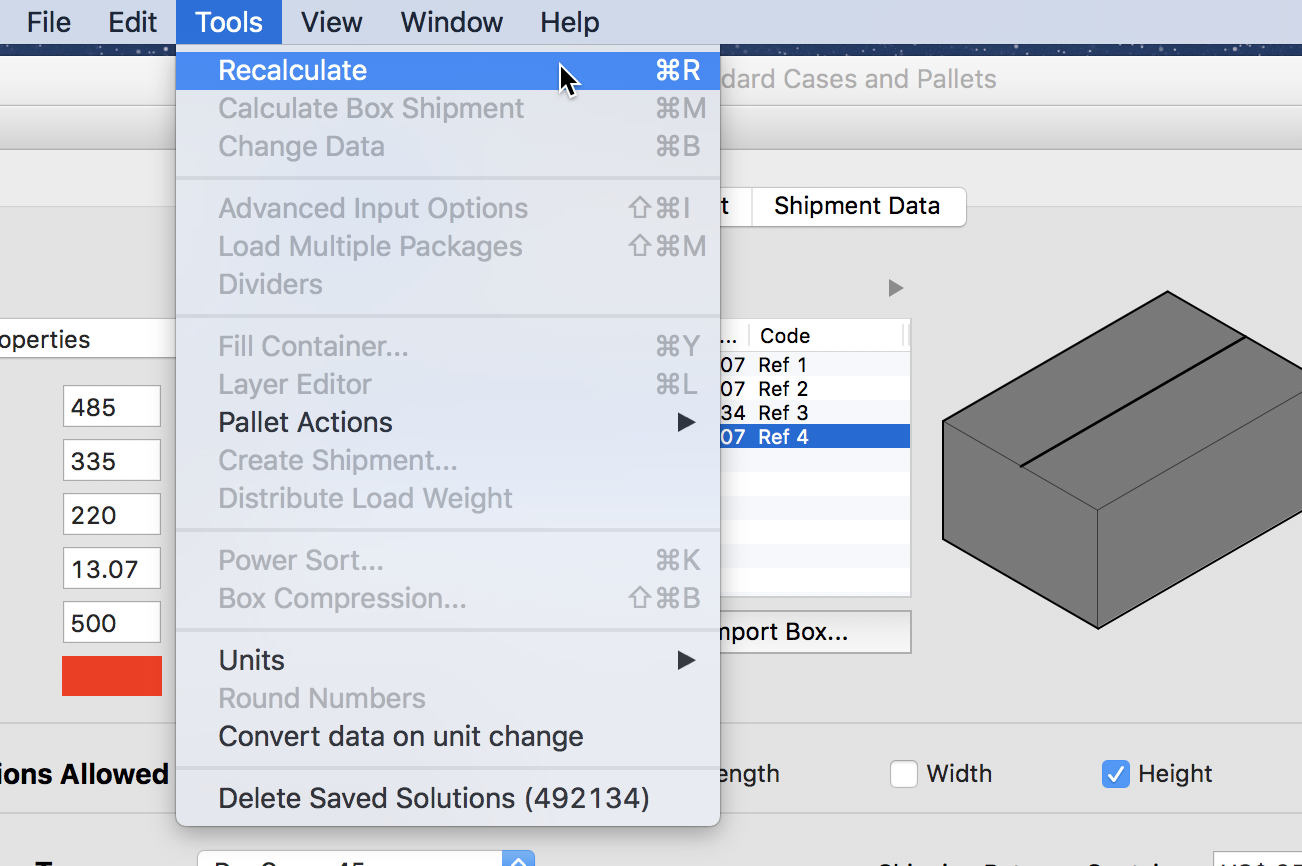
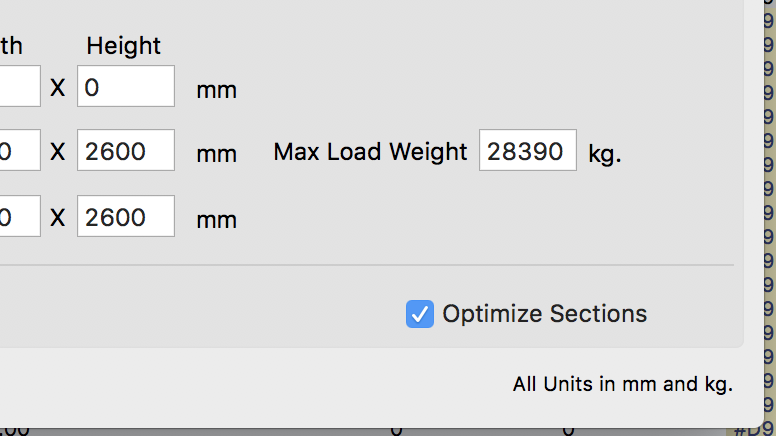
For this example, we need to make sure we unchecked the Optimize Sections checkbox. After that, we click on the Container tab or use Tools - Recalculate to produce the container fill.
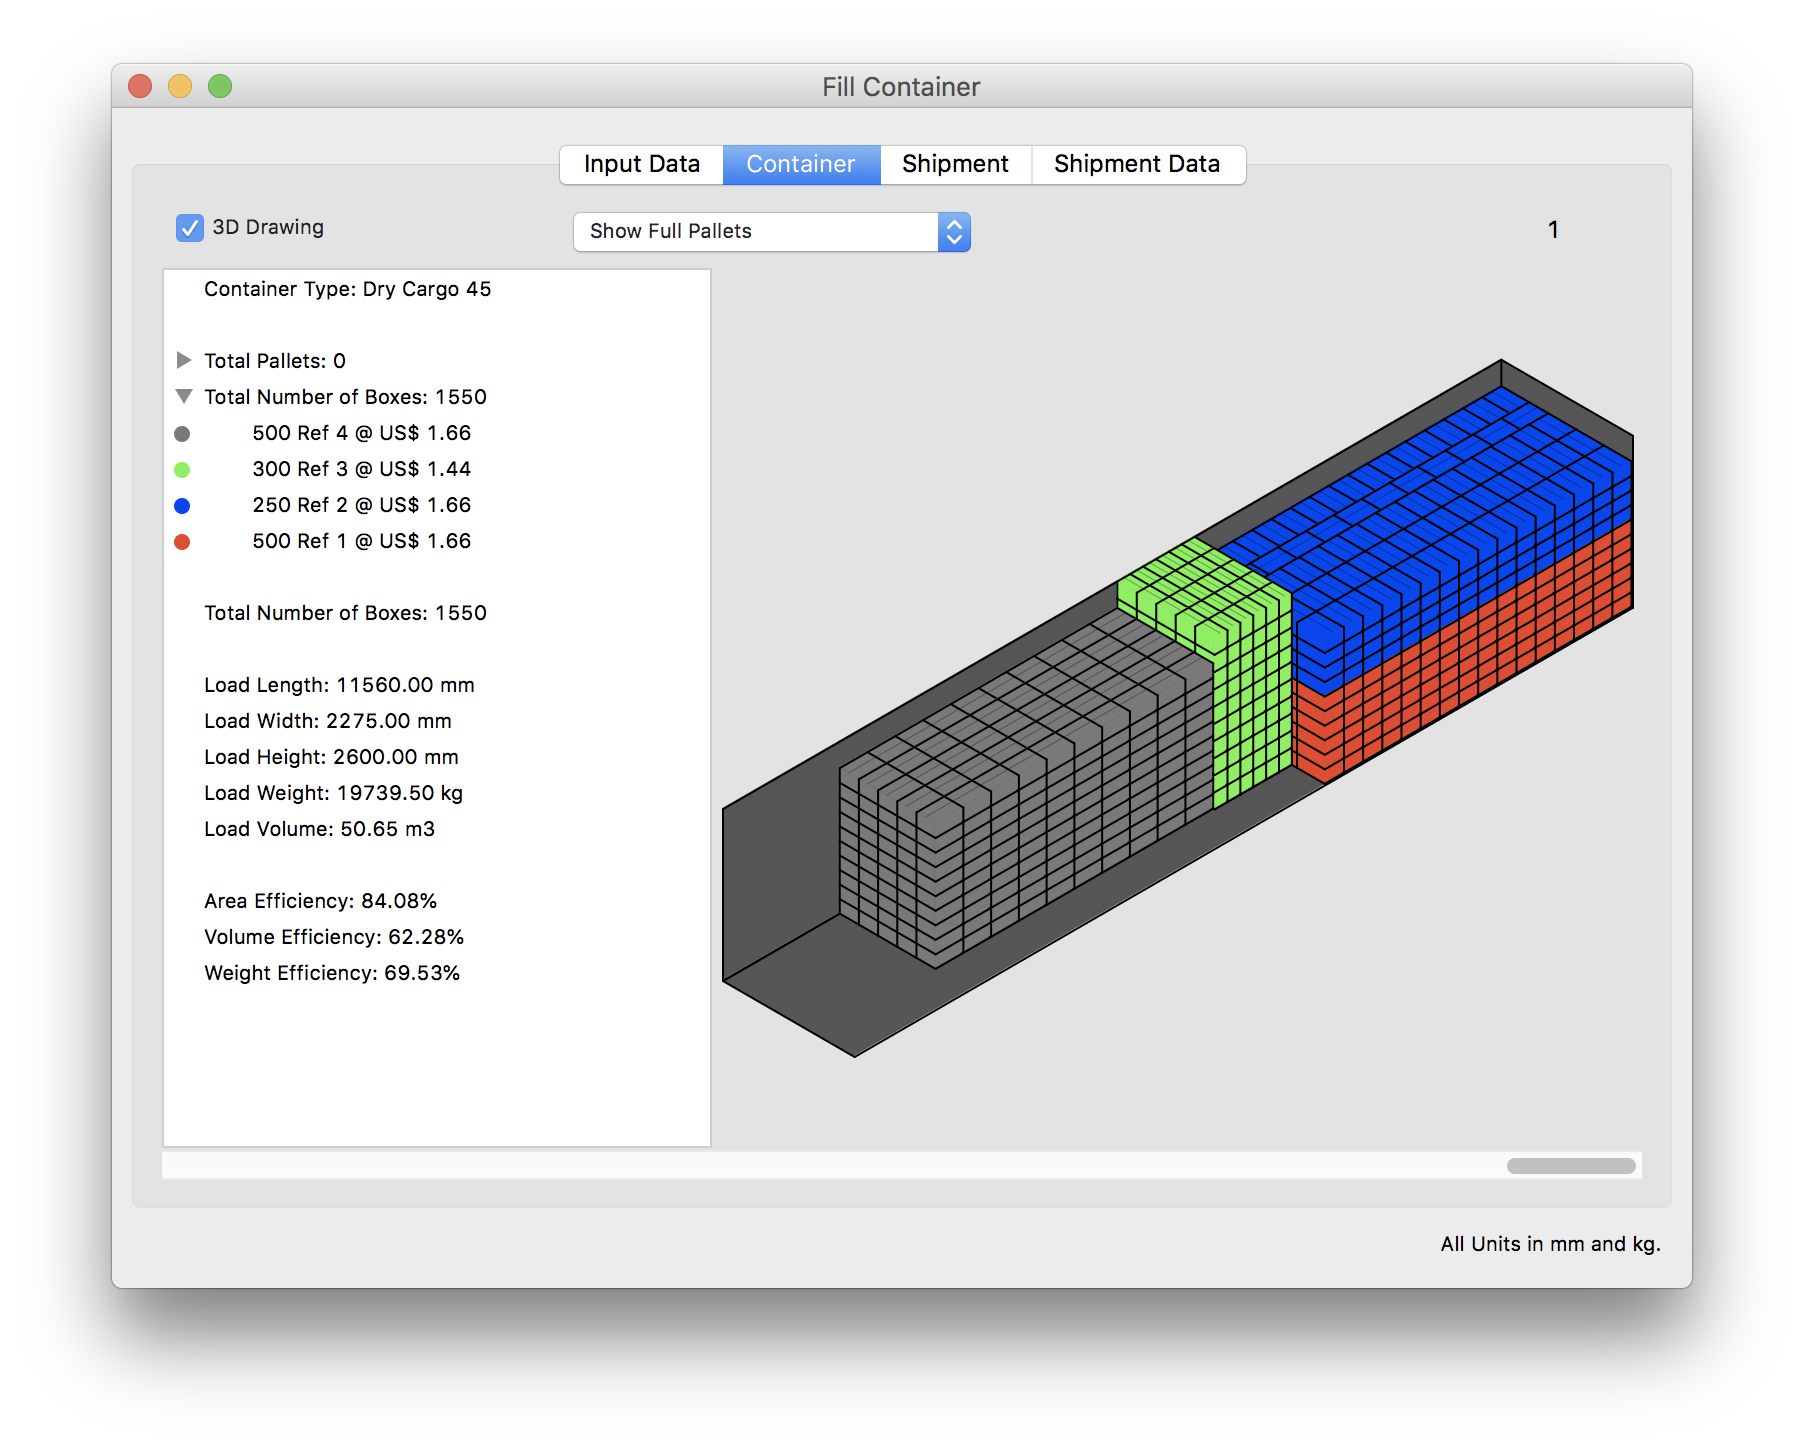
Quick Pallet Maker will then show the resulting container load. If we check the drawing at right, we will notice that the container has been optimized in such a way that the boxes are placed against the back of the container. This is excellent if we would like to add more items to the container. However, the client has mentioned that she will only ship those boxes (and none other). Hence, the resulting load needs to be optimized for road transport. In its current state, too much pressure is being applied to the back trailer wheels.
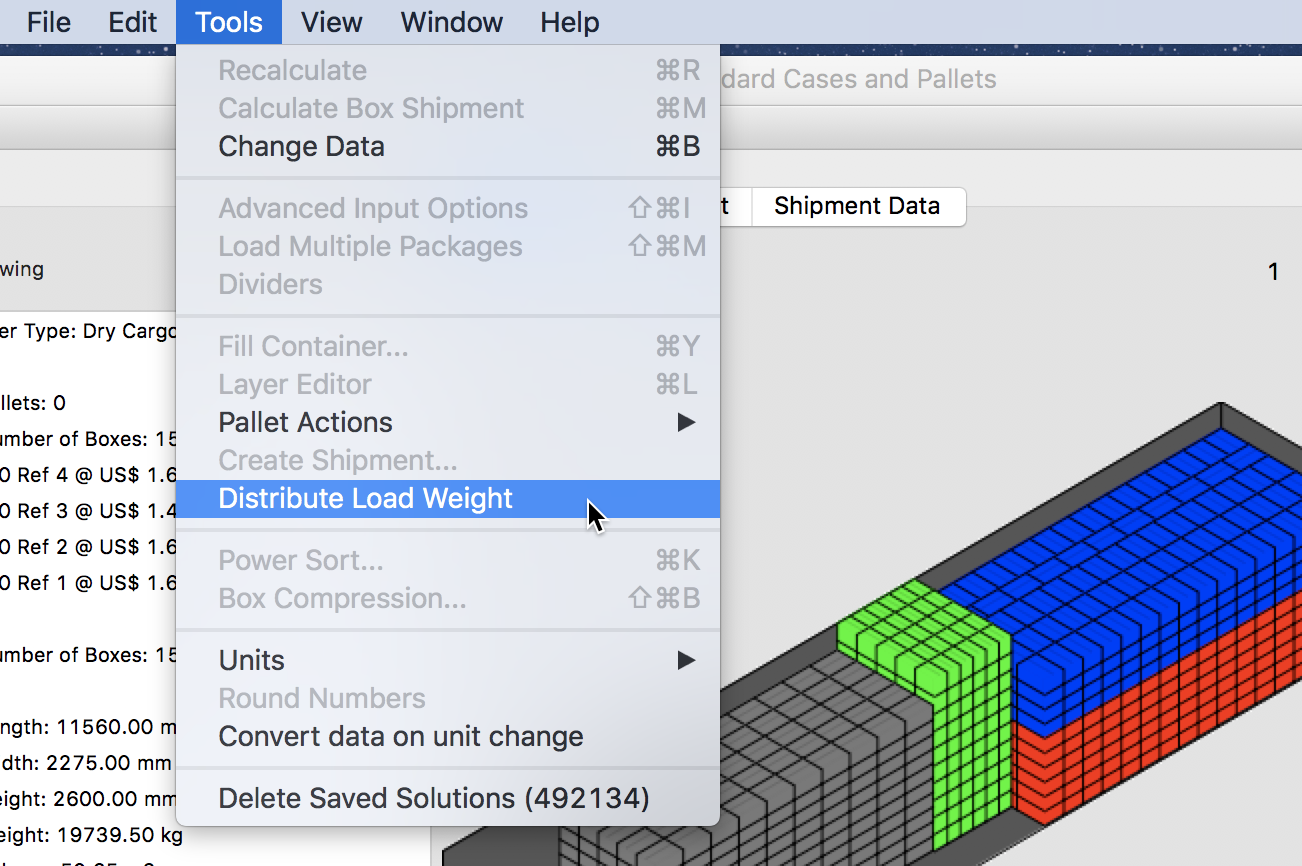
The first alternative that is available in QPM is to simply center the load. This method calculates the load center of gravity and places it in such a way that it will exert the most downward force in the container center. To do this, we select Distribute Load Weight from the Tools menu.
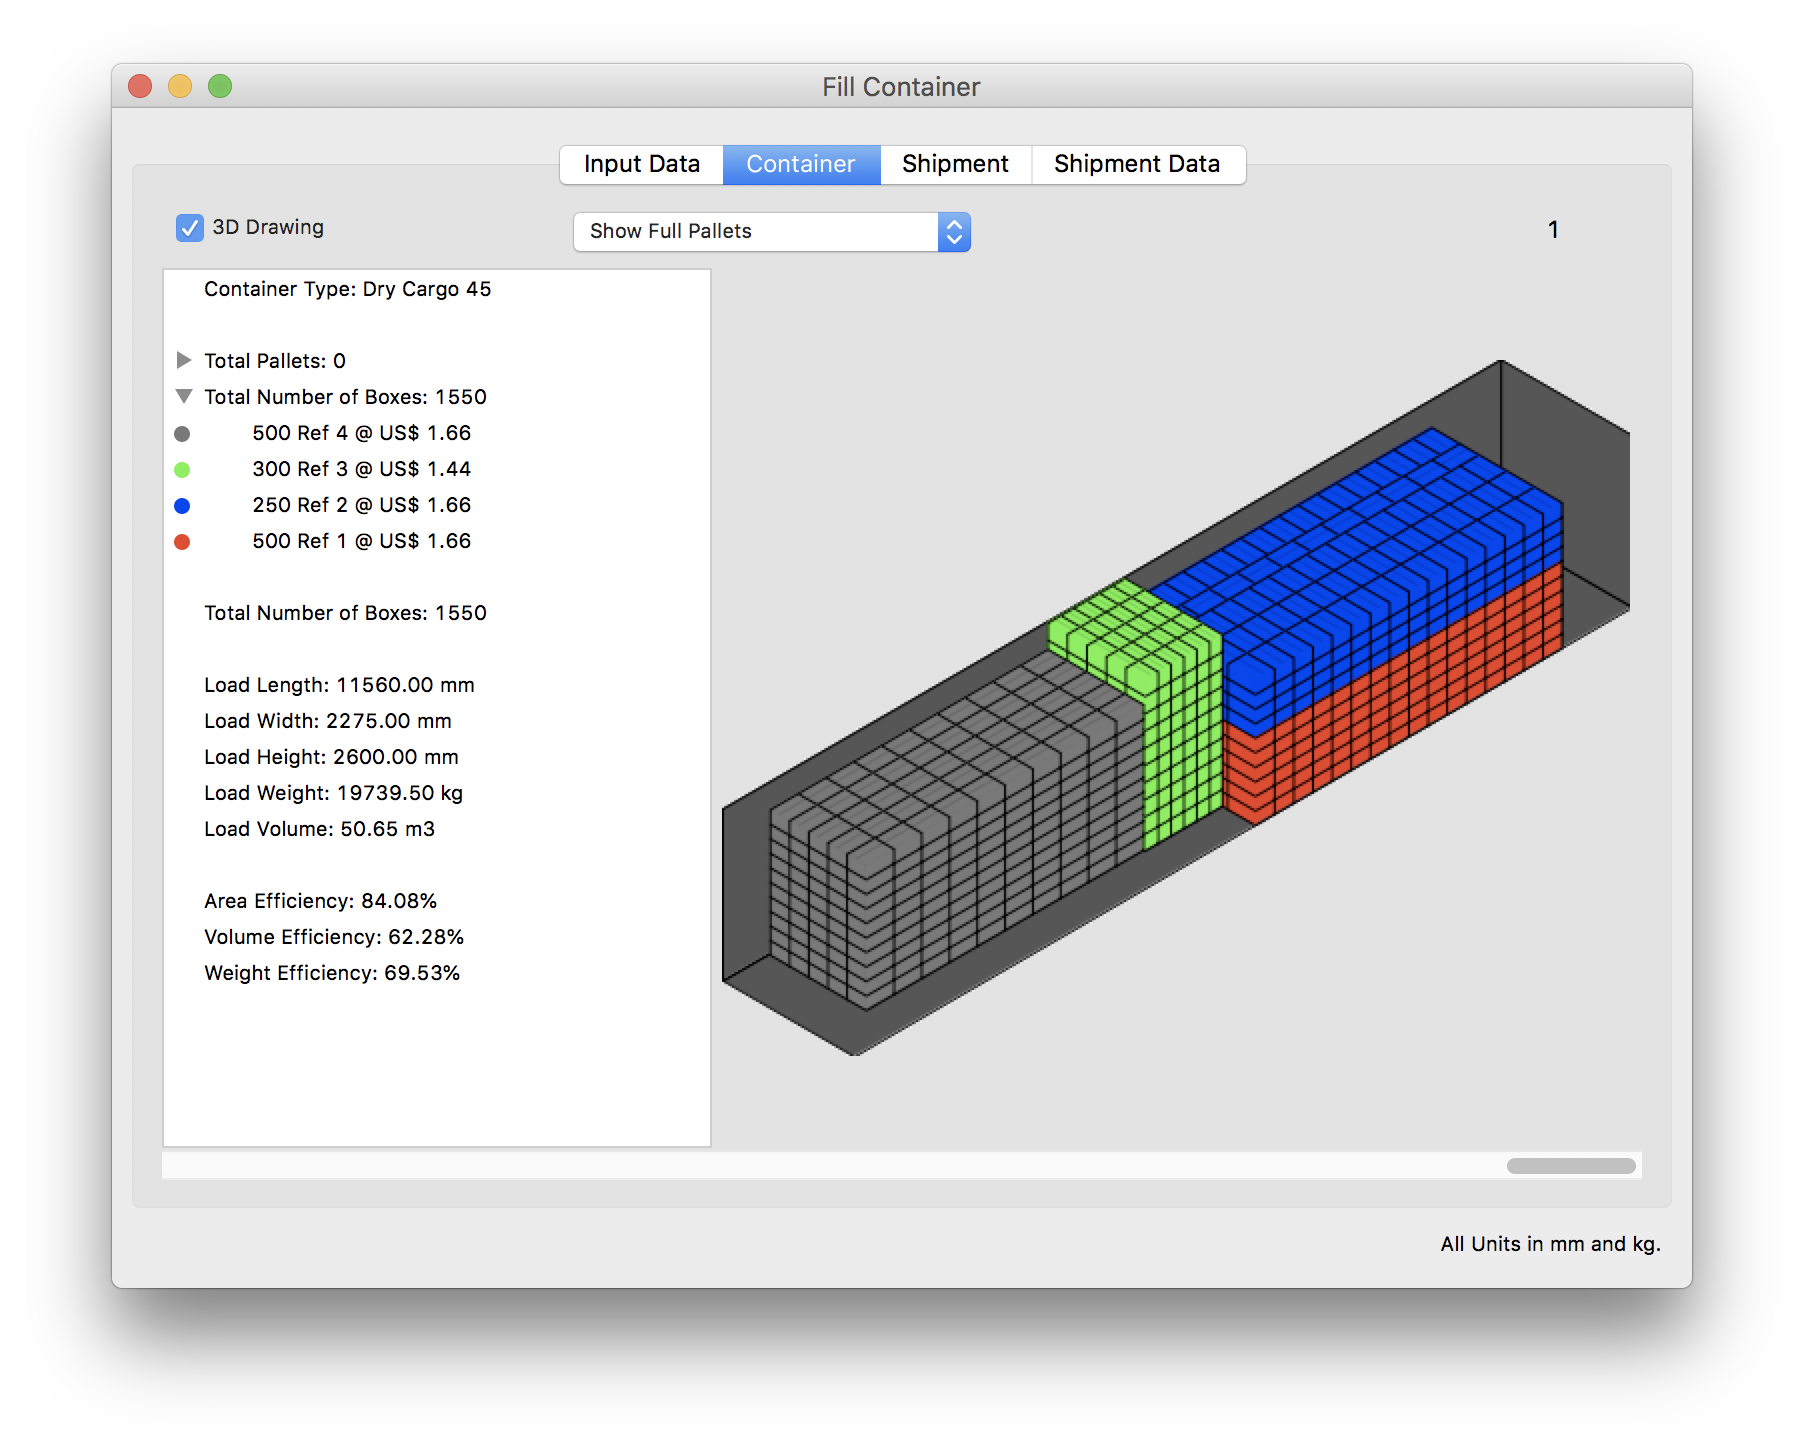
The resulting container will have the same load configuration but centered. This load is good for transport but the client is still not satisfied because the boxes could topple if the truck hits potholes or other bumps on the road.
So we return to the Input tab and check the Optimize Sections box and calculate the load again.
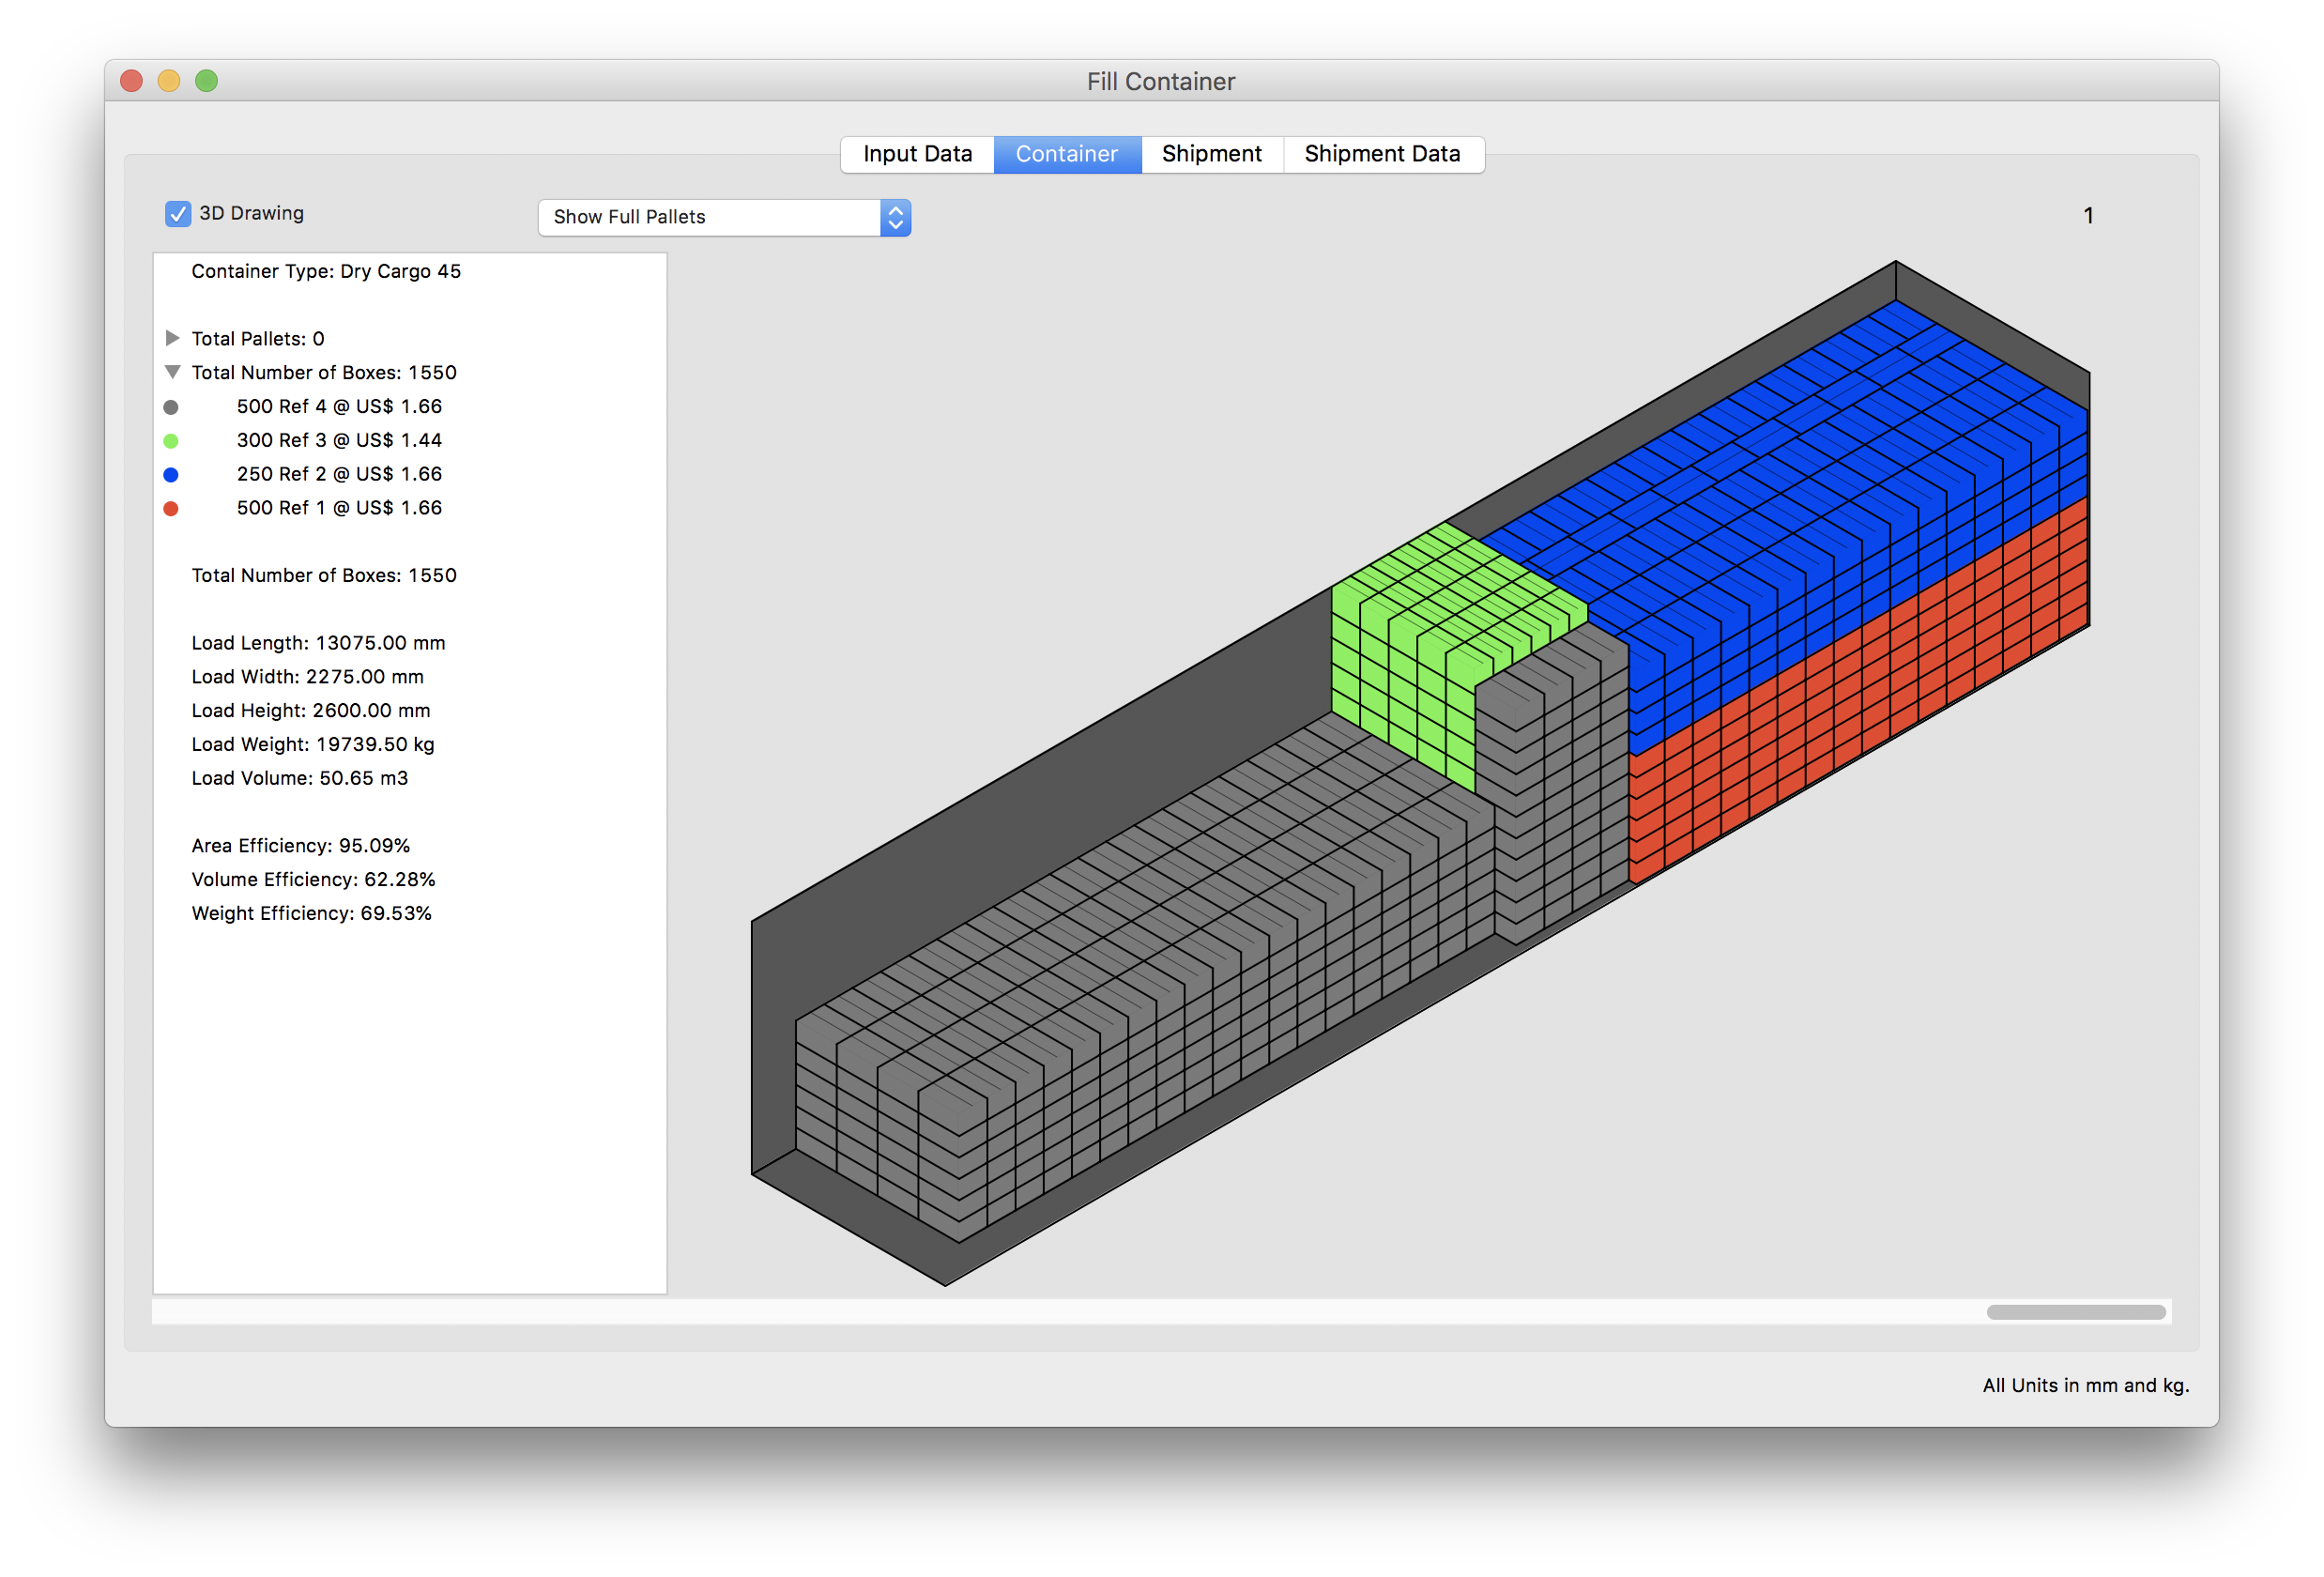
The result will be a container fill with the boxes cascading downwards towards the door.
Watch the video
This example is also available as a YouTube video.YouTube Video