Installing Quick Pallet Maker for Windows
The purpose of this short example is to explain how to use the Quick Pallet Maker for Windows installer. To install the macOS version, download, decompress and move to the Applications folder or to your preferred location.
The first step is to download Quick Pallet Maker from our web page and save it to a local disk. Saving the file on a network may cause permission issues. Once it has been downloaded, double-click on the installer icon.
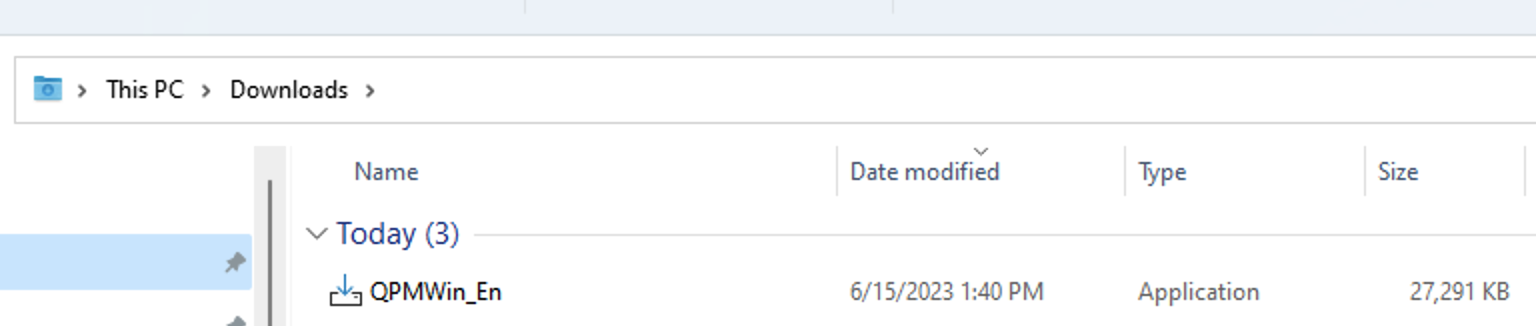
App in Windows Directory
The first window of the installer should ask if you wish to make changes to your device. Koona LLC should appear as the verified publisher. Click on Yes.
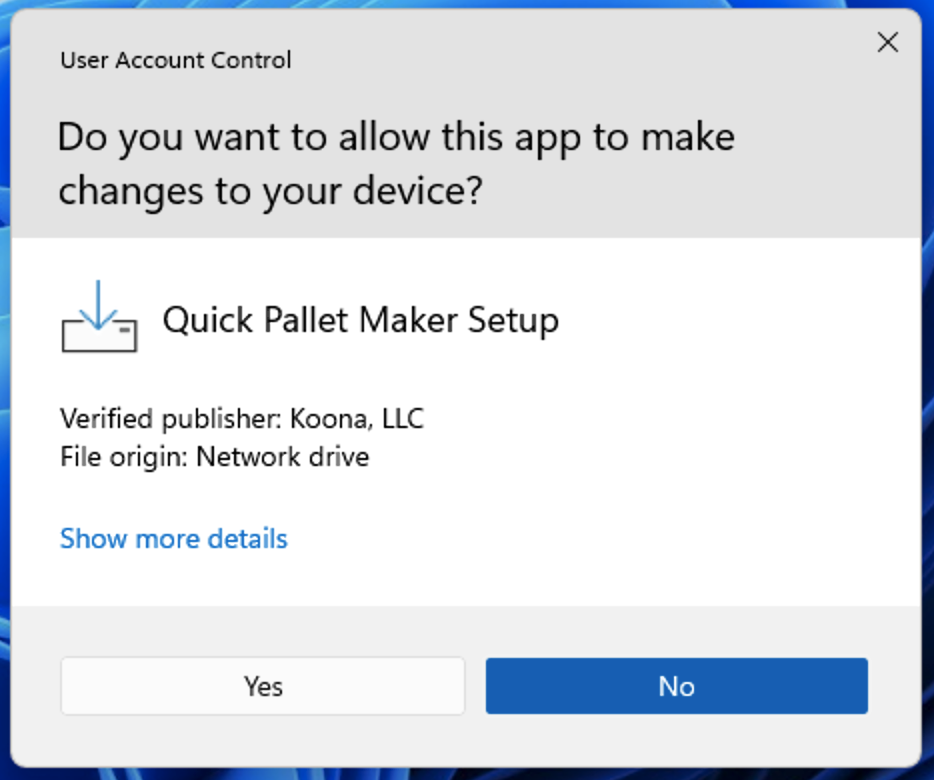
User Account Control
The next window asks which language would you like to use for the installer. Select the appropriate option and click OK.
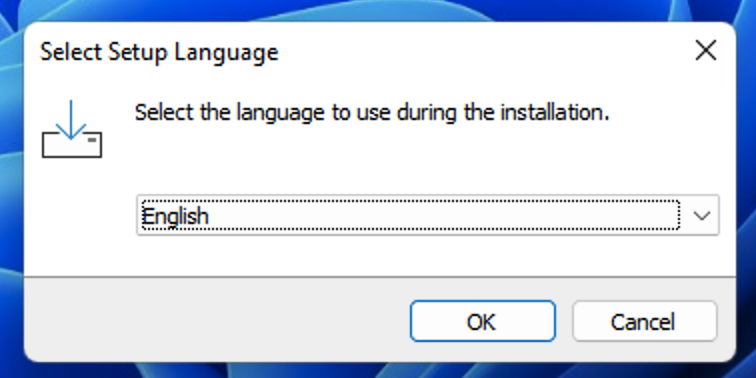
Select Setup Language
In the next window, you will see the End User License Agreement. Read through it, select accept and then click on Next.
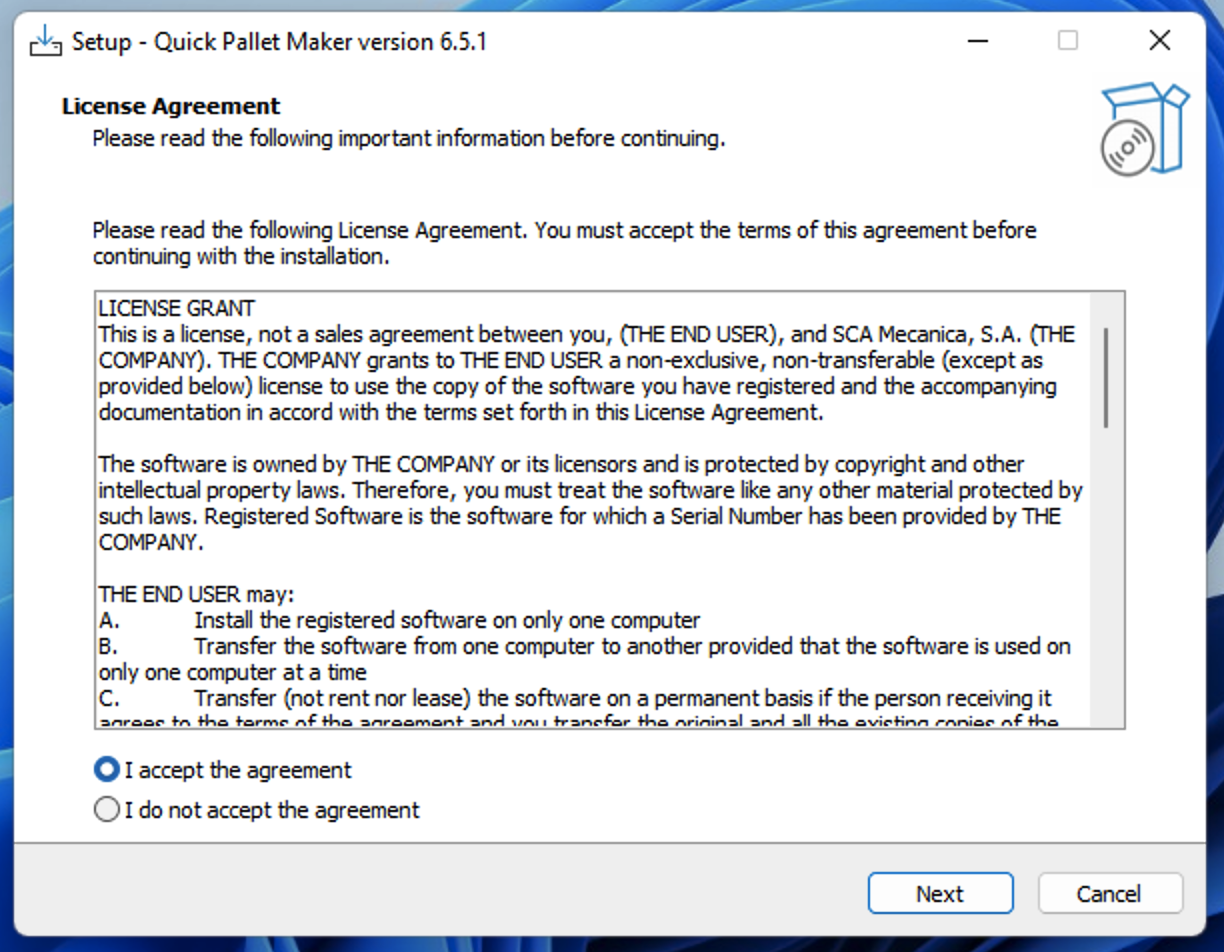
License Agreement
The next window will display general information regarding Quick Pallet Maker. If you have not done so already, read through it and click on Next.
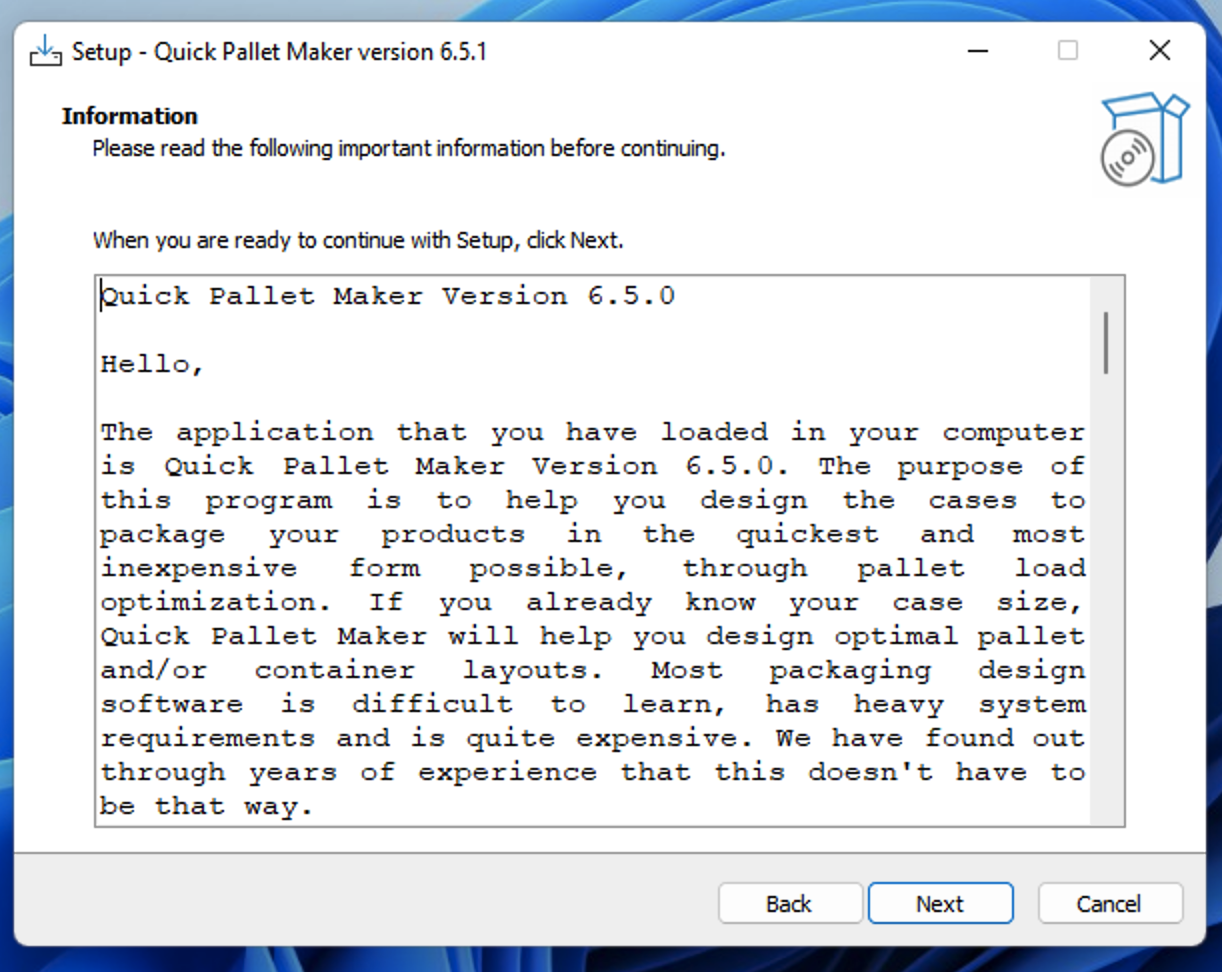
Quick Pallet Maker Read Me
In this window, we select the destination for the installed files. By default, QPM will be installed in the Program Files directory. If you wish, click on Browse to select another location. Click on next once you have chosen the correct directory.
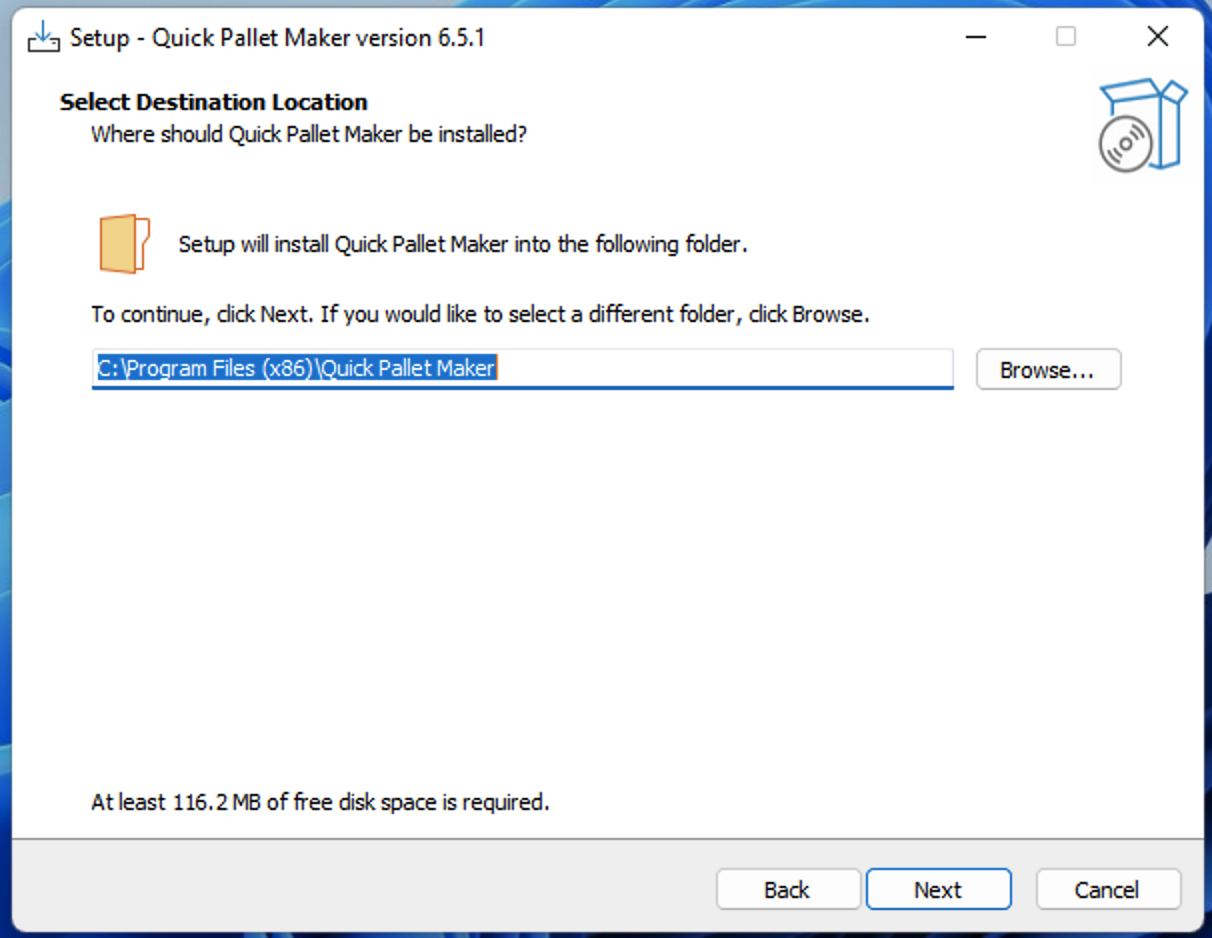
Select Destination Location
The next window allows the user to add a desktop shortcut. Click on next to move on.
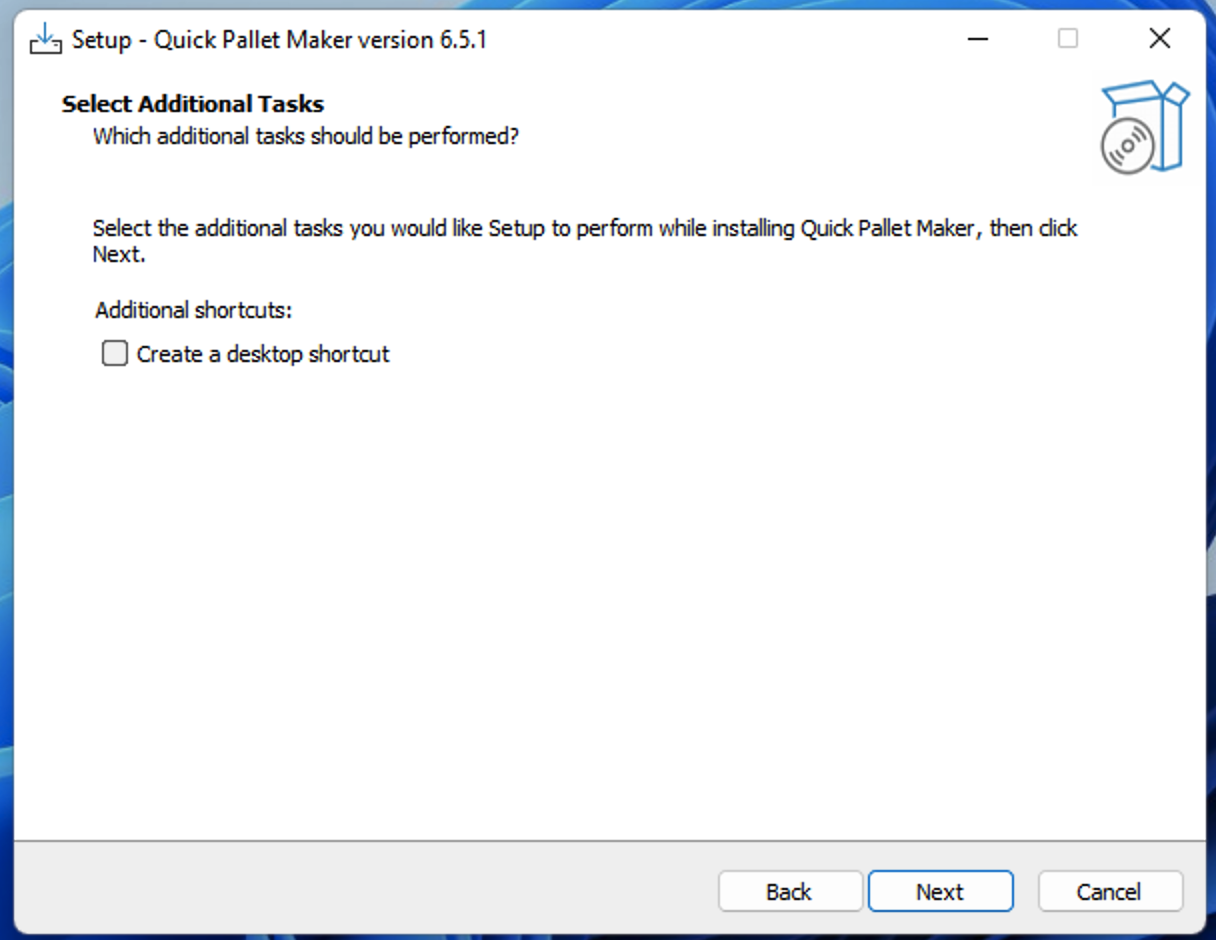
Select Additional Tasks
Once the parameters have been entered, we can run the installation process by clicking on Install.

Ready to Install
A final window should appear asking if you wish to launch Quick Pallet Maker. Click on Finish to continue.
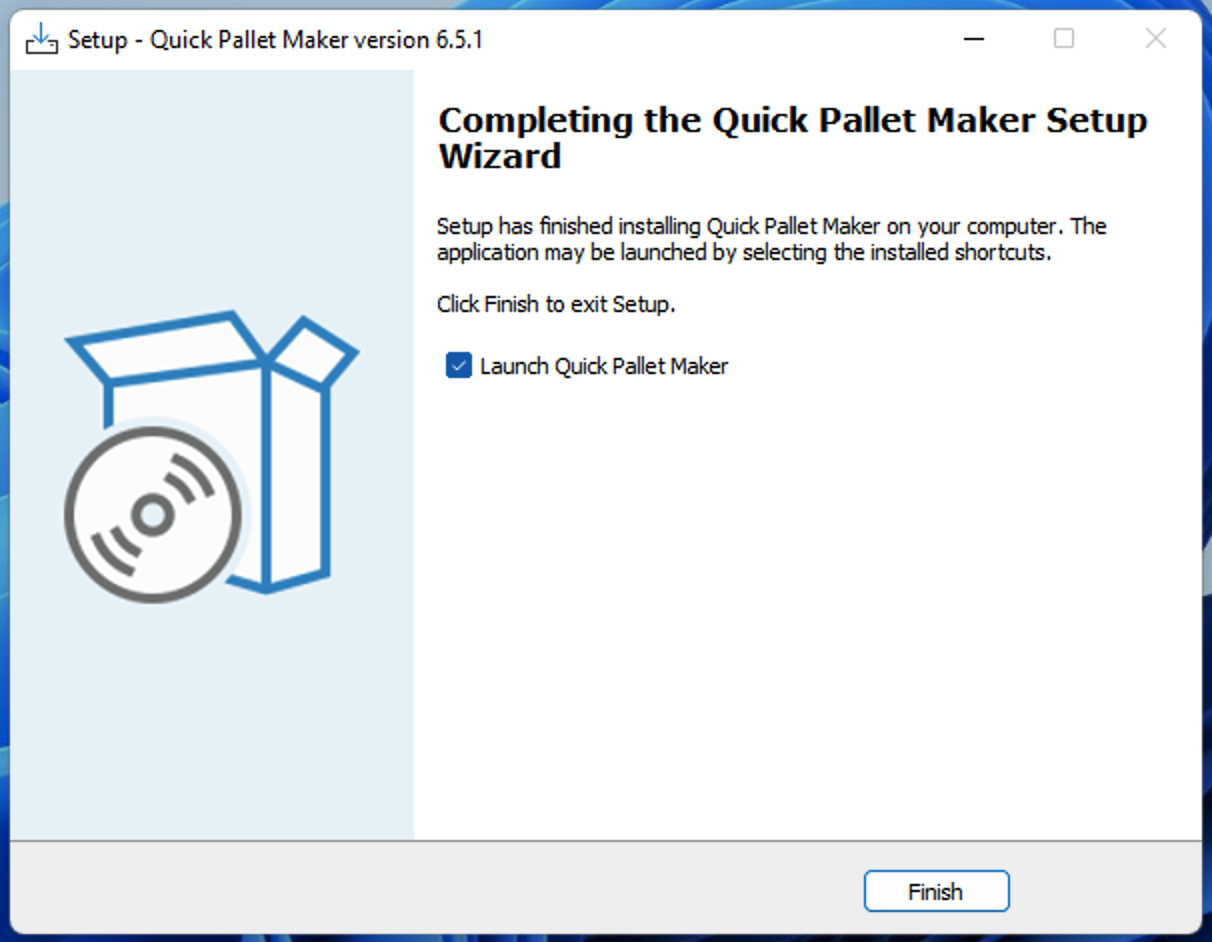
Finished Setup
The installer should close and the Quick Pallet Maker application should appear. You can start working.
Run Quick Pallet Maker