How to Use Standard Cases
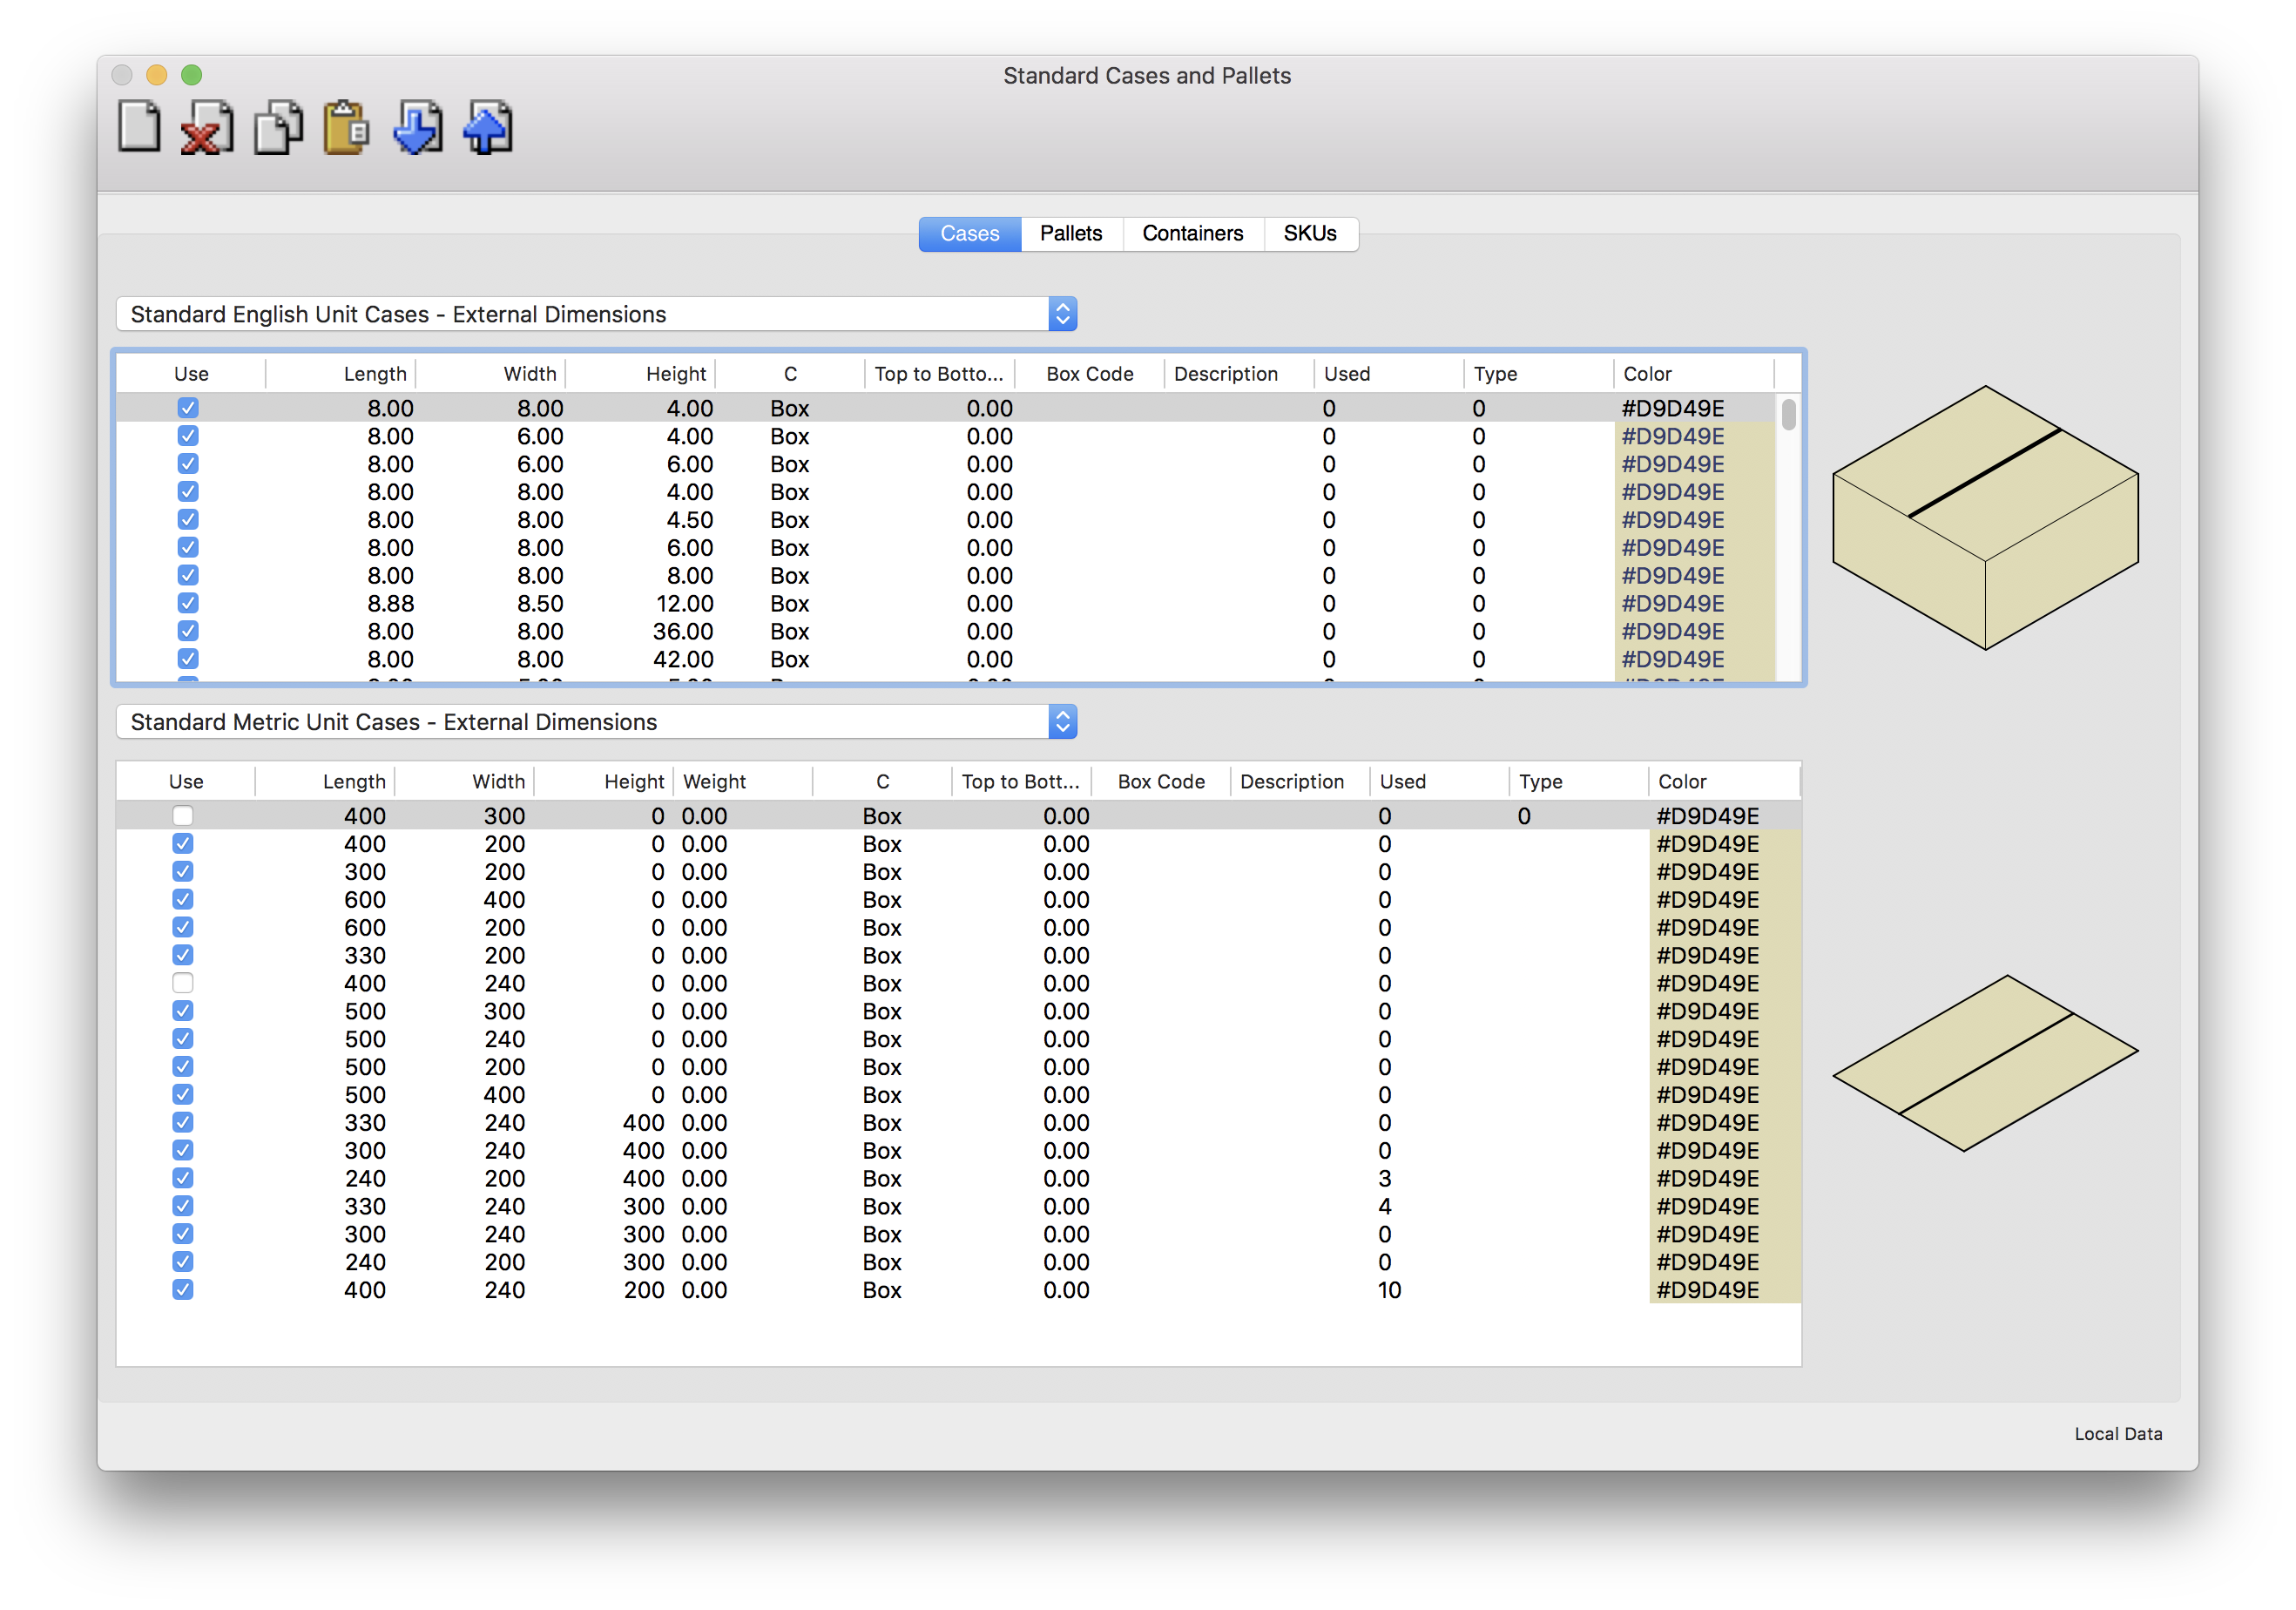
This example deals with the utilization of boxes with standard dimensions (off-the-shelf boxes). The standard box list is located in a special window where boxes can be added, edited or removed.
To see this window, select Standard Cases and Pallets from the Window menu. To add a box, select one and then use the Duplicate option on the Edit menu. This will create a new box at the bottom of the list.
- To edit the box dimensions, select it from the list and then double-click it.
- To disable a box, deselect the checkbox that is located left of the dimensions.
- To remove a box from the list, select it and then use the Delete or Backspace key on your keyboard.

Standard Cases and Pallets Window
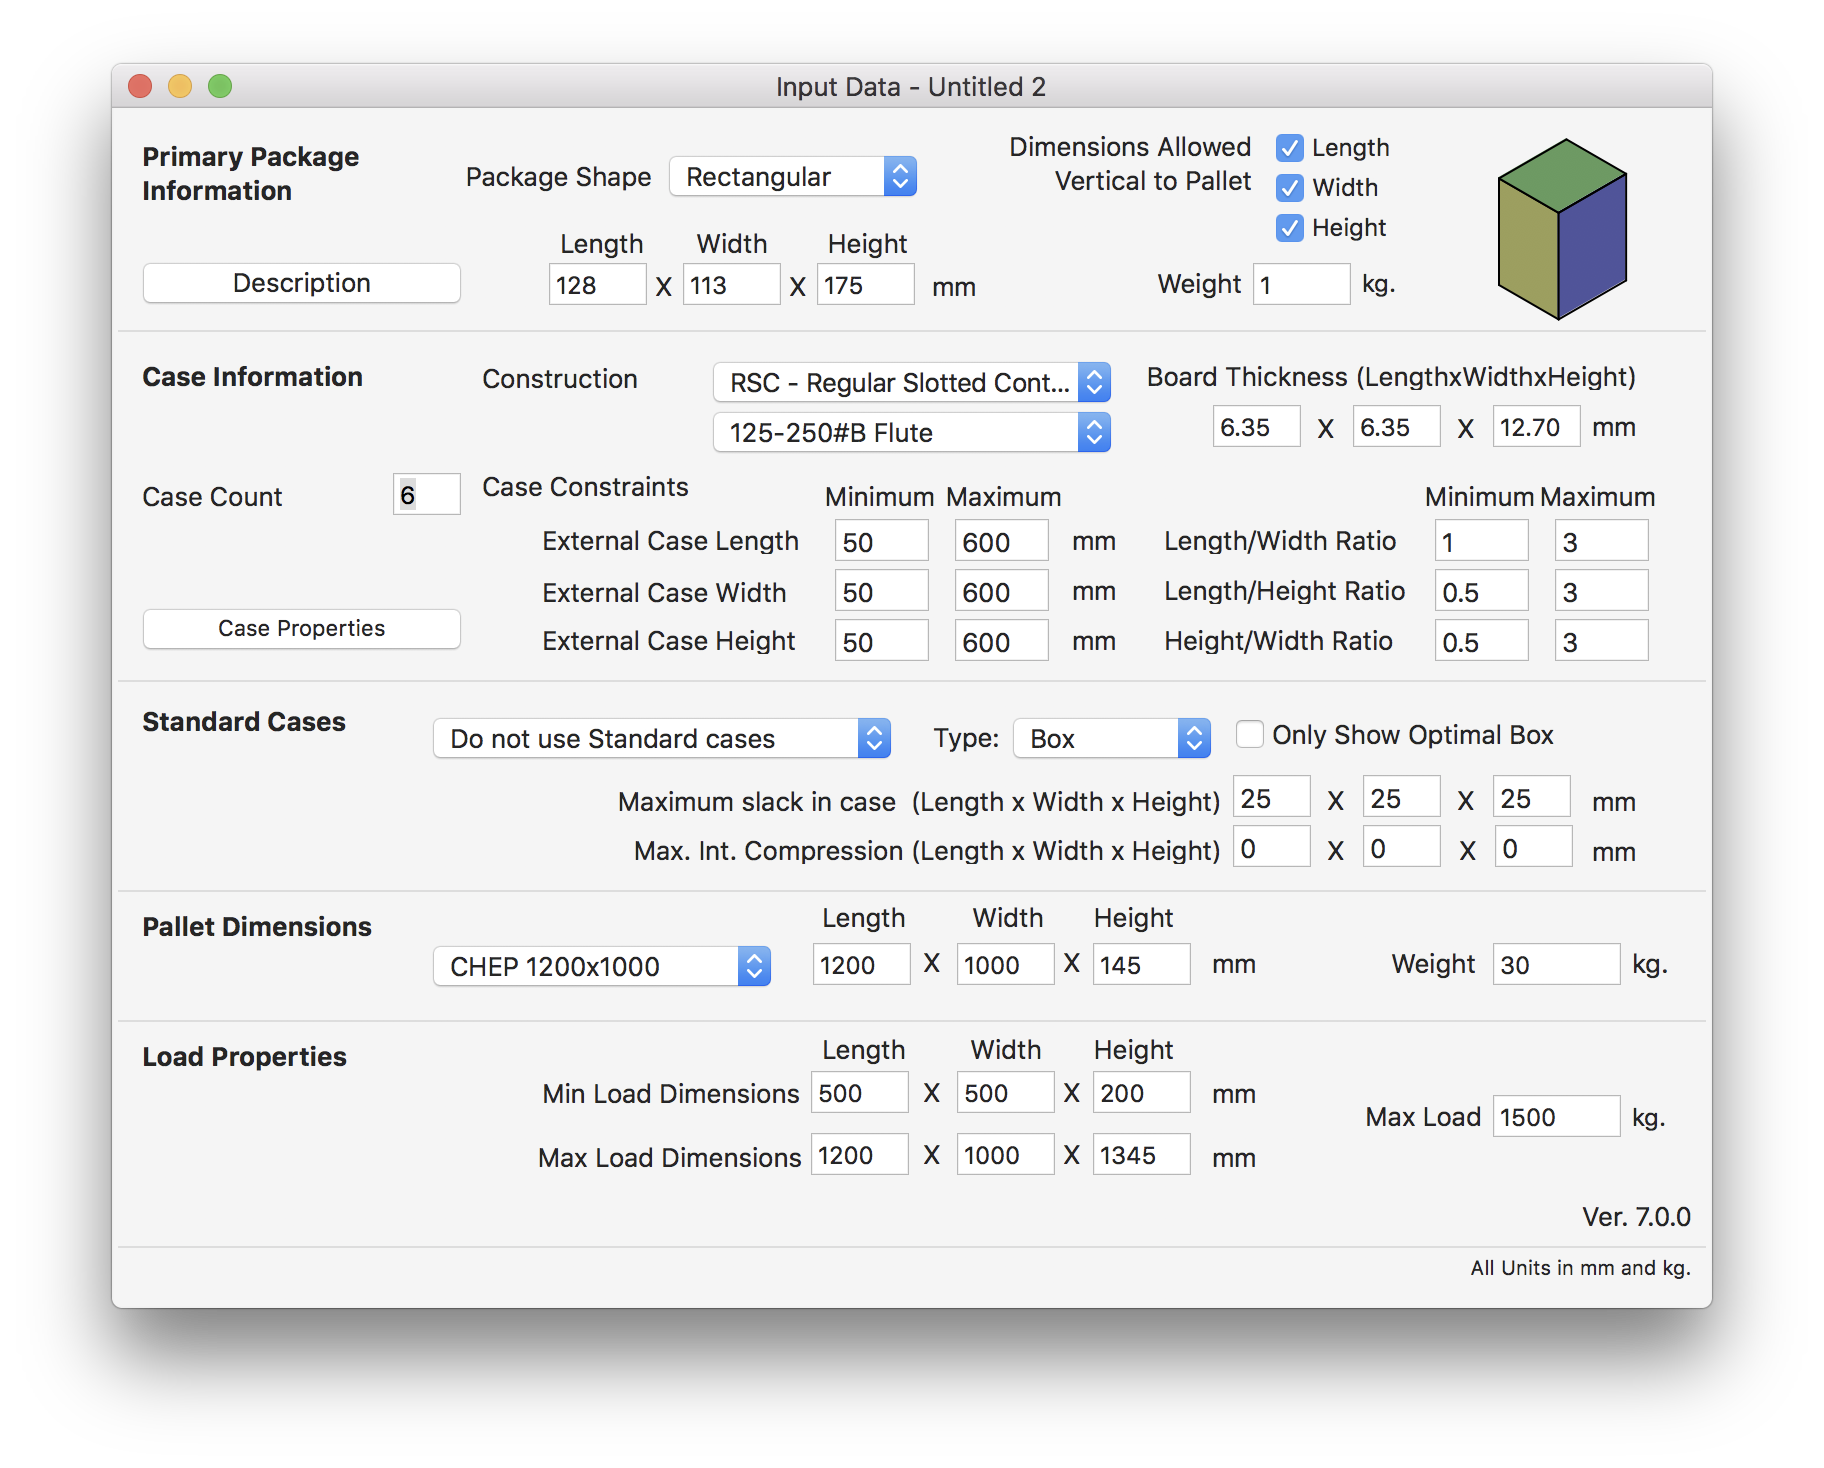
Go to File > New Data Sheet > Start from Primary Package.

Start from Primary Package
In this window select the option Use ONLY Standard Cases from the Standard Cases menu.

Use ONLY Standard Cases
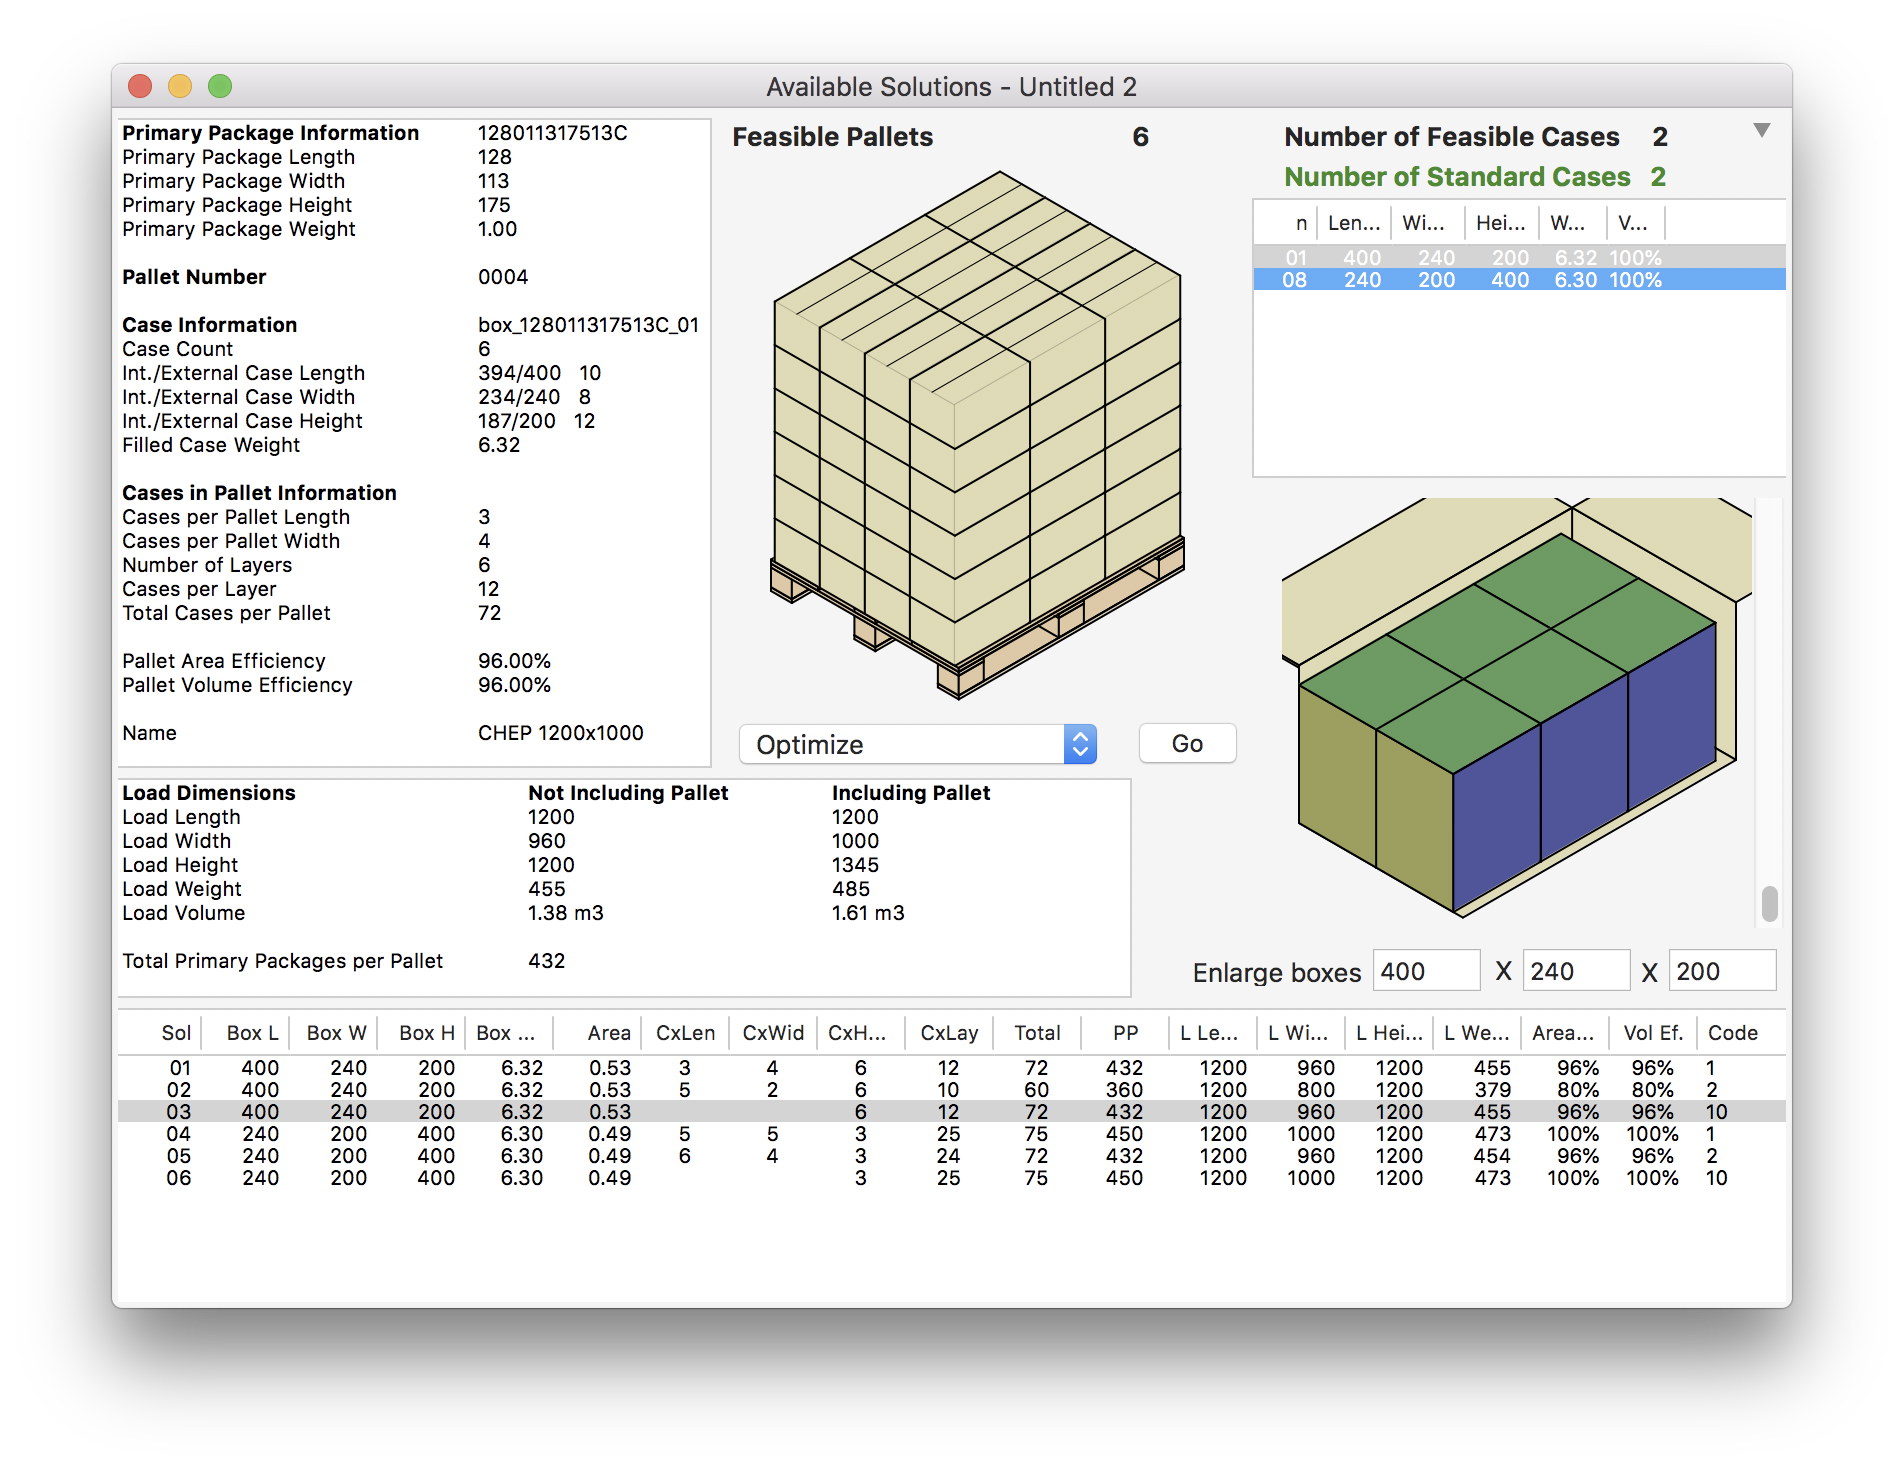
After using the Recalculate function on the Tools menu, QPM show you a list of standard boxes and pallets that were calculated with this input data. Although not apparent in the box view, QPM has added slack to the packages in order to use the standard cases. In other words, the load is "loose" in the case, on some box views it could be more noticeable, for changing the view, click on the box drawing.

Pallet Results
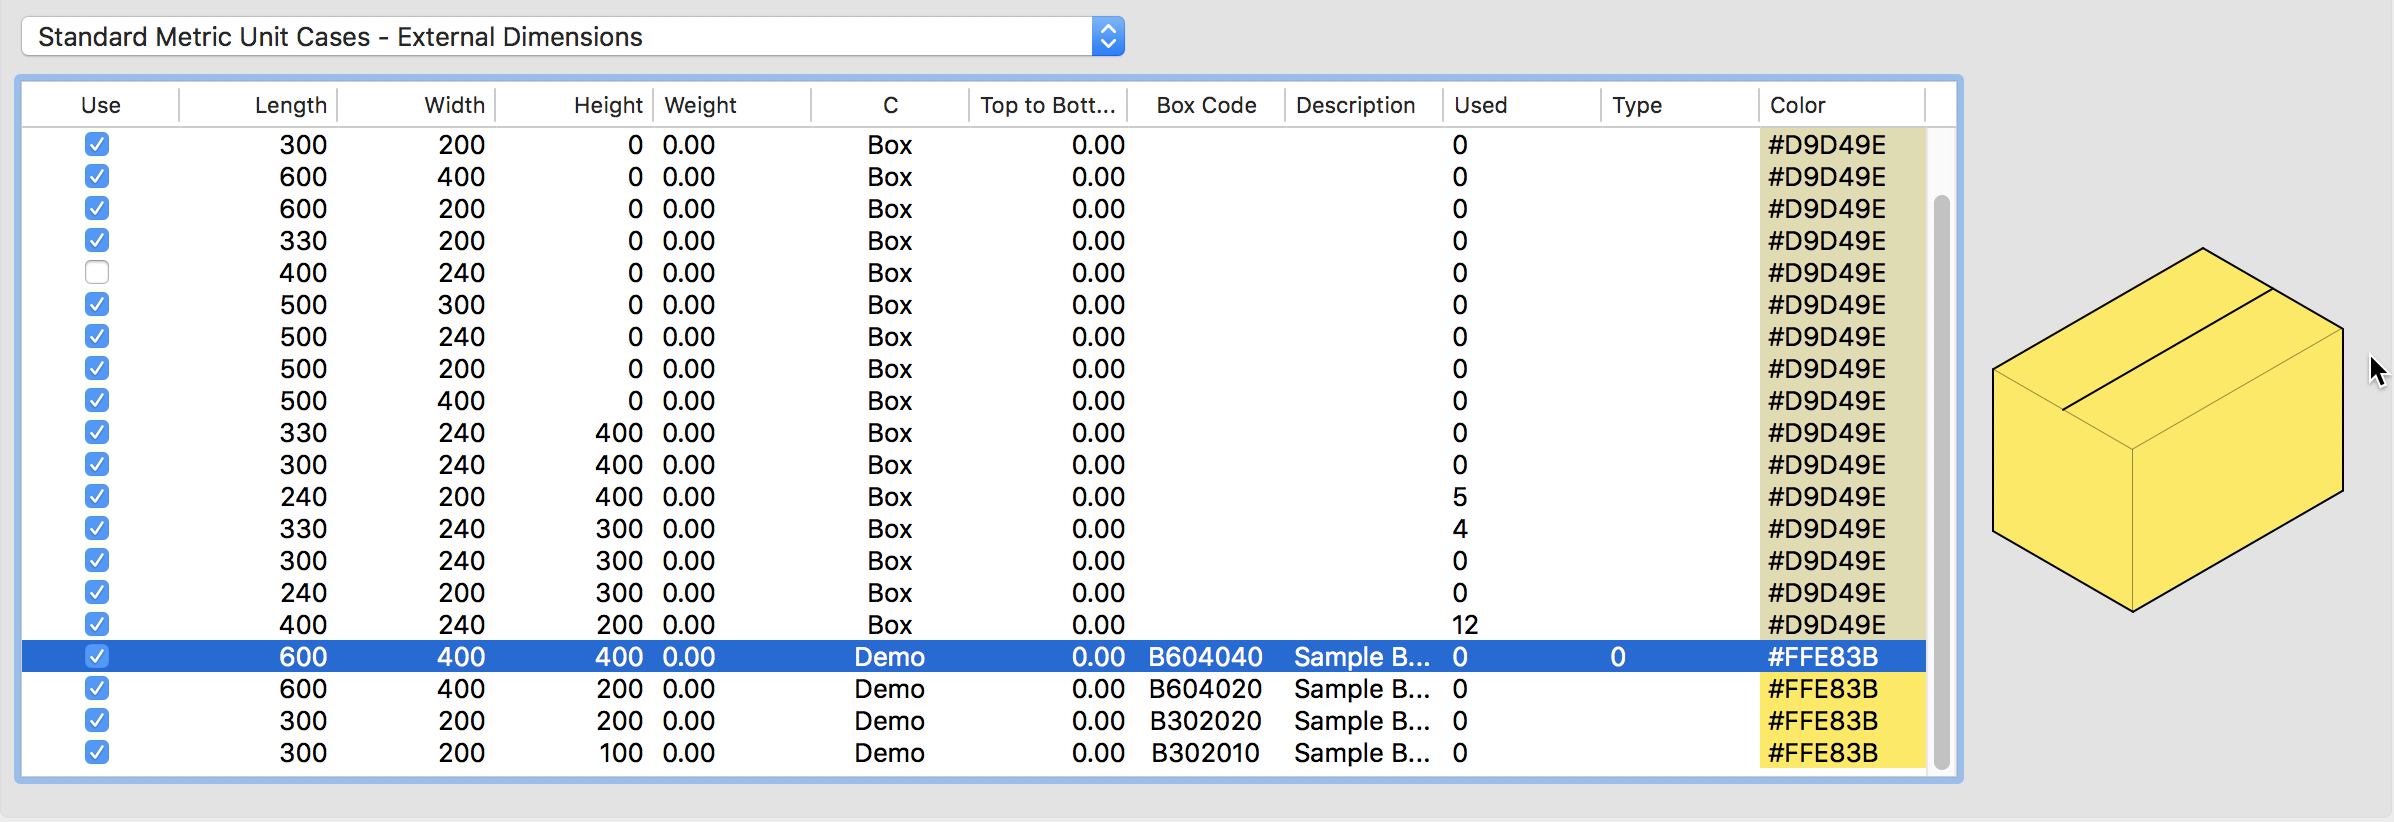
Another way to enter the standard case dimensions is to copy and paste the data from a spreadsheet application (such as Excel) or from any text file that contains columns separated by tabs. An example file can be downloaded through this link. The order of the columns is the following:
- External Length
- External Width
- External Height
- Category (the type that will appear in the standard cases menu)
- Top to Bottom Compression
- Code
- Description
- Color

Copy from Spreadsheet
The resulting standard cases should appear in the table.

Box Table
Watch the video
This example is also available as a YouTube video.YouTube Video