Calculating a Shipment Using Saved SKUs
The purpose of this example is to explain how to calculate a shipment of boxes using SKUs that have been saved in Quick Pallet Maker.
To save SKUs in QPM, you will first need to copy them from a spreadsheet, using the format discussed in other examples and that can be downloaded here. Select the area with all the required columns and then choose Copy.
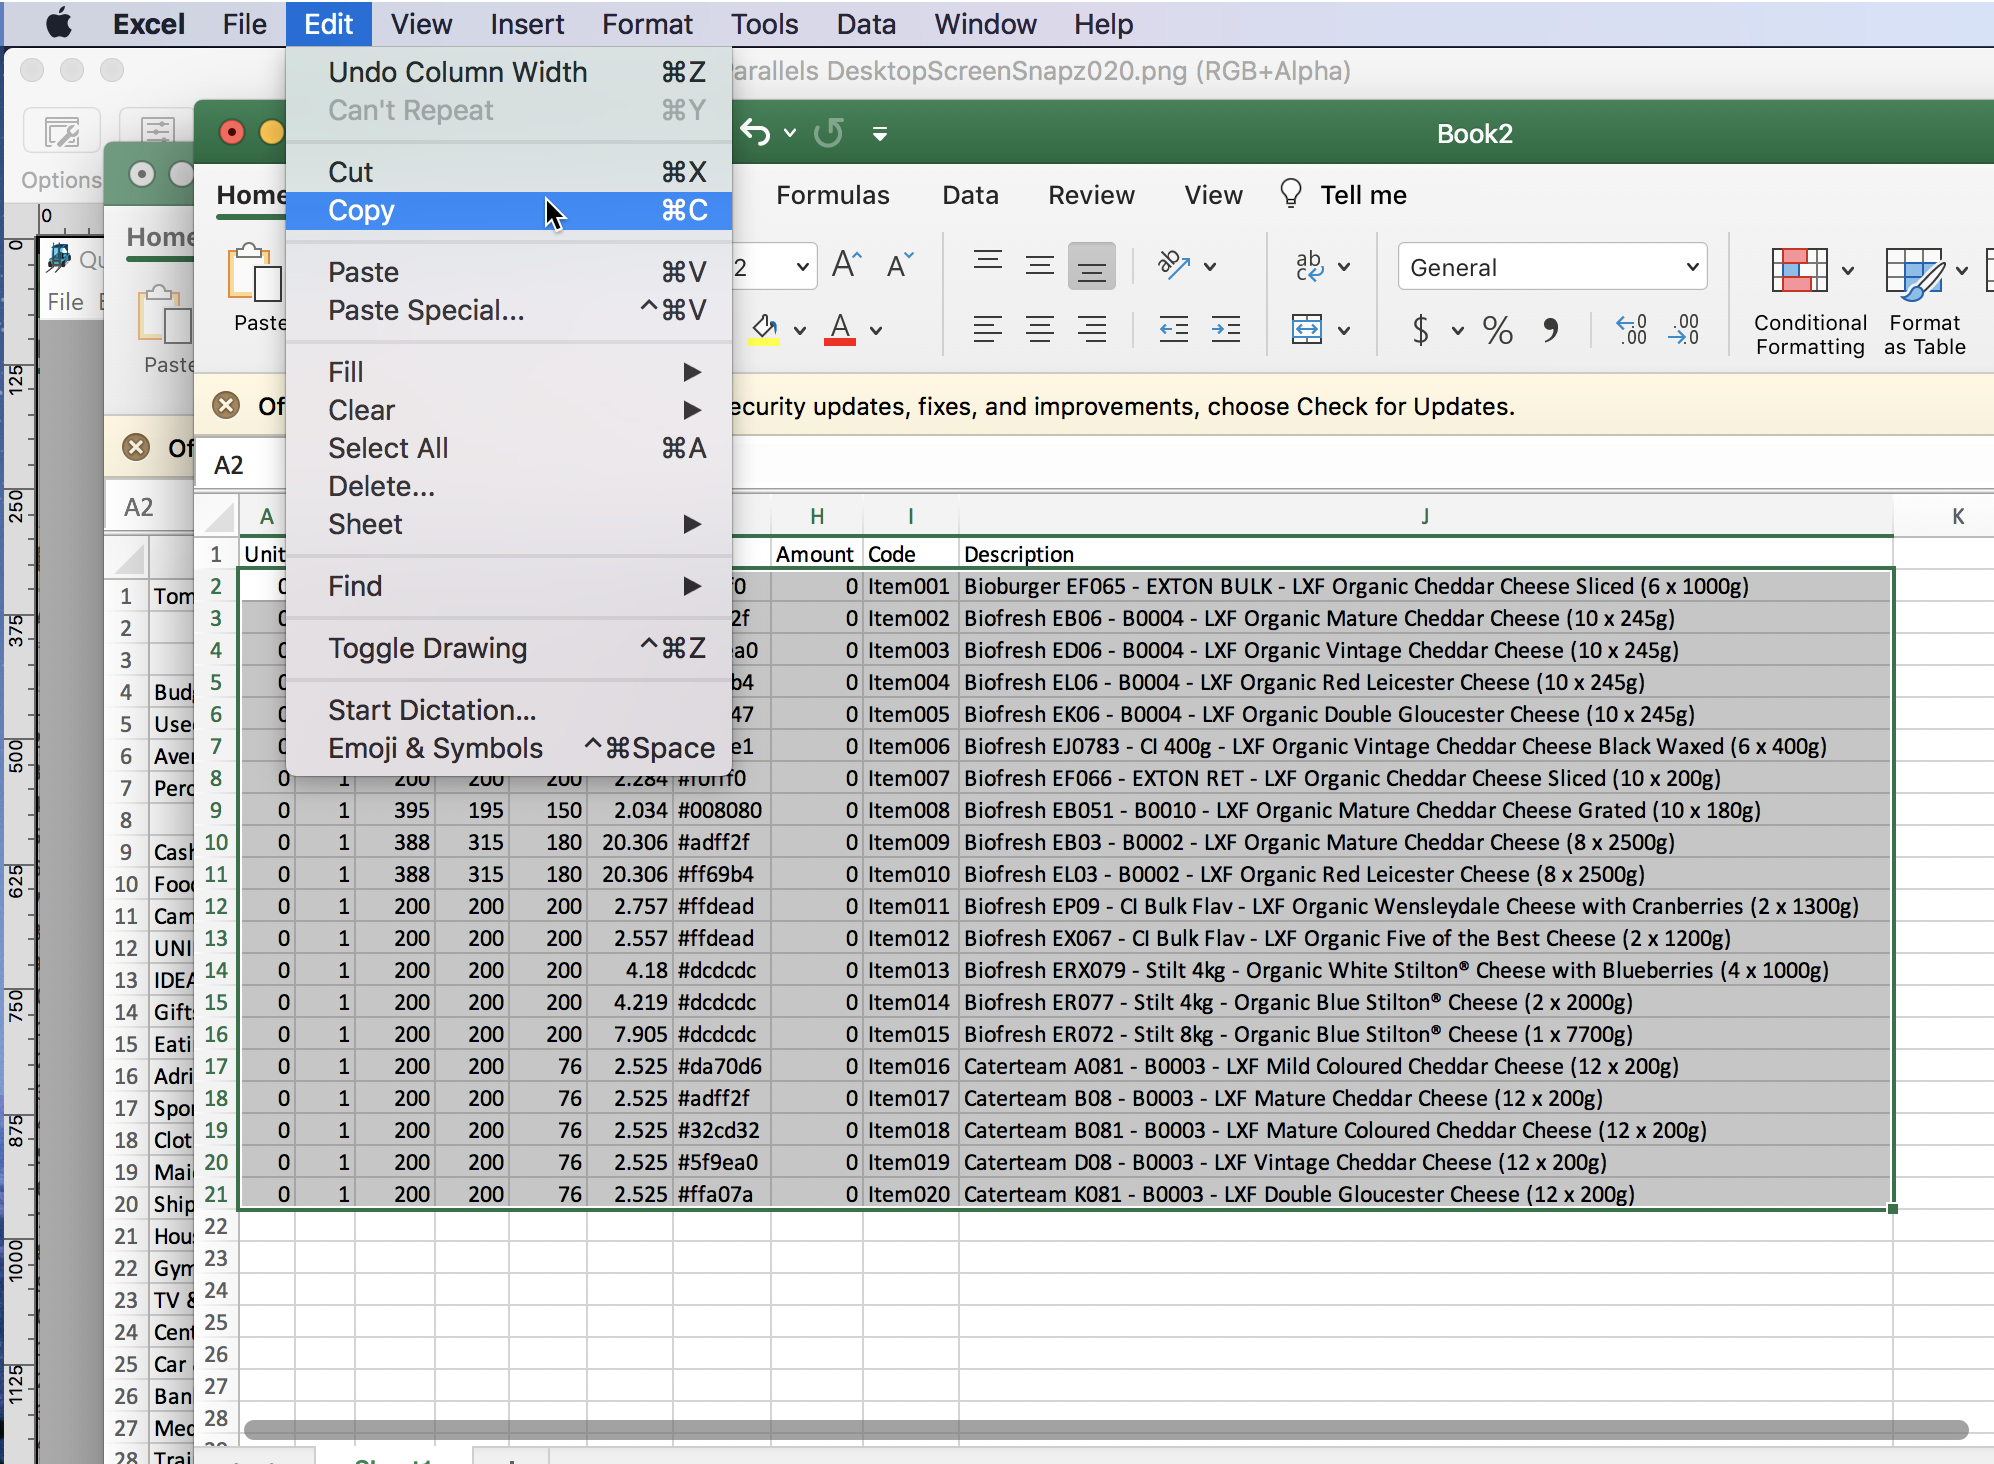
Spreadsheet with Data
The next step is to run the Quick Pallet Maker application and open the Standard Cases and Pallets window. Once there, select the last tab, which is marked SKUs. Right-click on the table and select Paste to add the boxes.
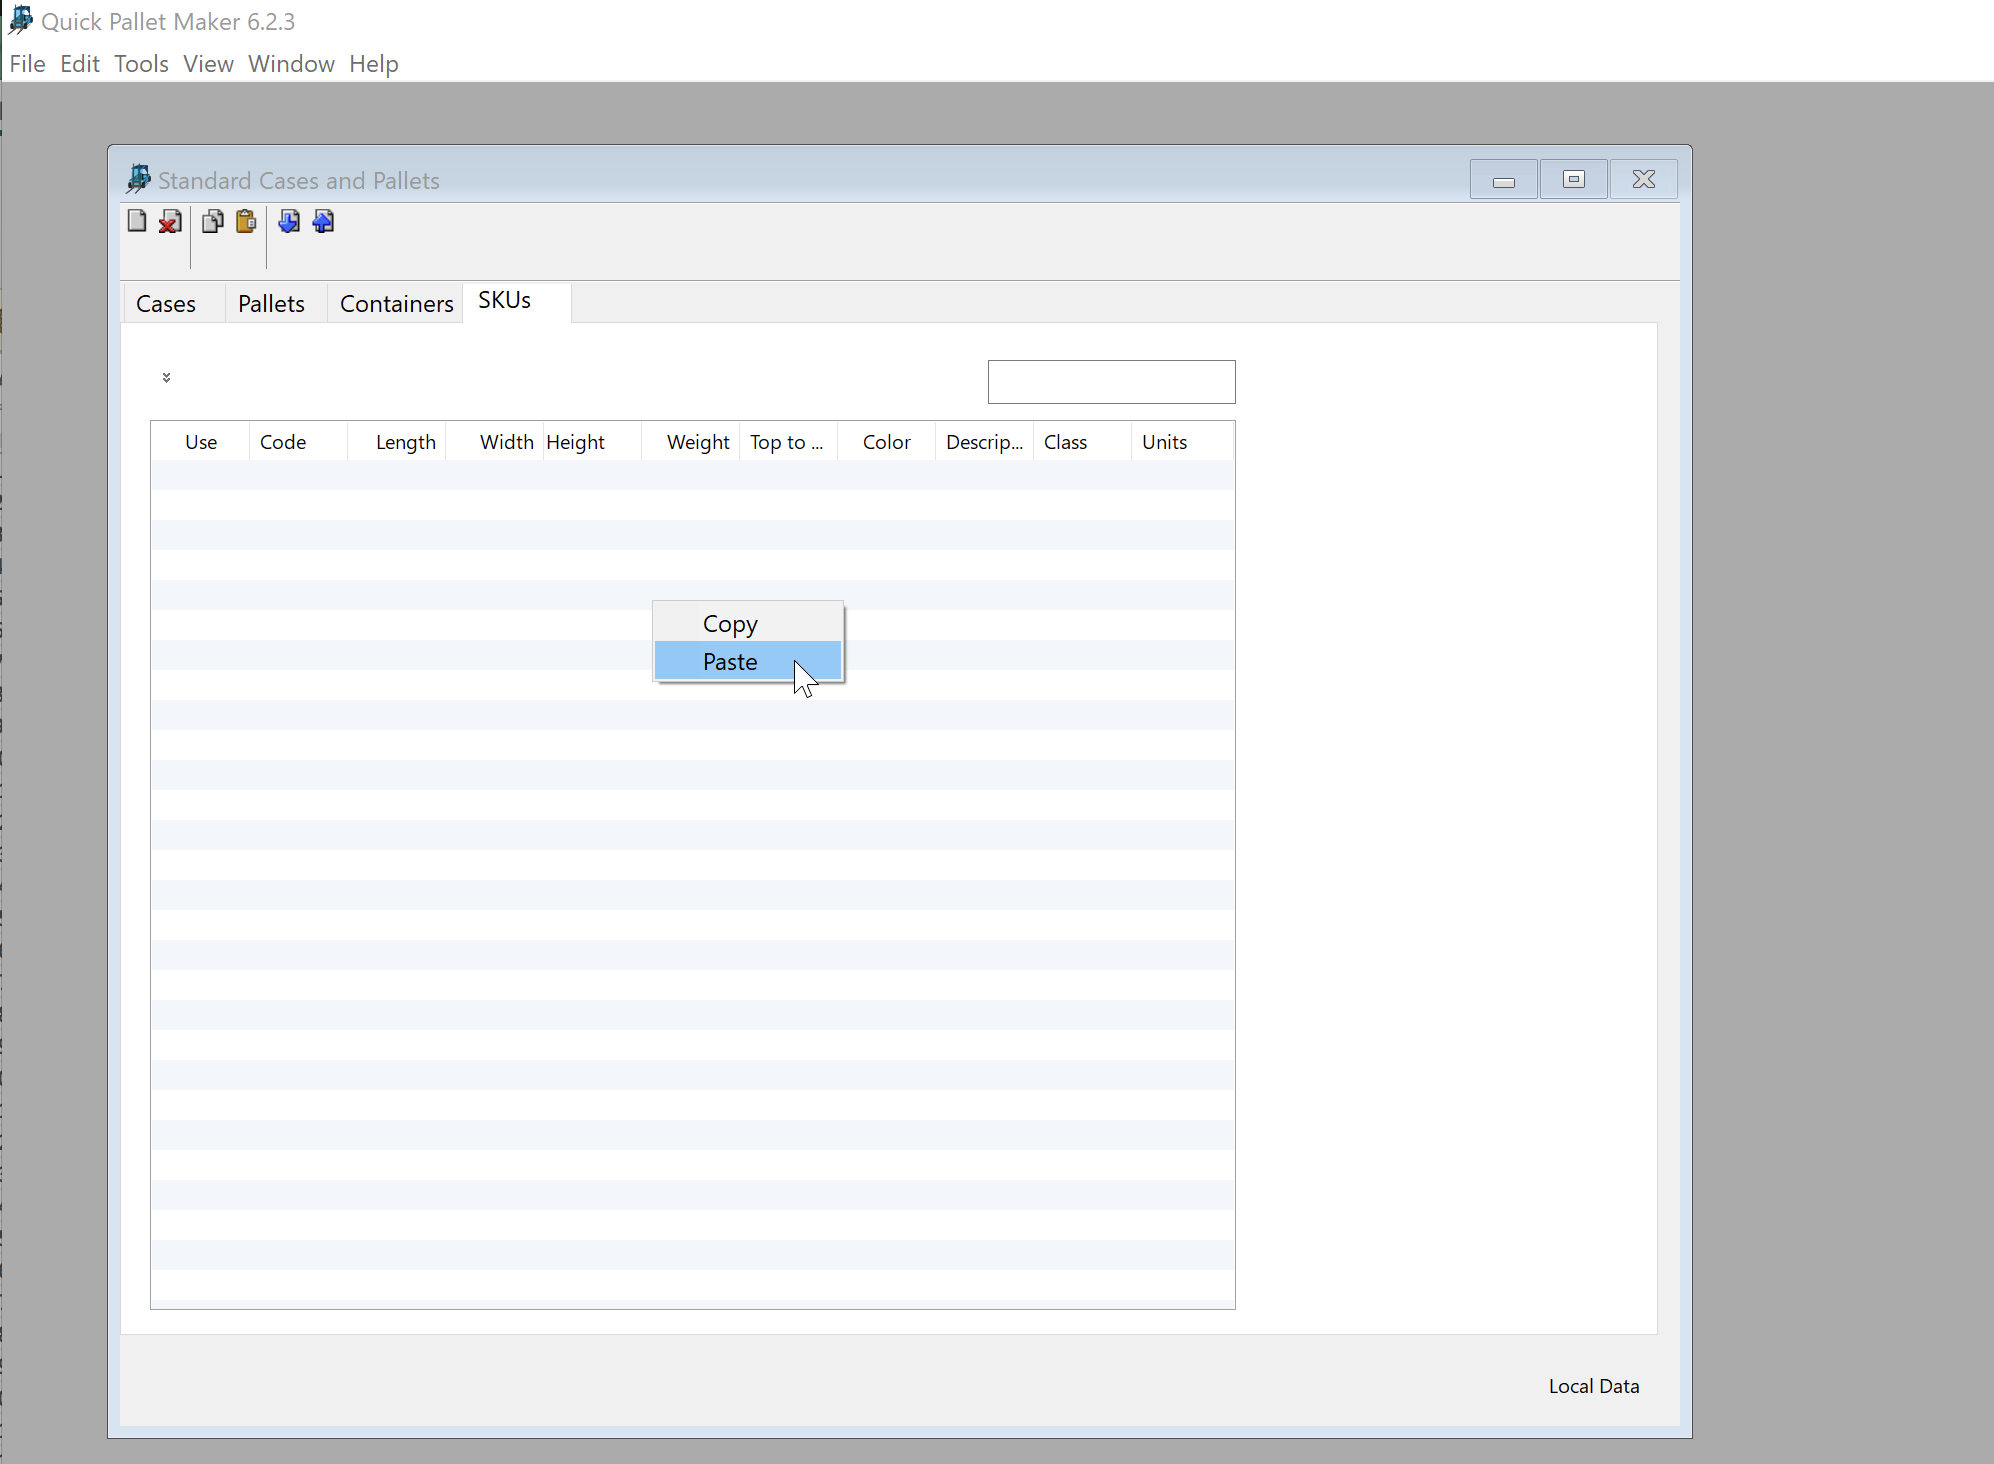
Paste SKU Data
The table with boxes should look like the one in the image below.
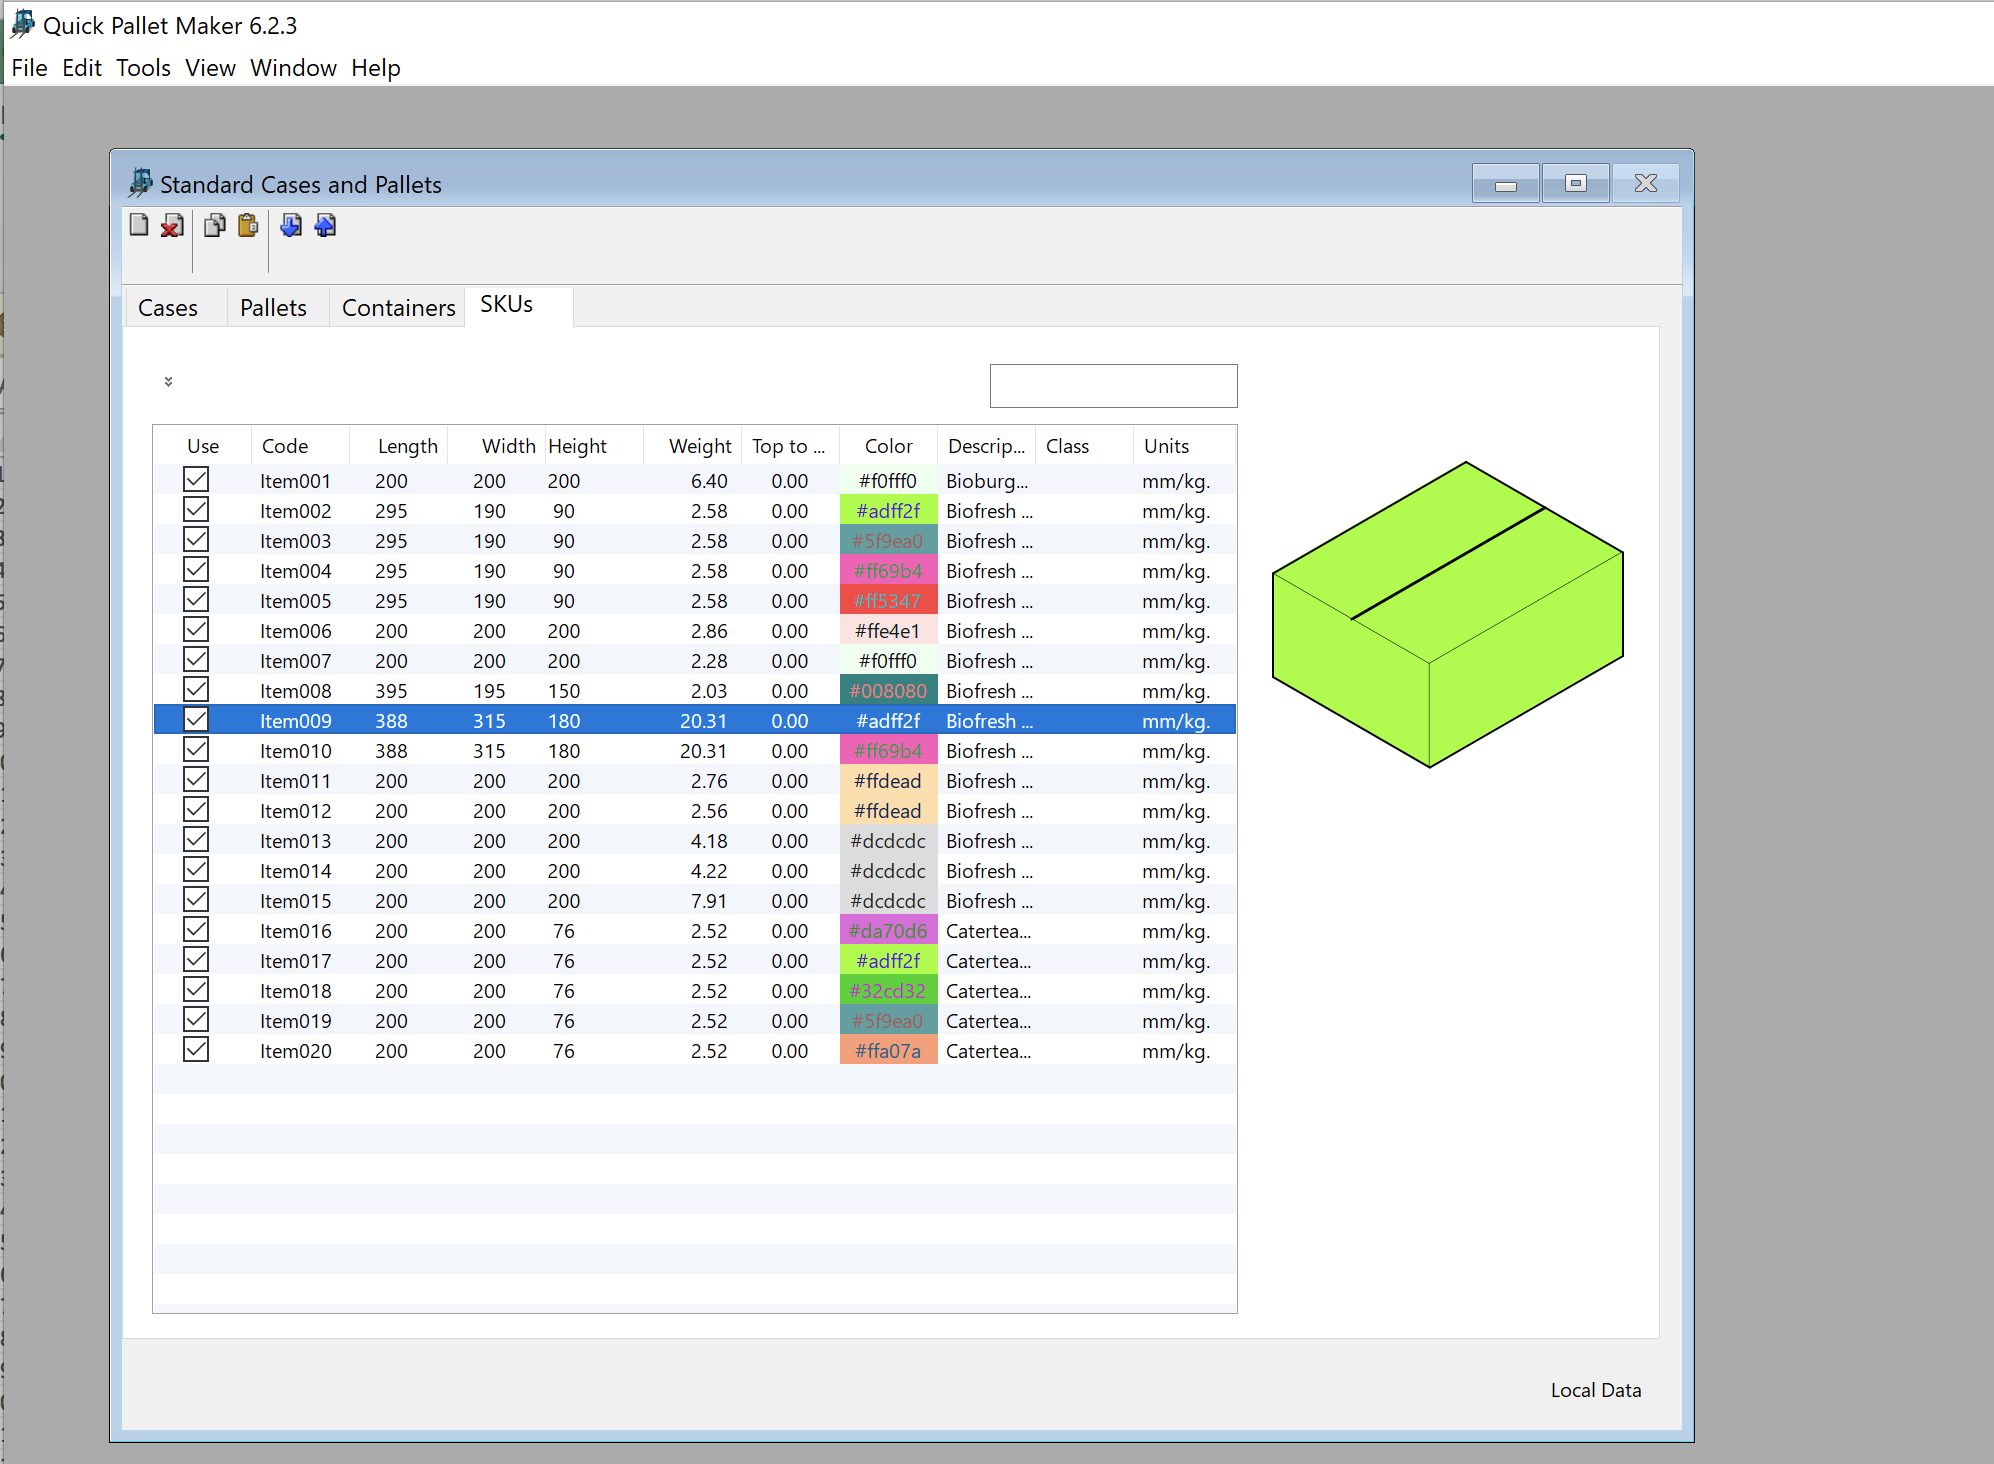
SKU Table with Boxes
The next step is to open a new Document Window starting from box dimensions. This is done by selecting File -> New Data Sheet -> Box on Pallet.
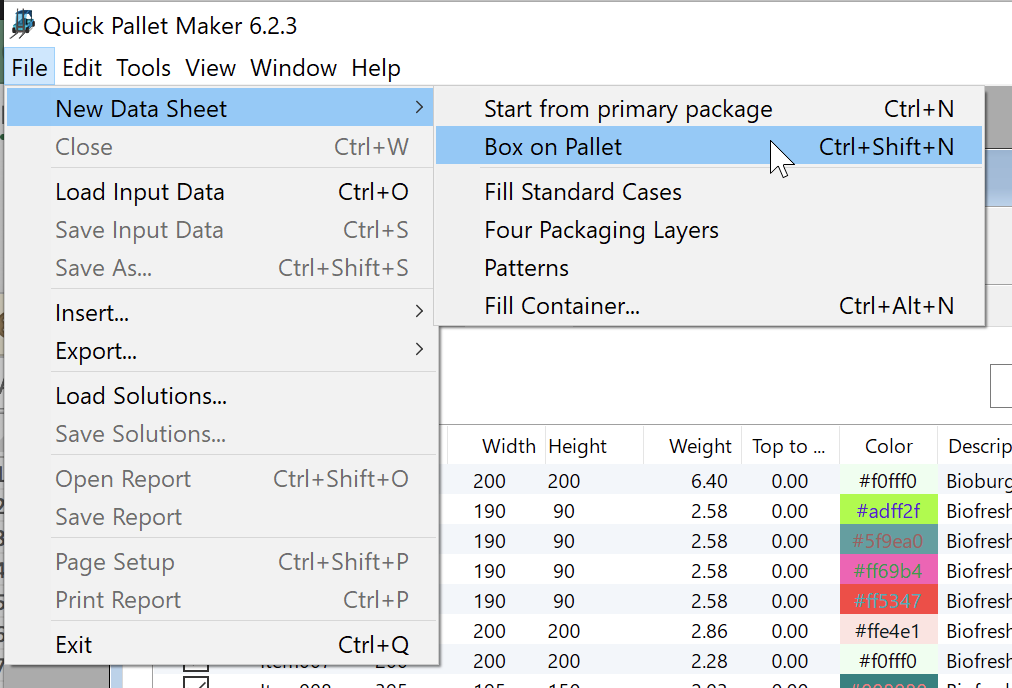
New Data Sheet - Box on Pallet
Once the window has been opened, we will add the boxes by using the comma-delimited file that can be downloaded, and contains the following columns:
We select the file by using File -> Insert... -> Shipment.
- warehouse: the name of the warehouse
- driver_id
- driver_name
- truck_name: the pallet in which they will be shipped
- comment
- route_date: the shipment date
- route_name: the shipment name
- po: the purchase order
- client_id
- client_name
- prod_id: the SKU identifier
- prod_seq
- prod_q: the number of products to be shipped
- trip
- site
We select the file by using File -> Insert... -> Shipment.
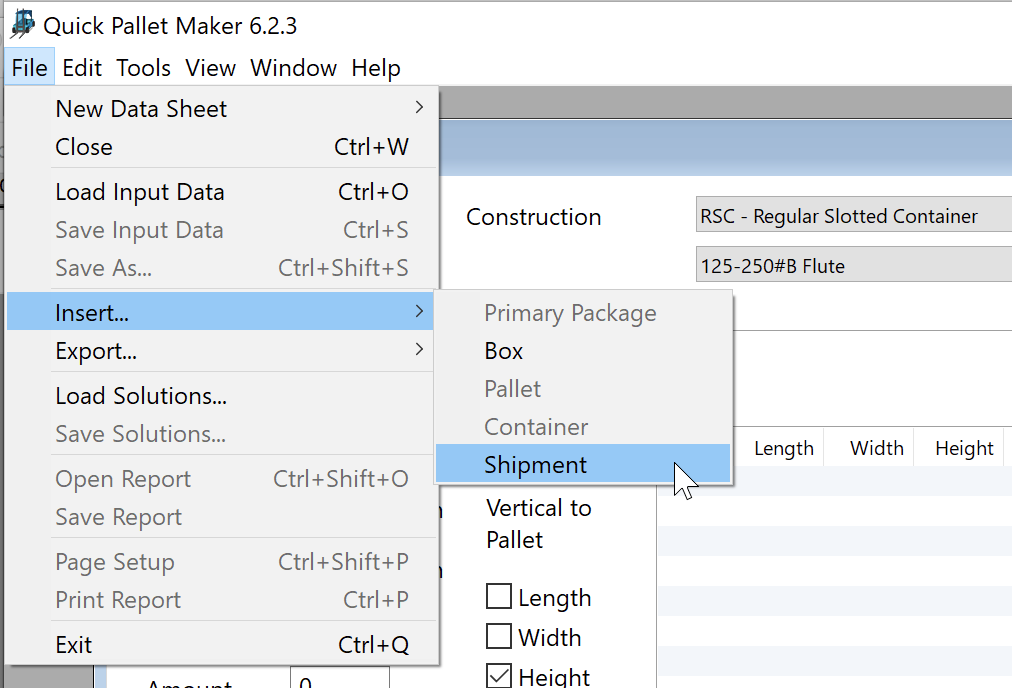
File - Insert - Shipment
Then, we look for the file on the disk or network and open it.
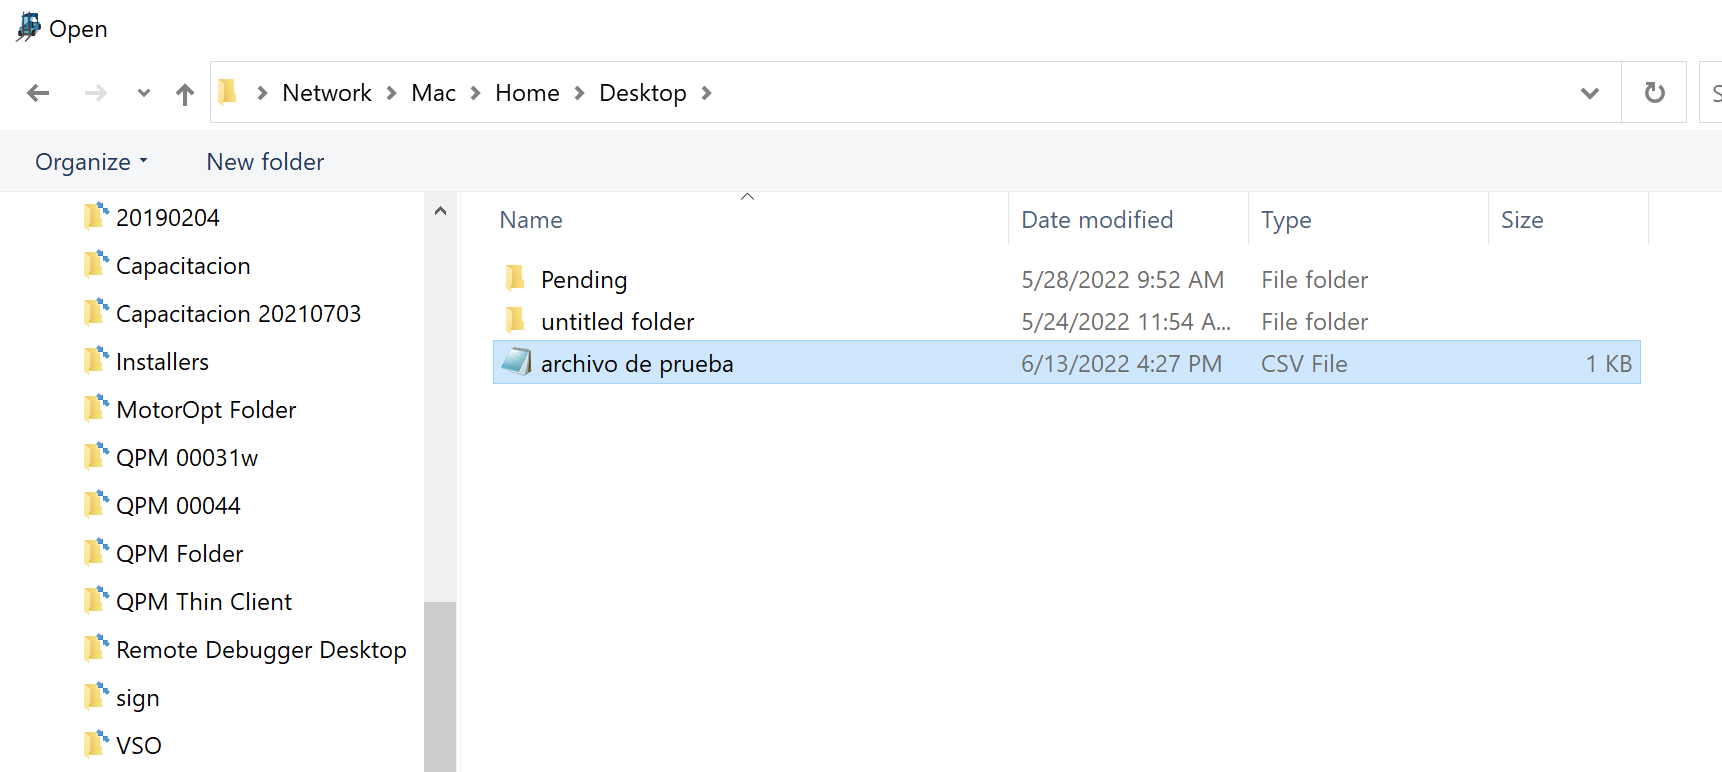
Input File
The Start from Box window should look like the image below. We click on Optimize Sections to obtain a better palletization result.
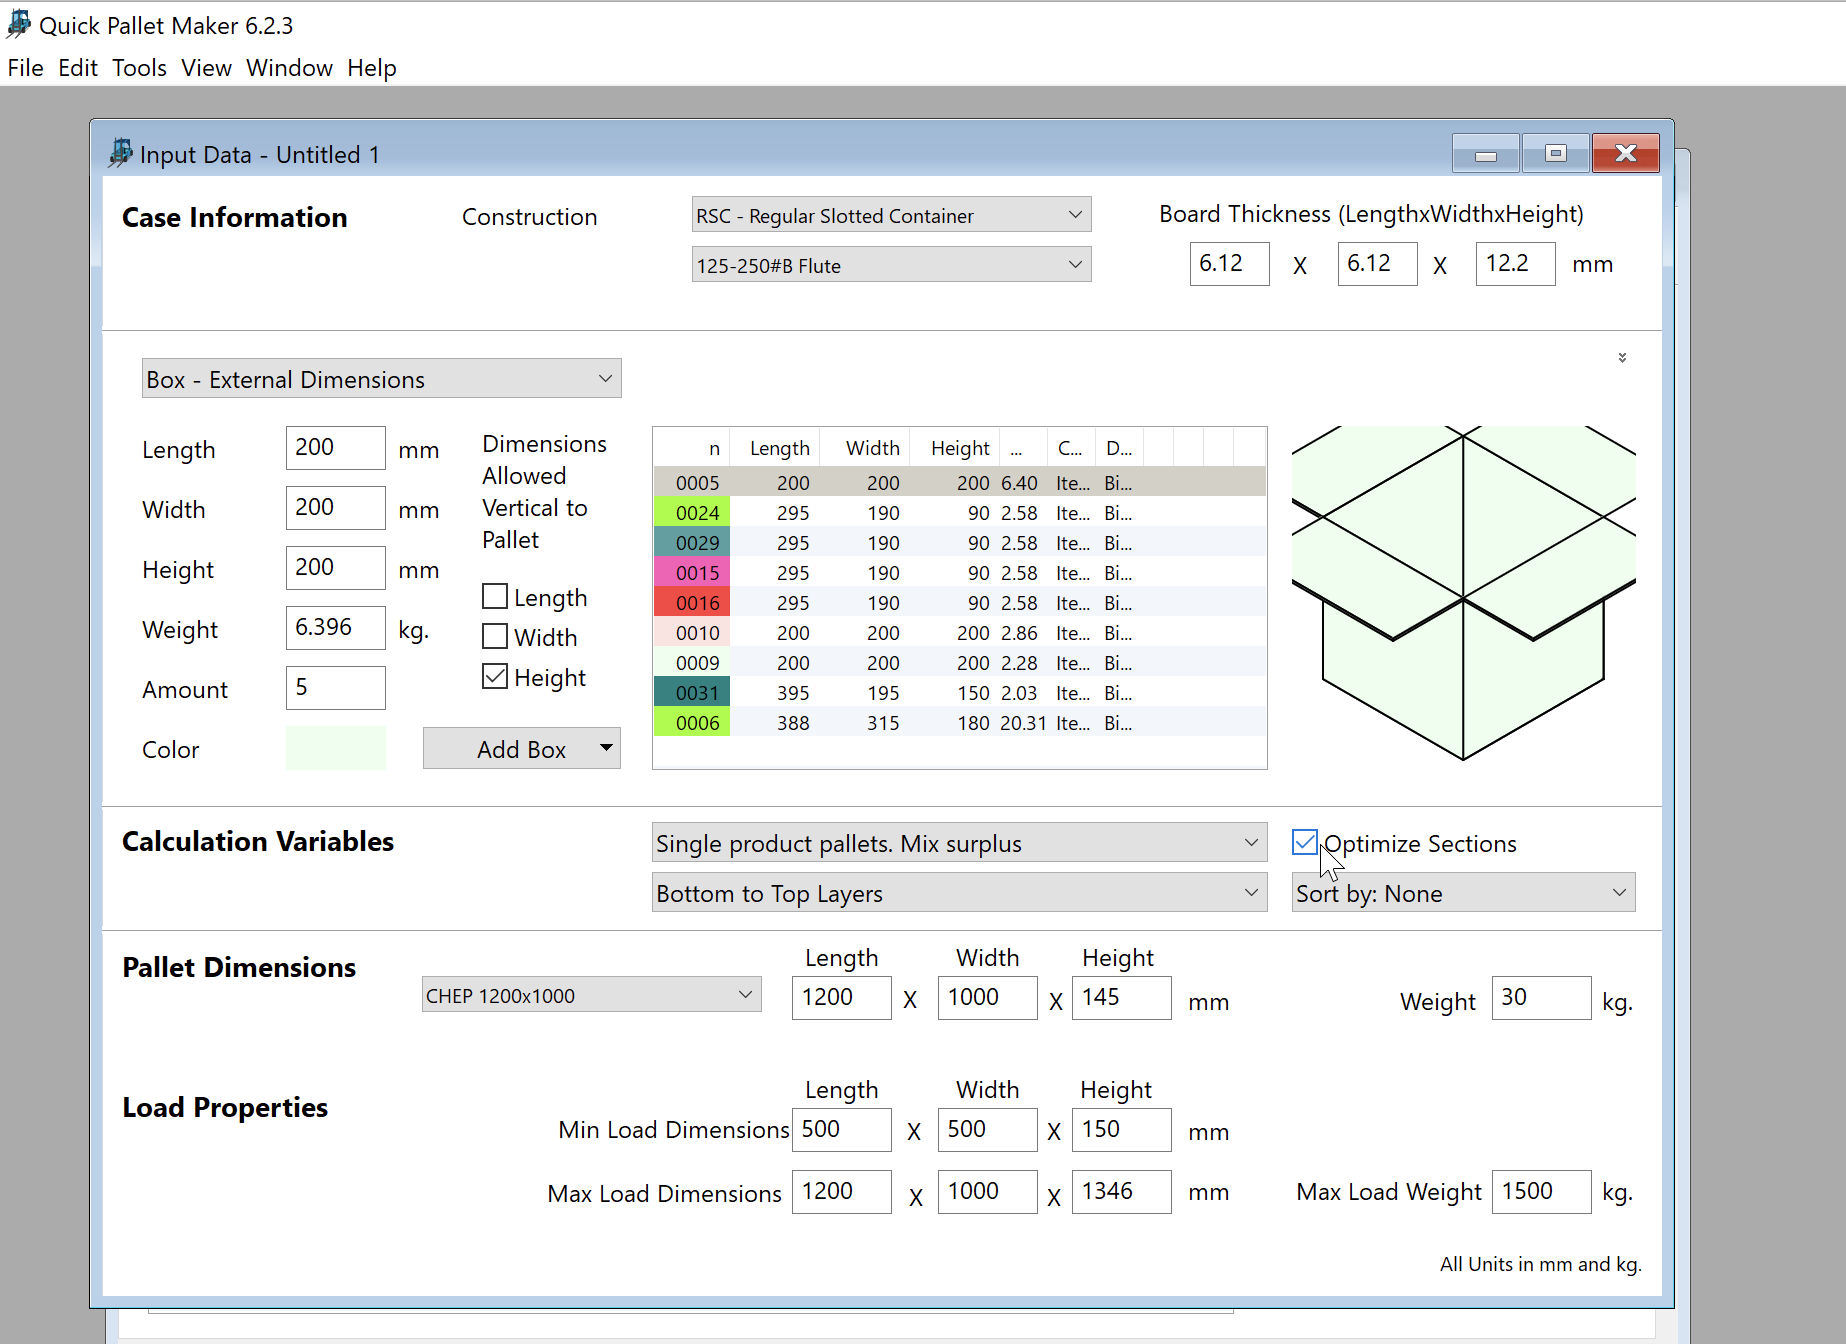
Start from Box window
To calculate the list of boxes, we use the Tools -> Calculate Box Shipment command.
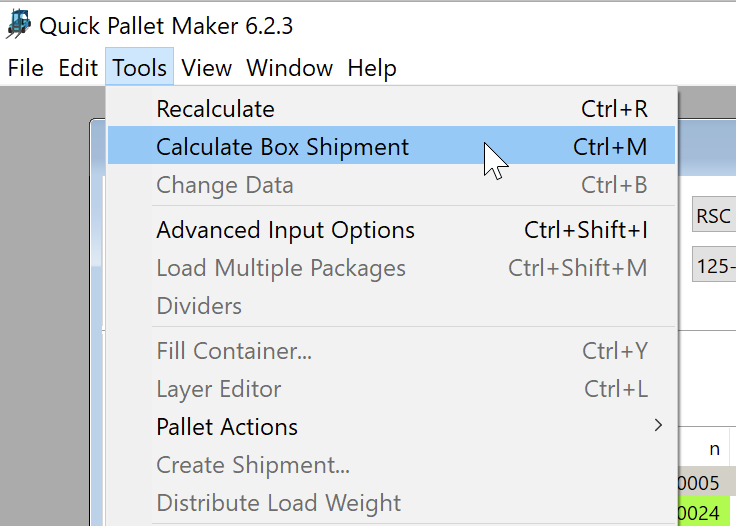
Tools - Calculate Box Shipment
You should see a list of pallets with multiple types of boxes, that will depend on the information that was introduced in the shipment file and on the dimensions of the boxes that were stored as SKUs.
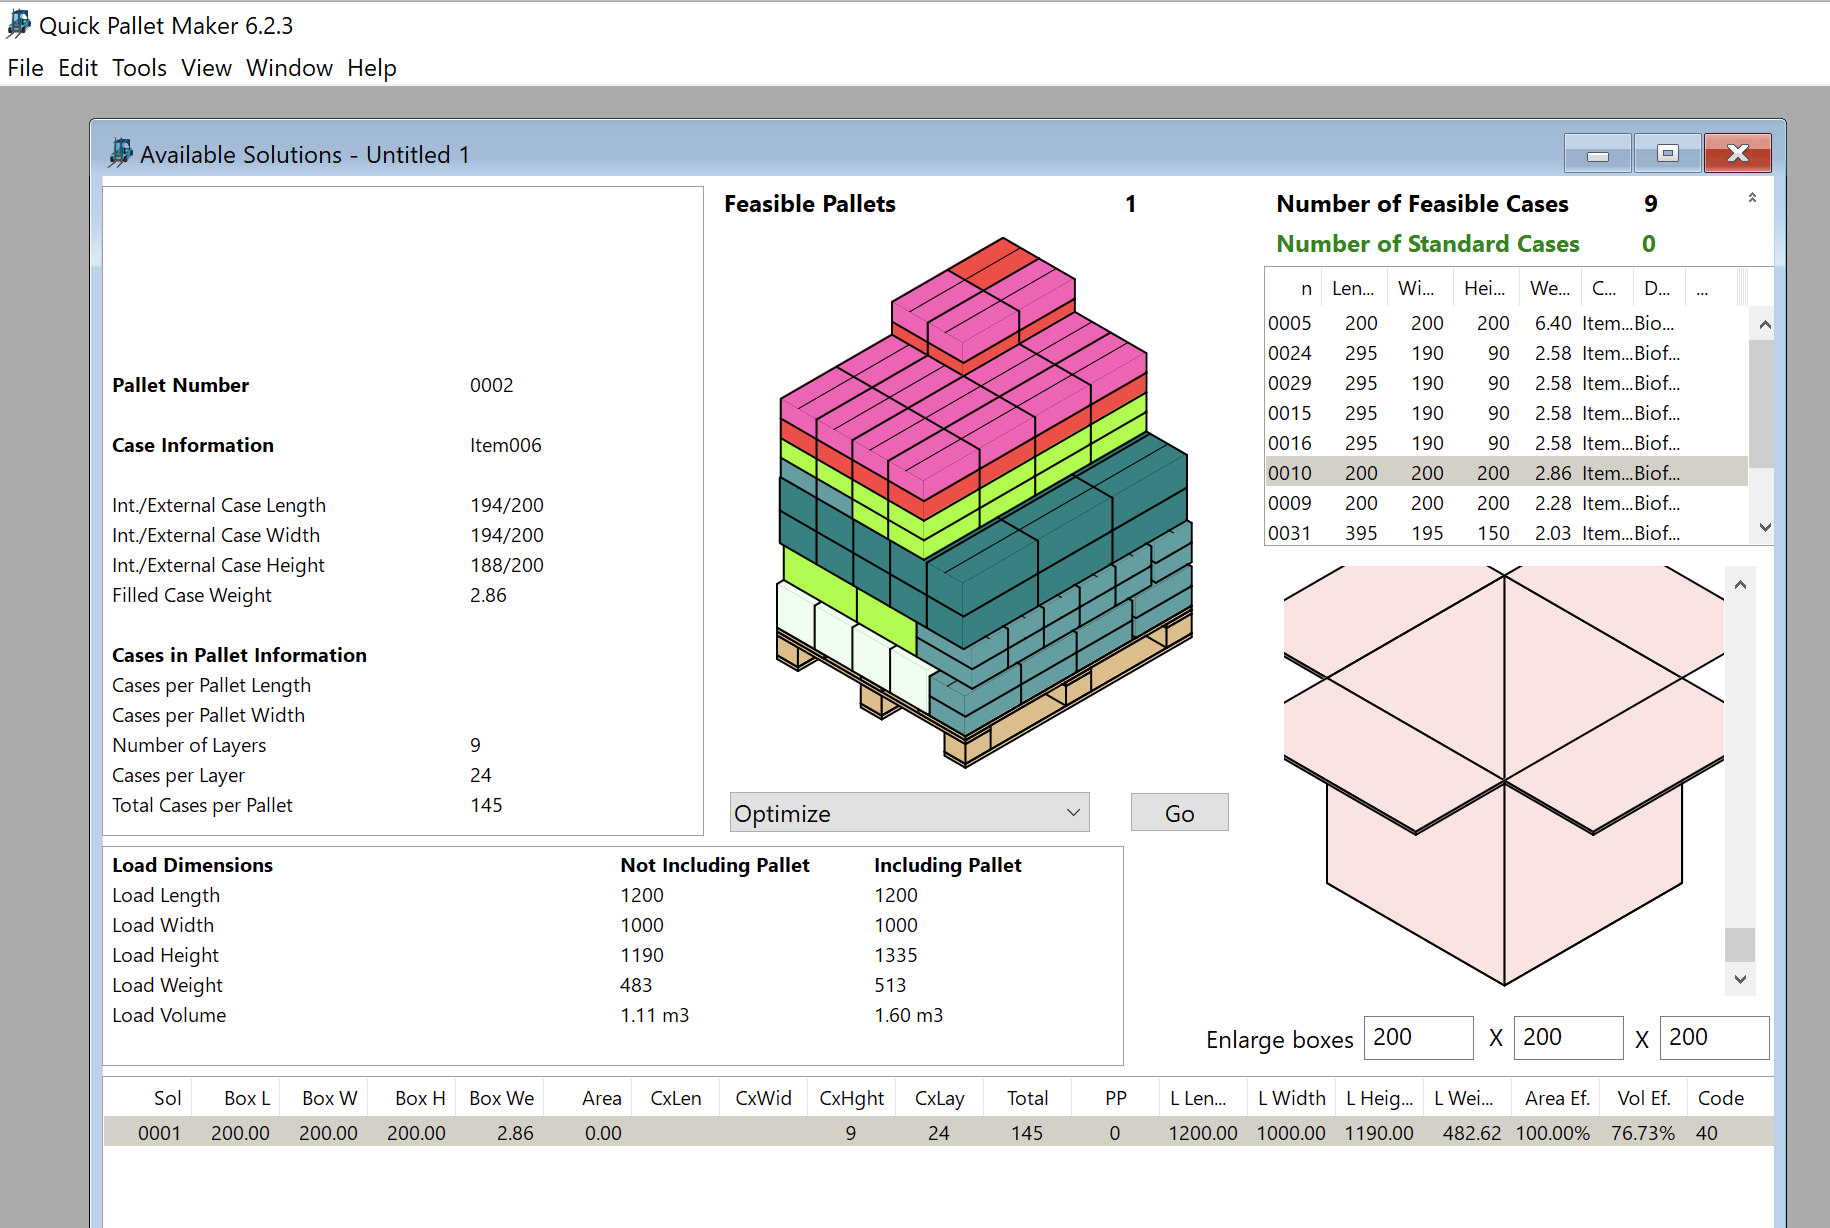
Pallet Layout
We can view a report of the pallet contents by selecting File -> Print Report.
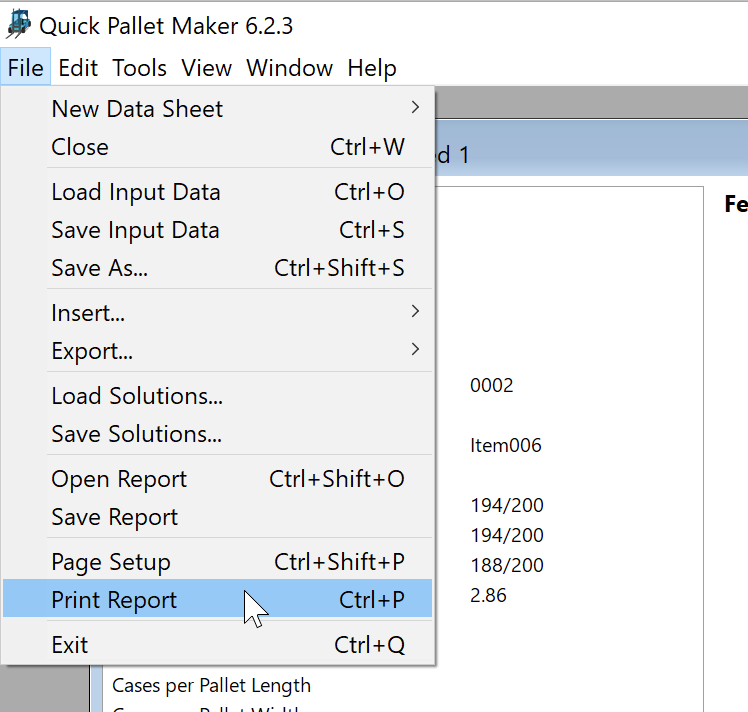
File - Print Report
Finally, we will be able to view a report with the pallet information (dimensions and a list of contents) and its drawing. If we select the Separate By Layers option, we can see multiple drawings, one for each layer of boxes in the pallet.
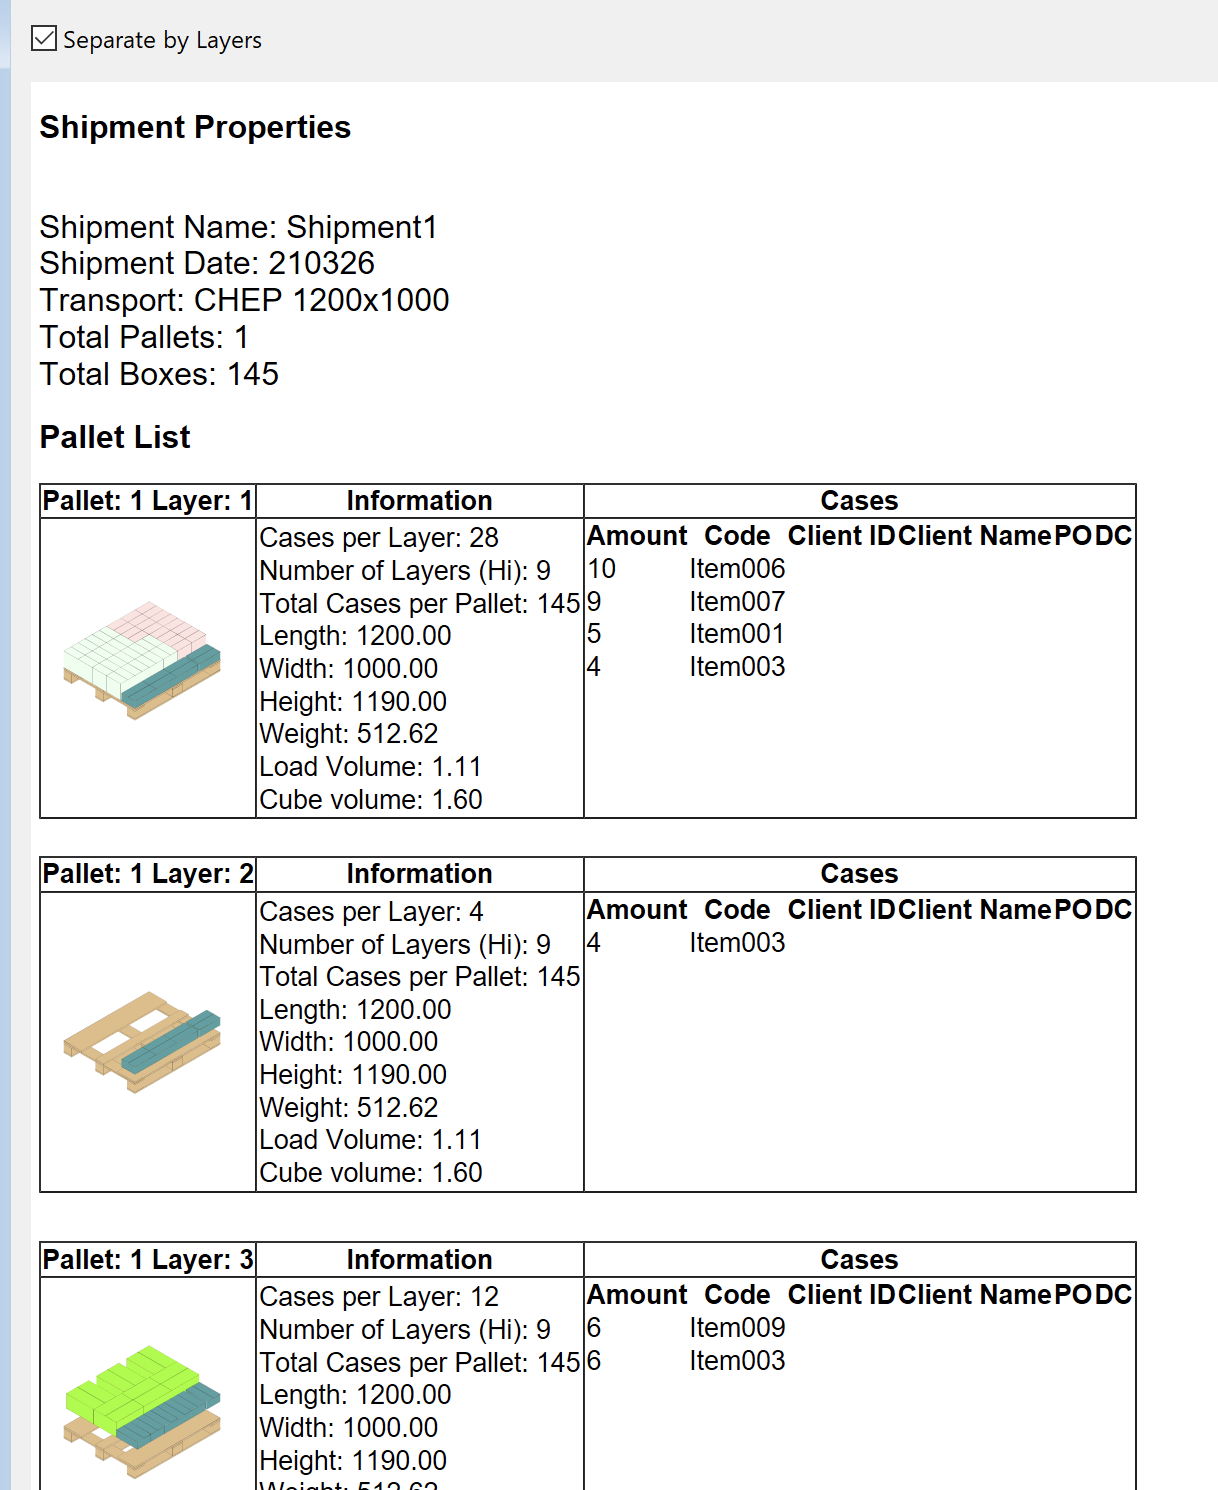
Pallet Report
Watch the video
This example is also available as a YouTube video.YouTube Video