Using Full Product Pallets
In this example, we explain how to add box SKUs to the last tab of the Warehouse (Standard Cases and Pallets) window.
The first step is to run Quick Pallet Maker and open the Warehouse window by selecting Window -> Standard Cases and Pallets. Then we select and copy the box dimensions for the SKUs that we wish to add, as shown below. The spreadsheet file can be downloaded through this link.
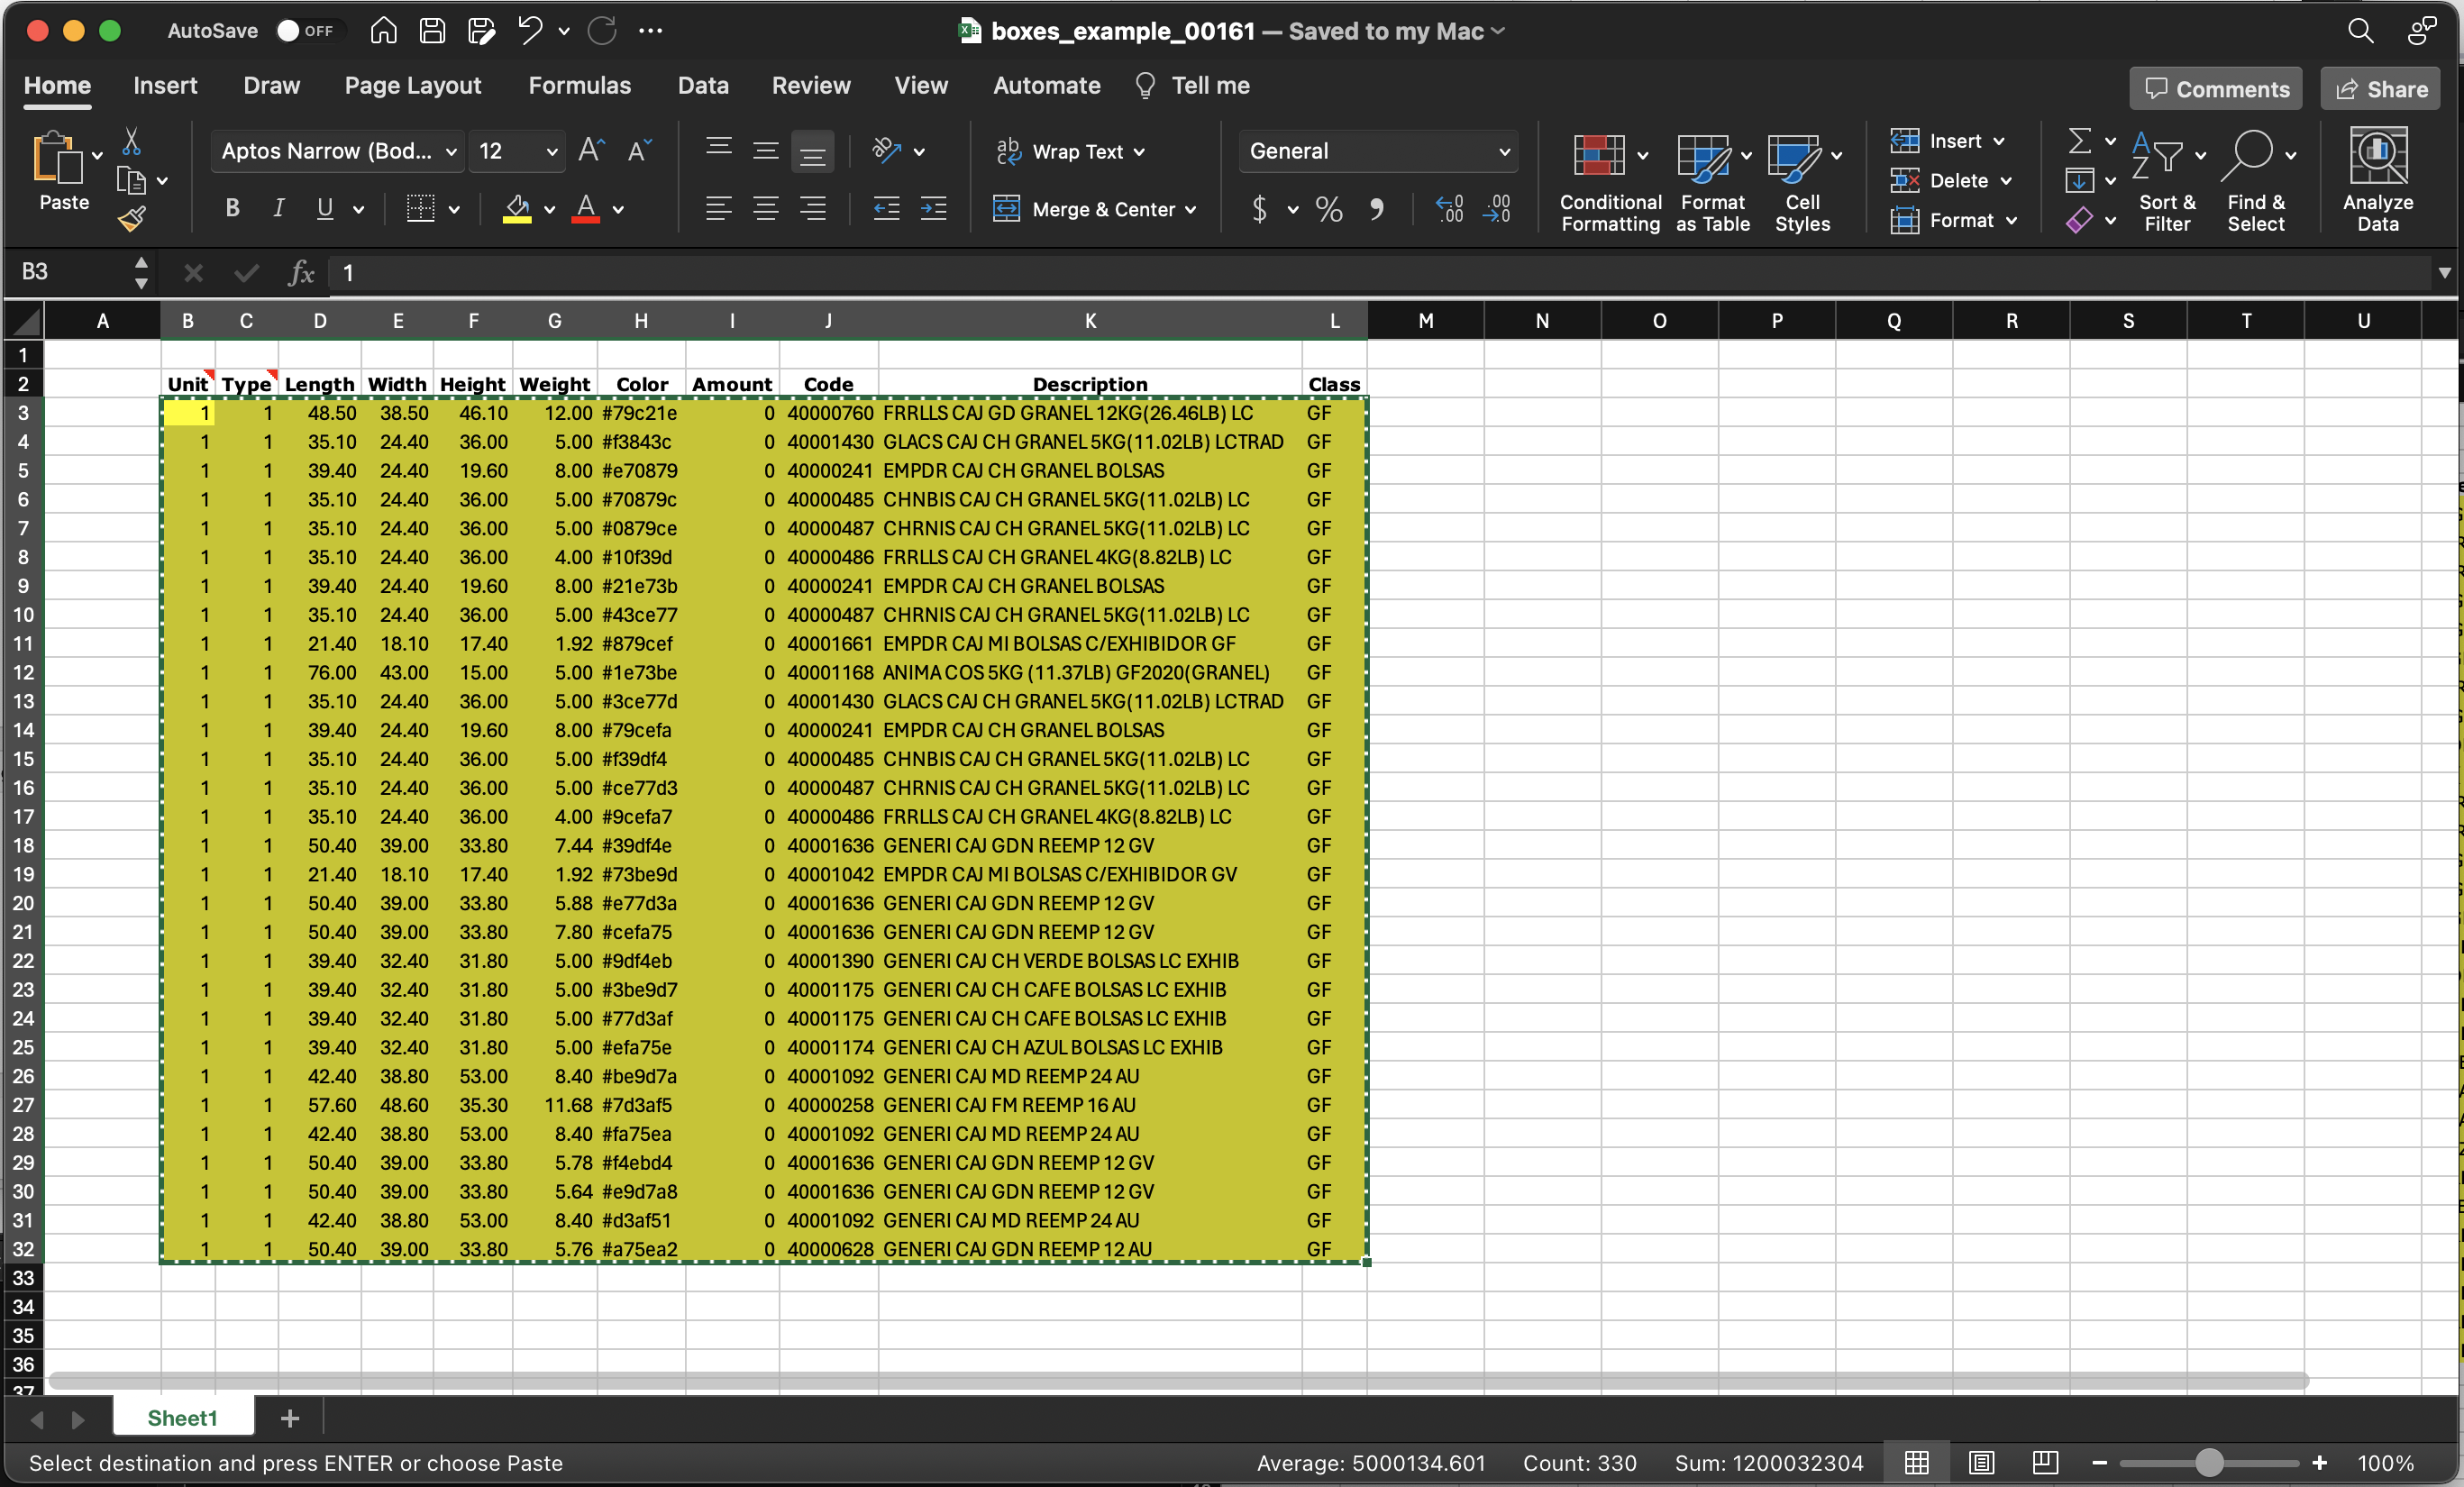
Data to Copy from Spreadsheet
The next step is to right-click the table in the SKU tab of the Warehouse (Standard Cases and Pallets) window and select Paste.
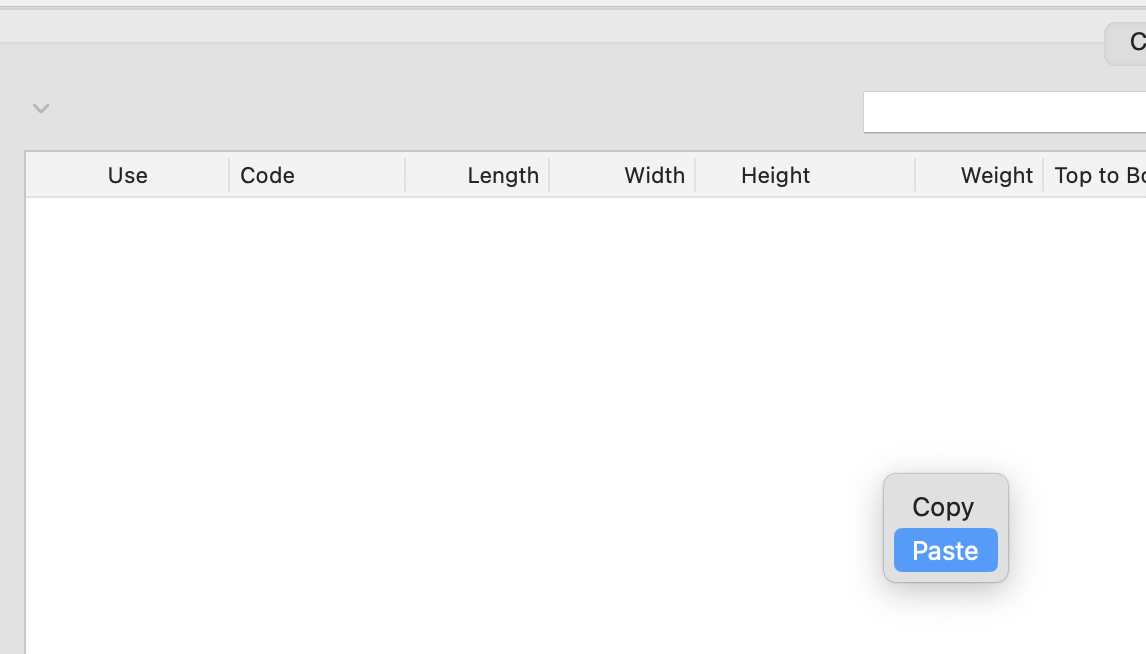
Paste data
If the correct format was used, the list of boxes will appear. You can click any of them to look at the drawing. Different colors are assigned to distinguish across boxes.
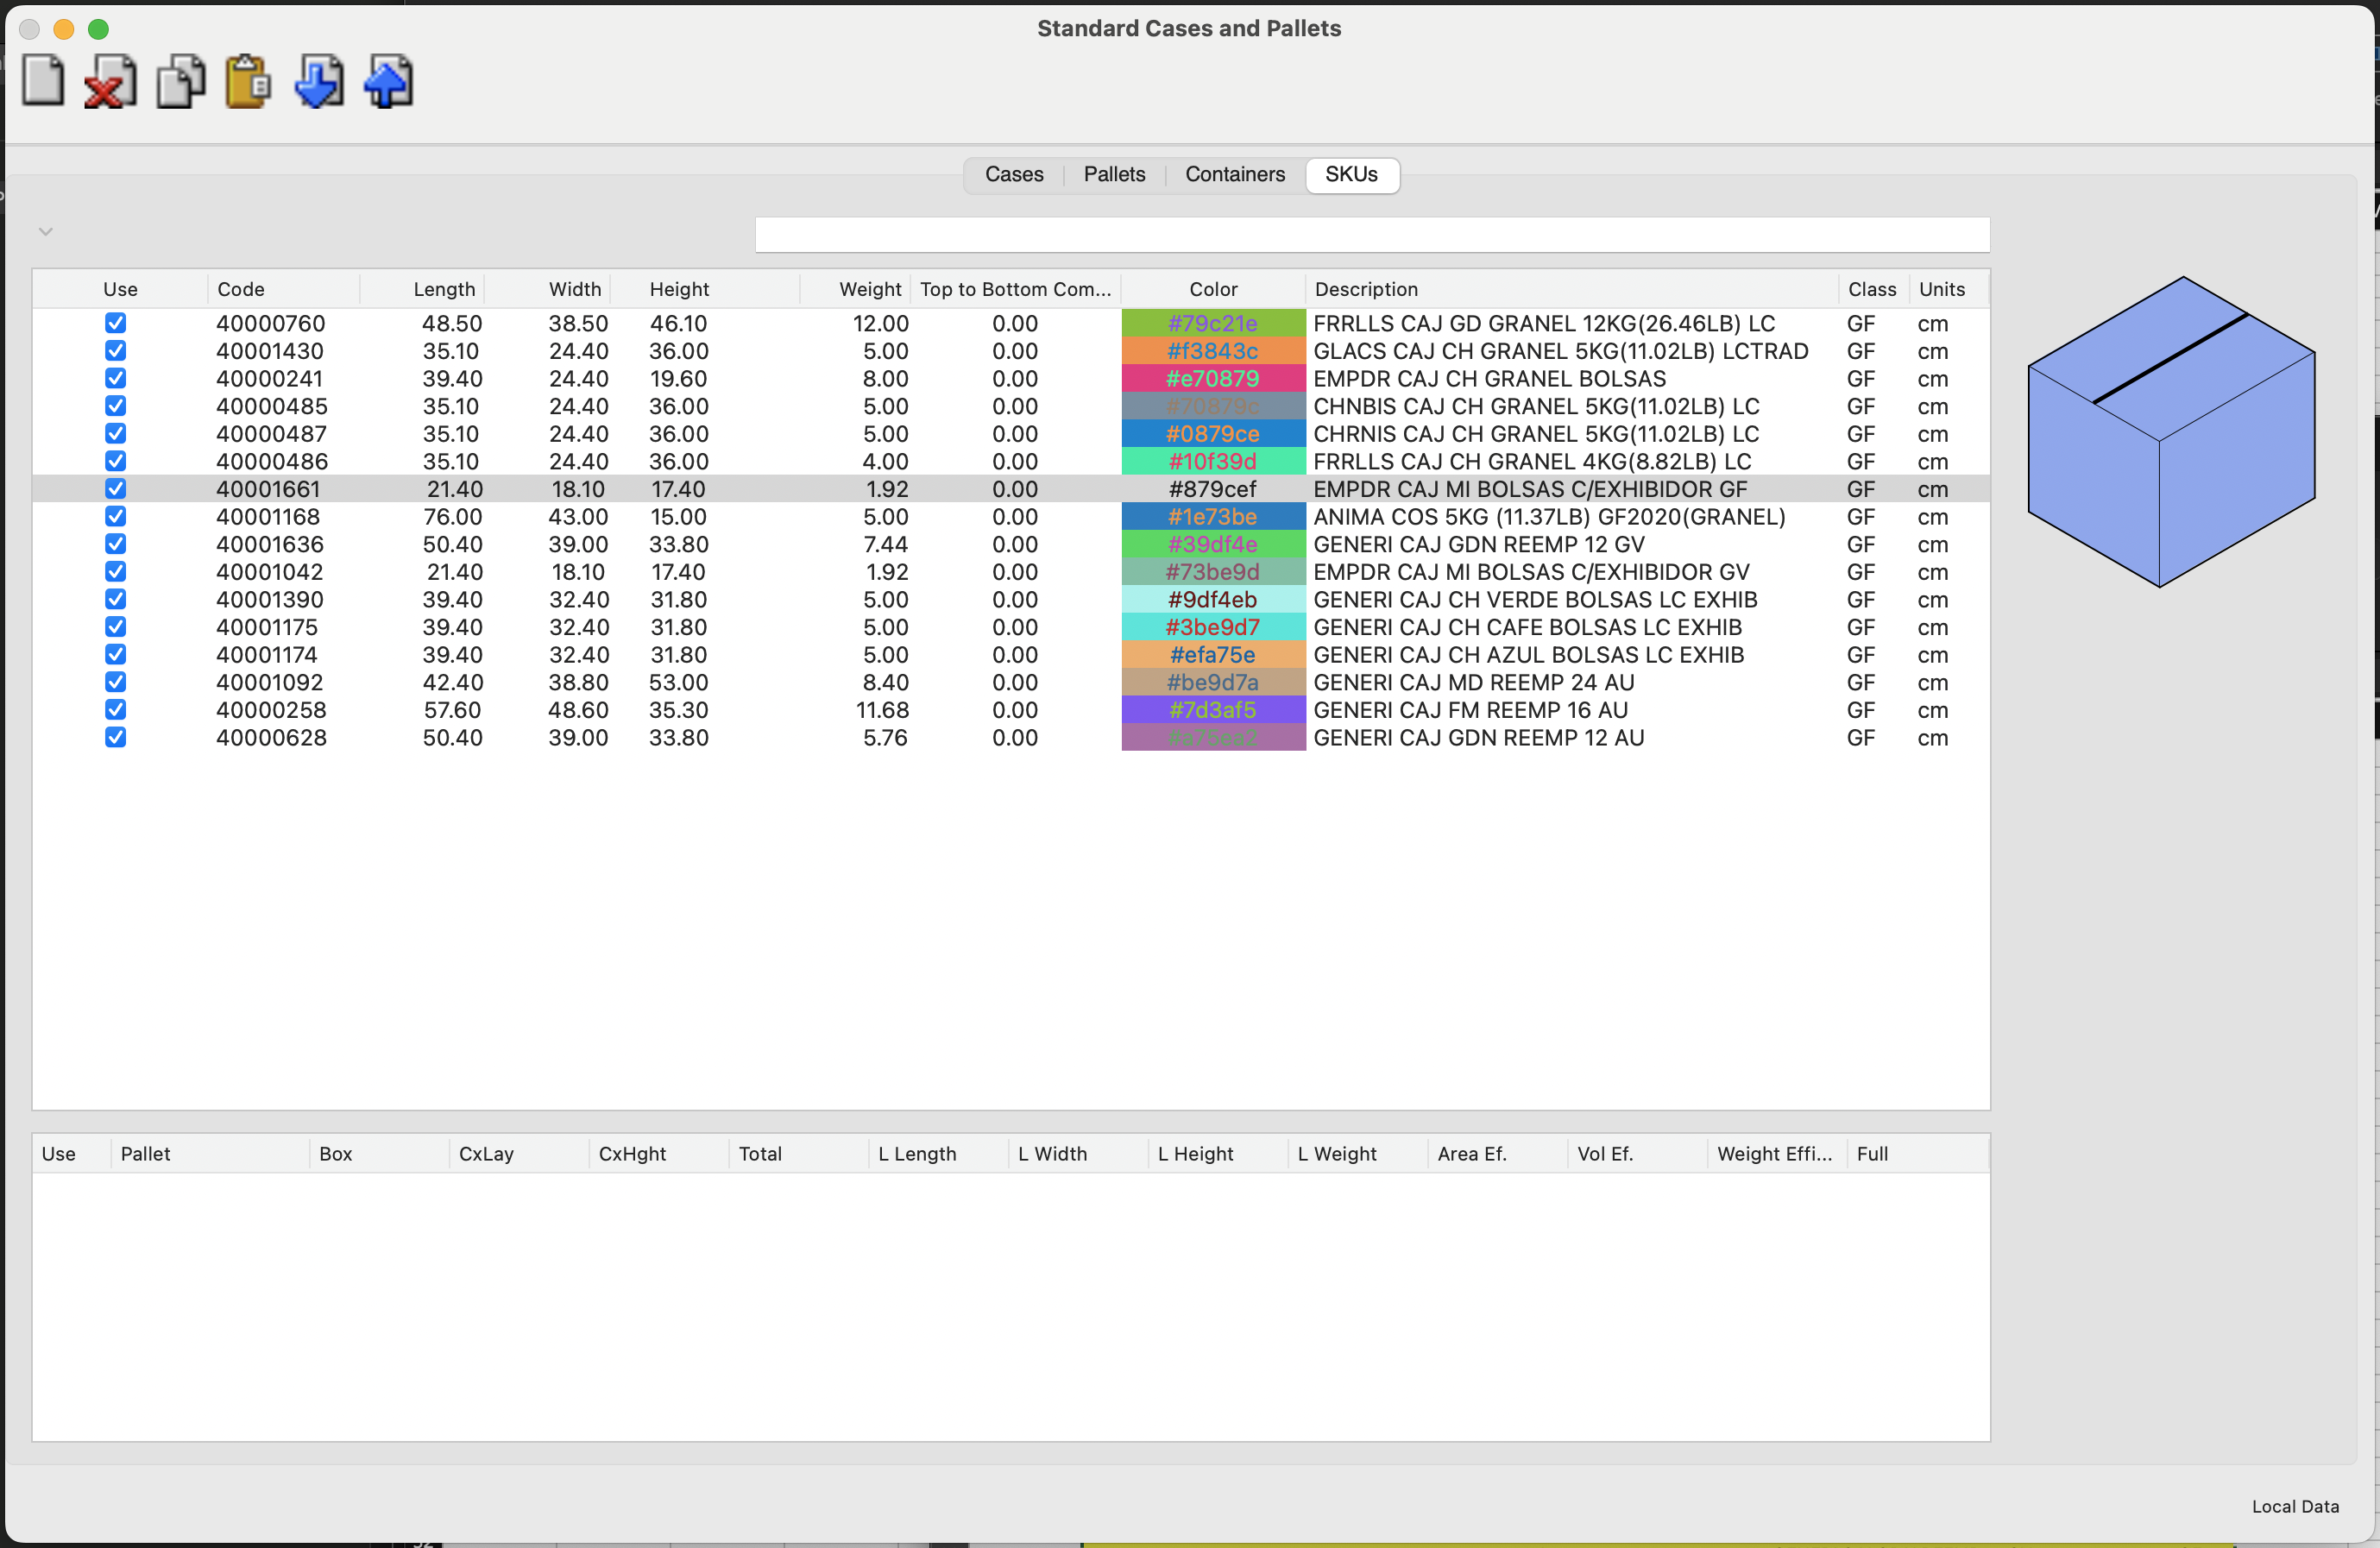
List of boxes
We now will create the standard full pallet by using the Box on Pallet window, which can be opened by selecting File -> New Data Sheet -> Box on Pallet.
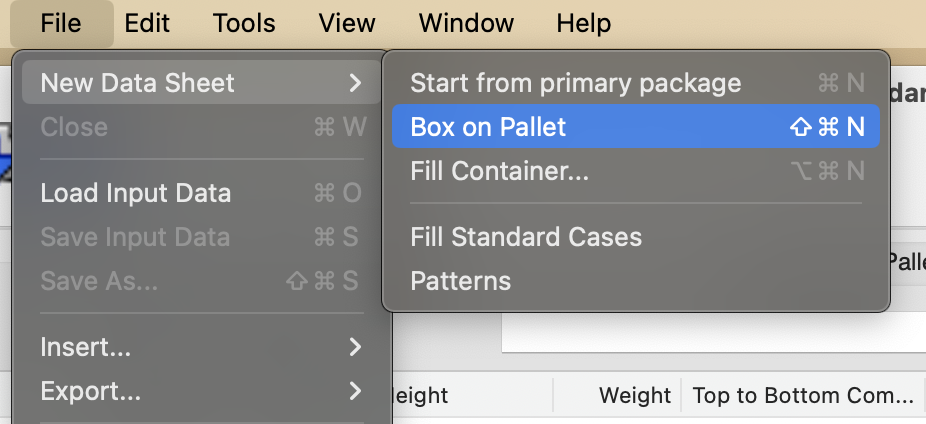
Open Box on Pallet window
The next step is to select the box we want to calculate from the Standard Cases and Pallets window and drag it onto the central table of the Box on Pallet window we just opened. Make sure first that you have set the units in the document window correctly.
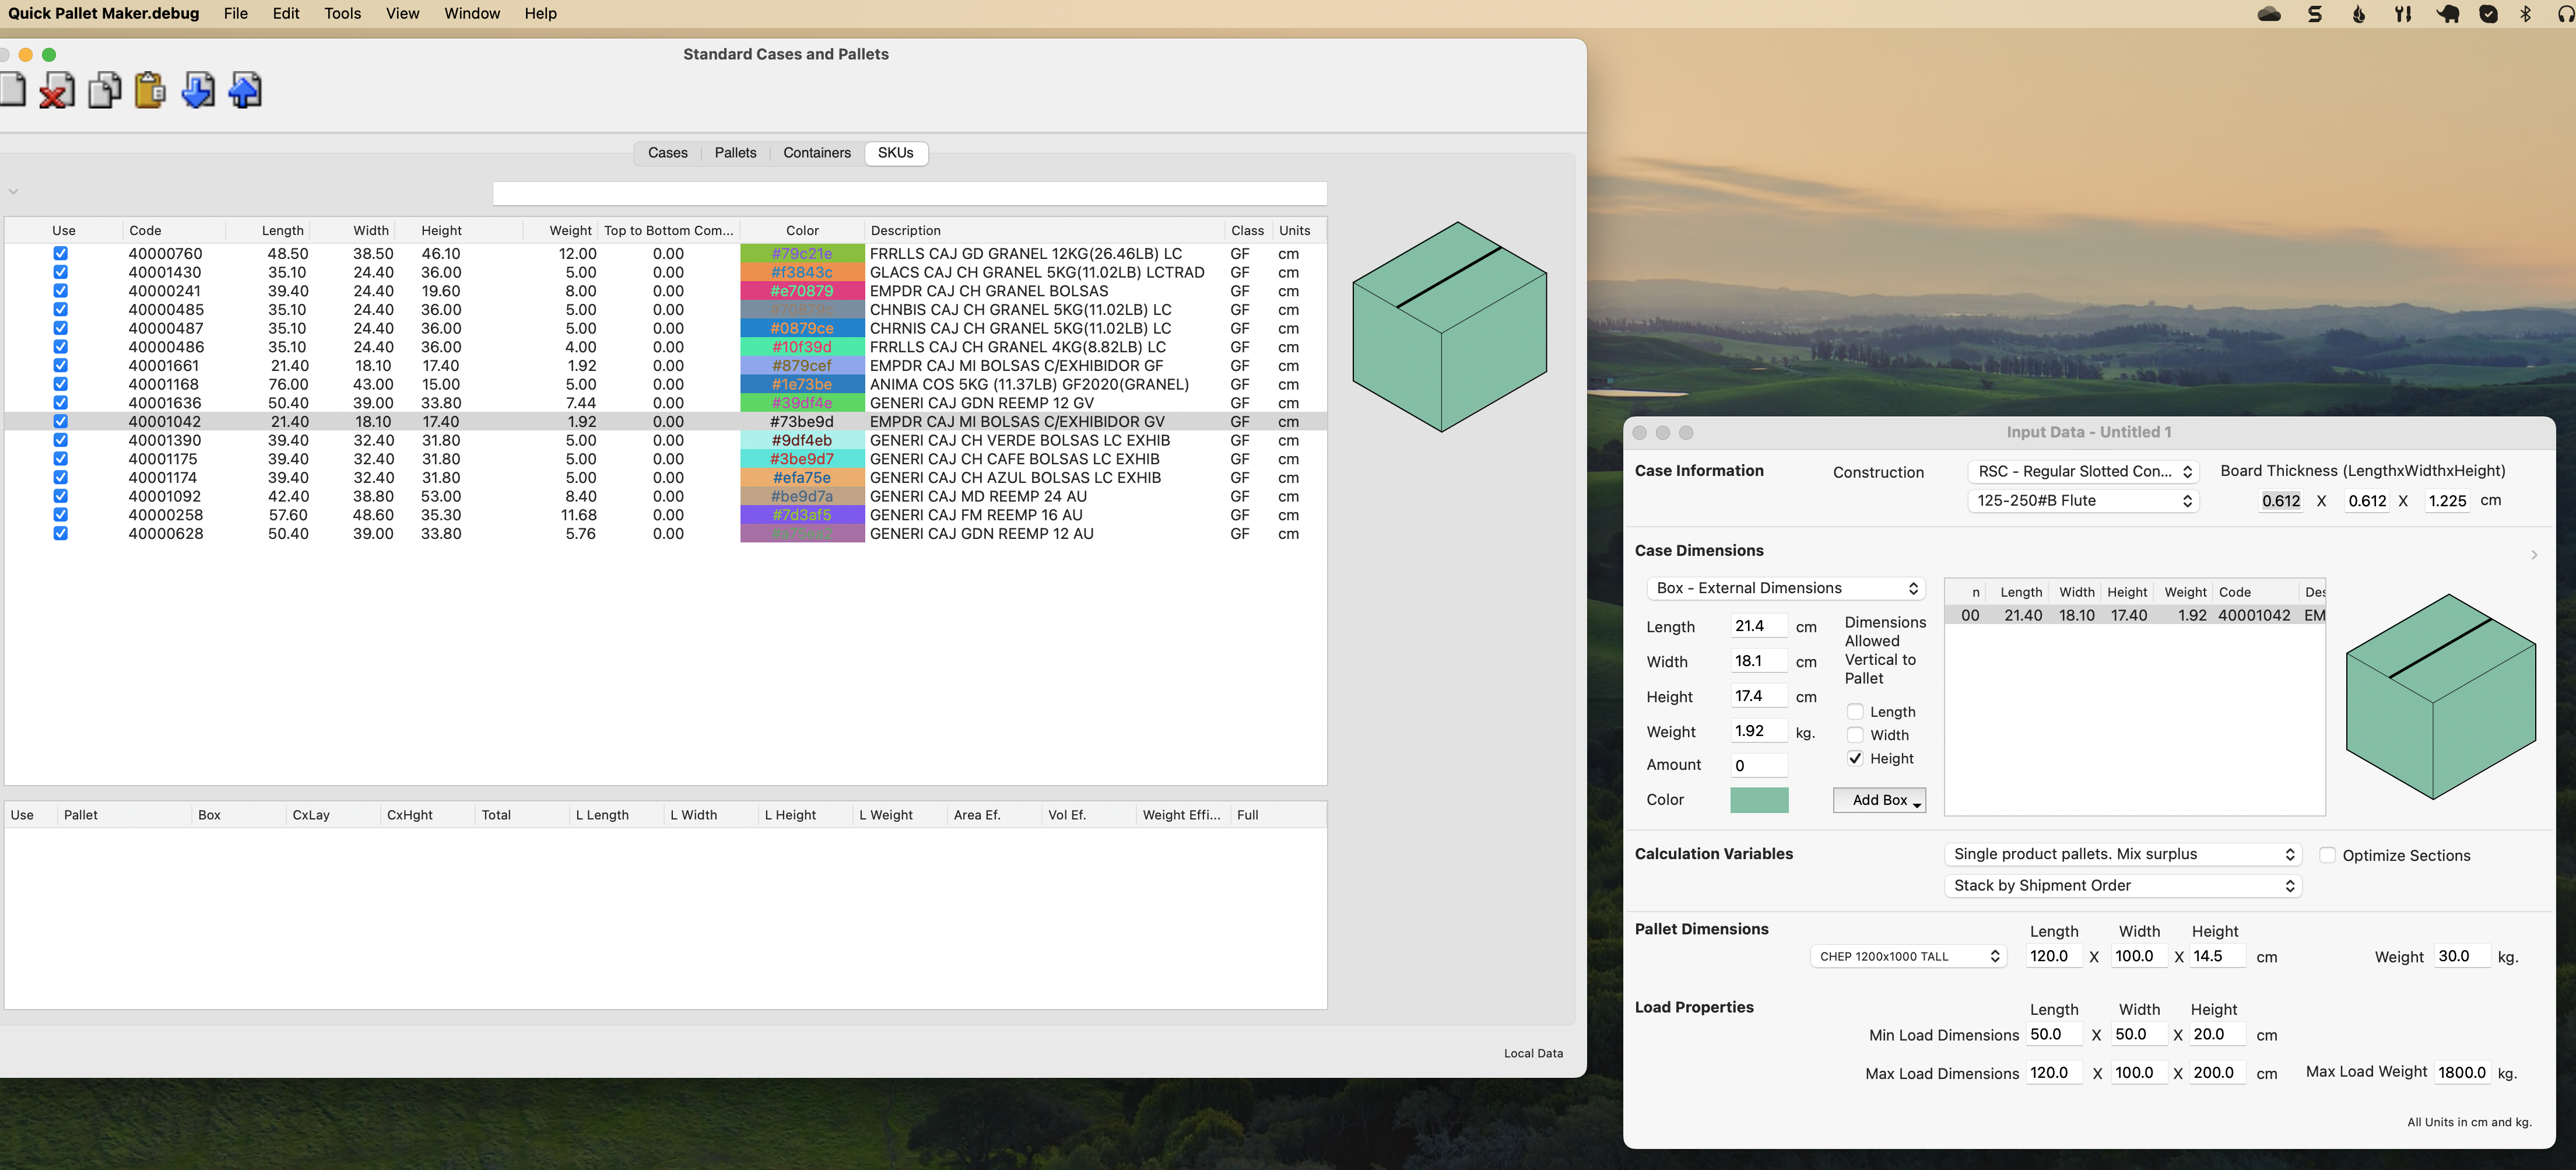
Drag and Drop Box
The pallet dimensions are then set to the standard pallet that we want to store for the next calculation. In this example, we use the 1200x1000 pallet.

Select pallet
Then we use the Tools -> Recalculate command to calculate the boxes on pallets.
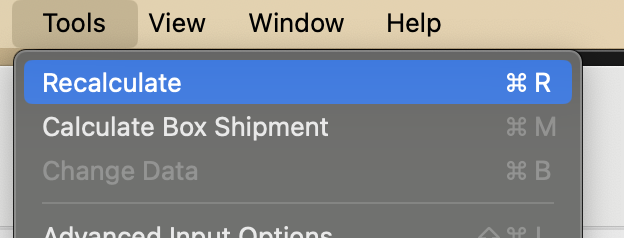
Tools -> Recalculate
This should produce three different pallets. The third pallet contains the highest number of boxes per pallet of the three options. In this case, it includes 168 boxes vs the 150 boxes of the lengthwise arrangement and 144 boxes of the transversal arrangement.
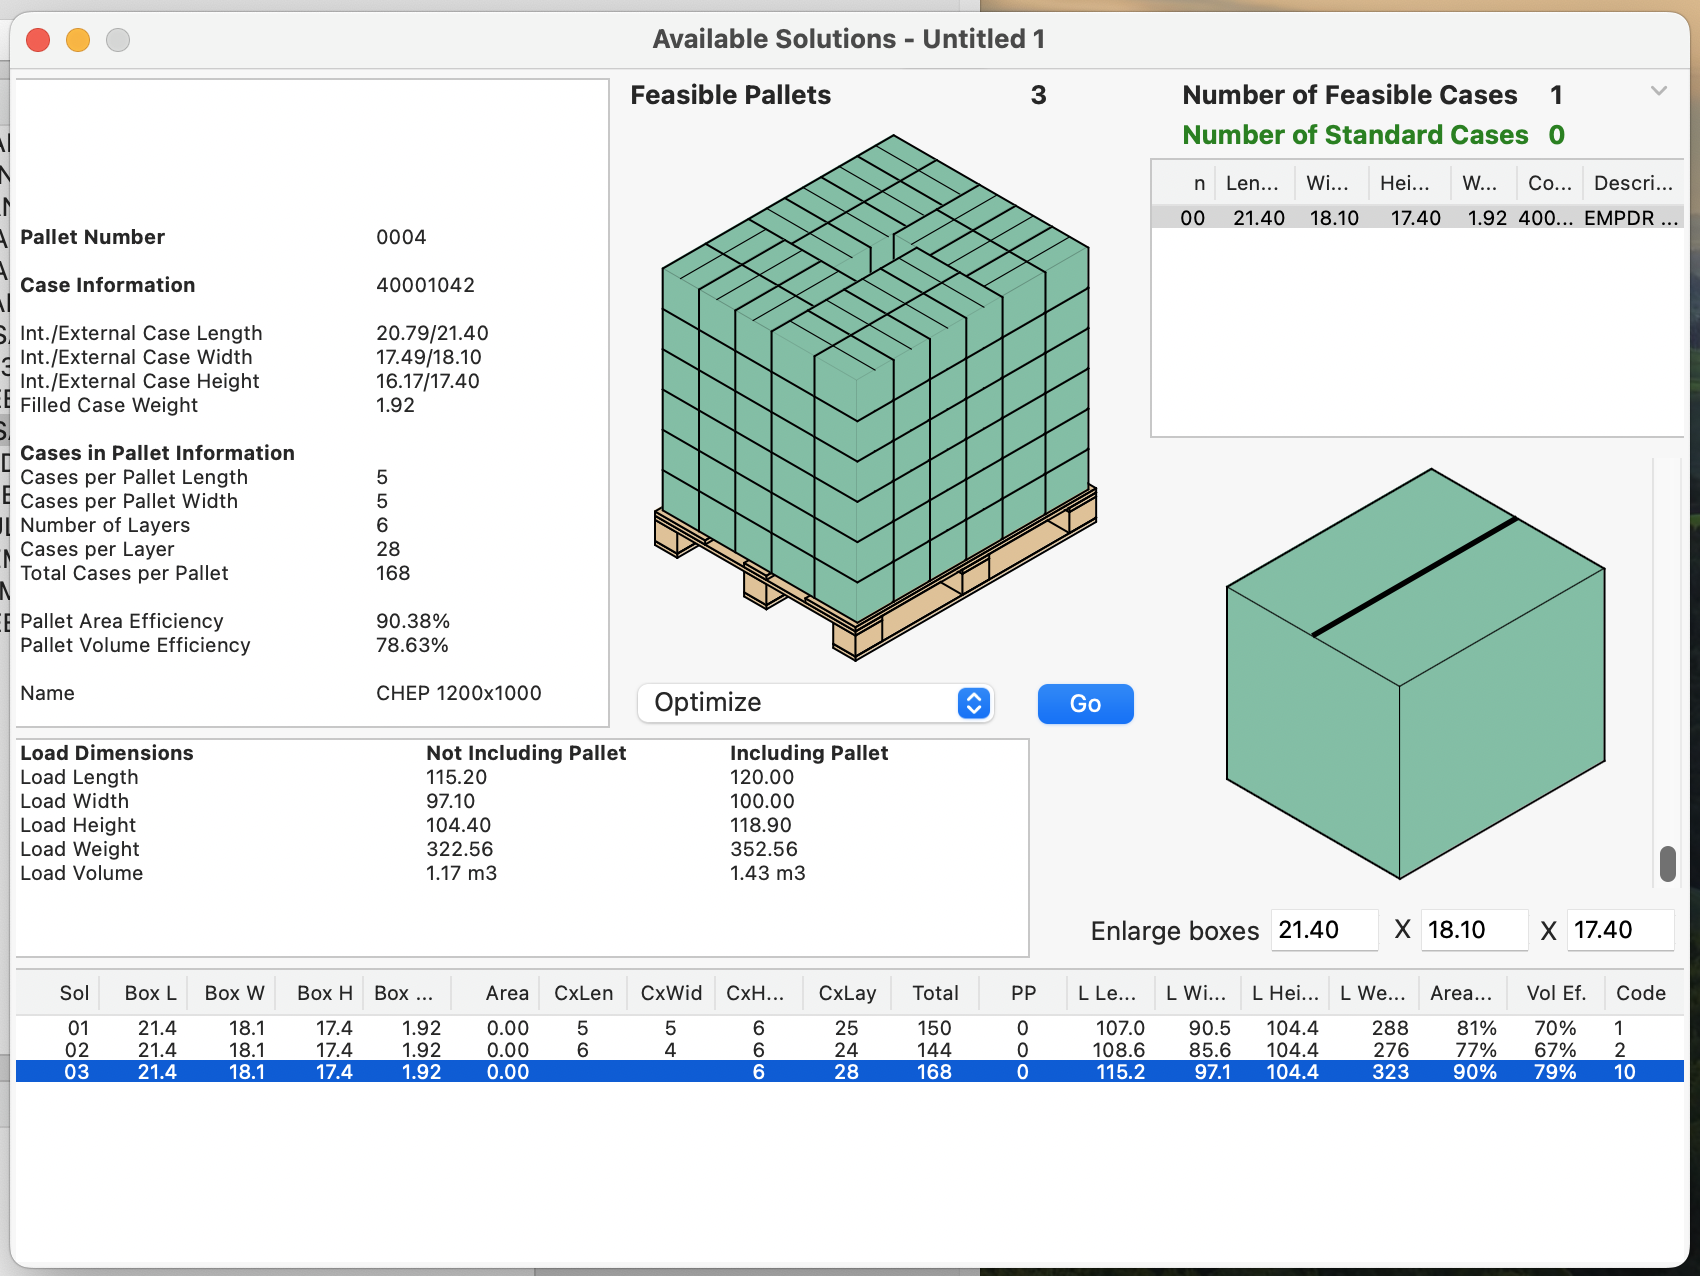
Optimized pallet
But for the purposes of this example, we do not want to use the optimized pallet, but the one with boxes placed lengthwise, even if it has less boxes. Sometimes, the manufacturer specifies a certain pallet configuration, which is different than the one produced by Quick Pallet Maker.
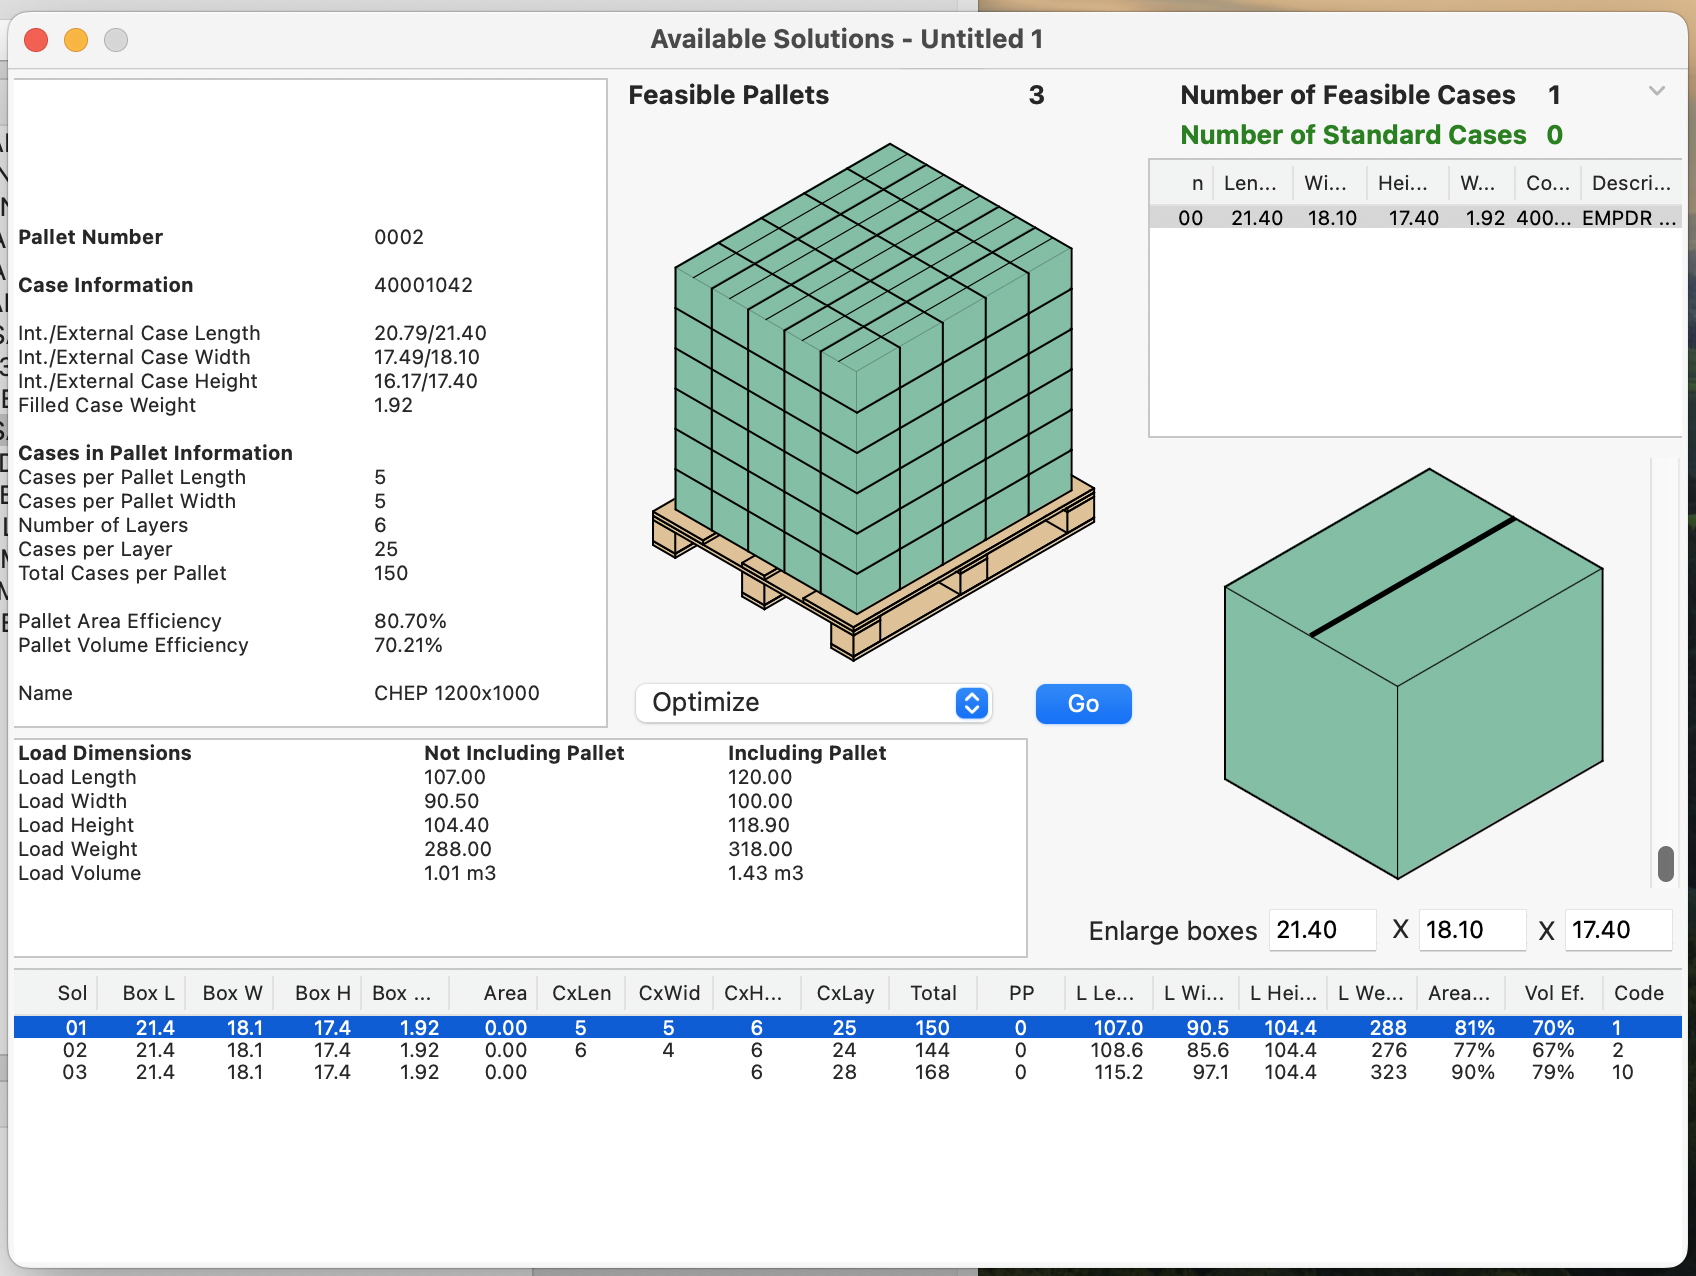
Lengthwise Arrangement
To keep this pallet for further use, we select the line, drag and drop it to the pallet table that is below the SKU table. This table can be made visible by clicking on the chevron that is at the top left corner of the SKUs tab. Once it has been dragged and dropped, the drawing should appear. To enable it, check the first column marked Use.
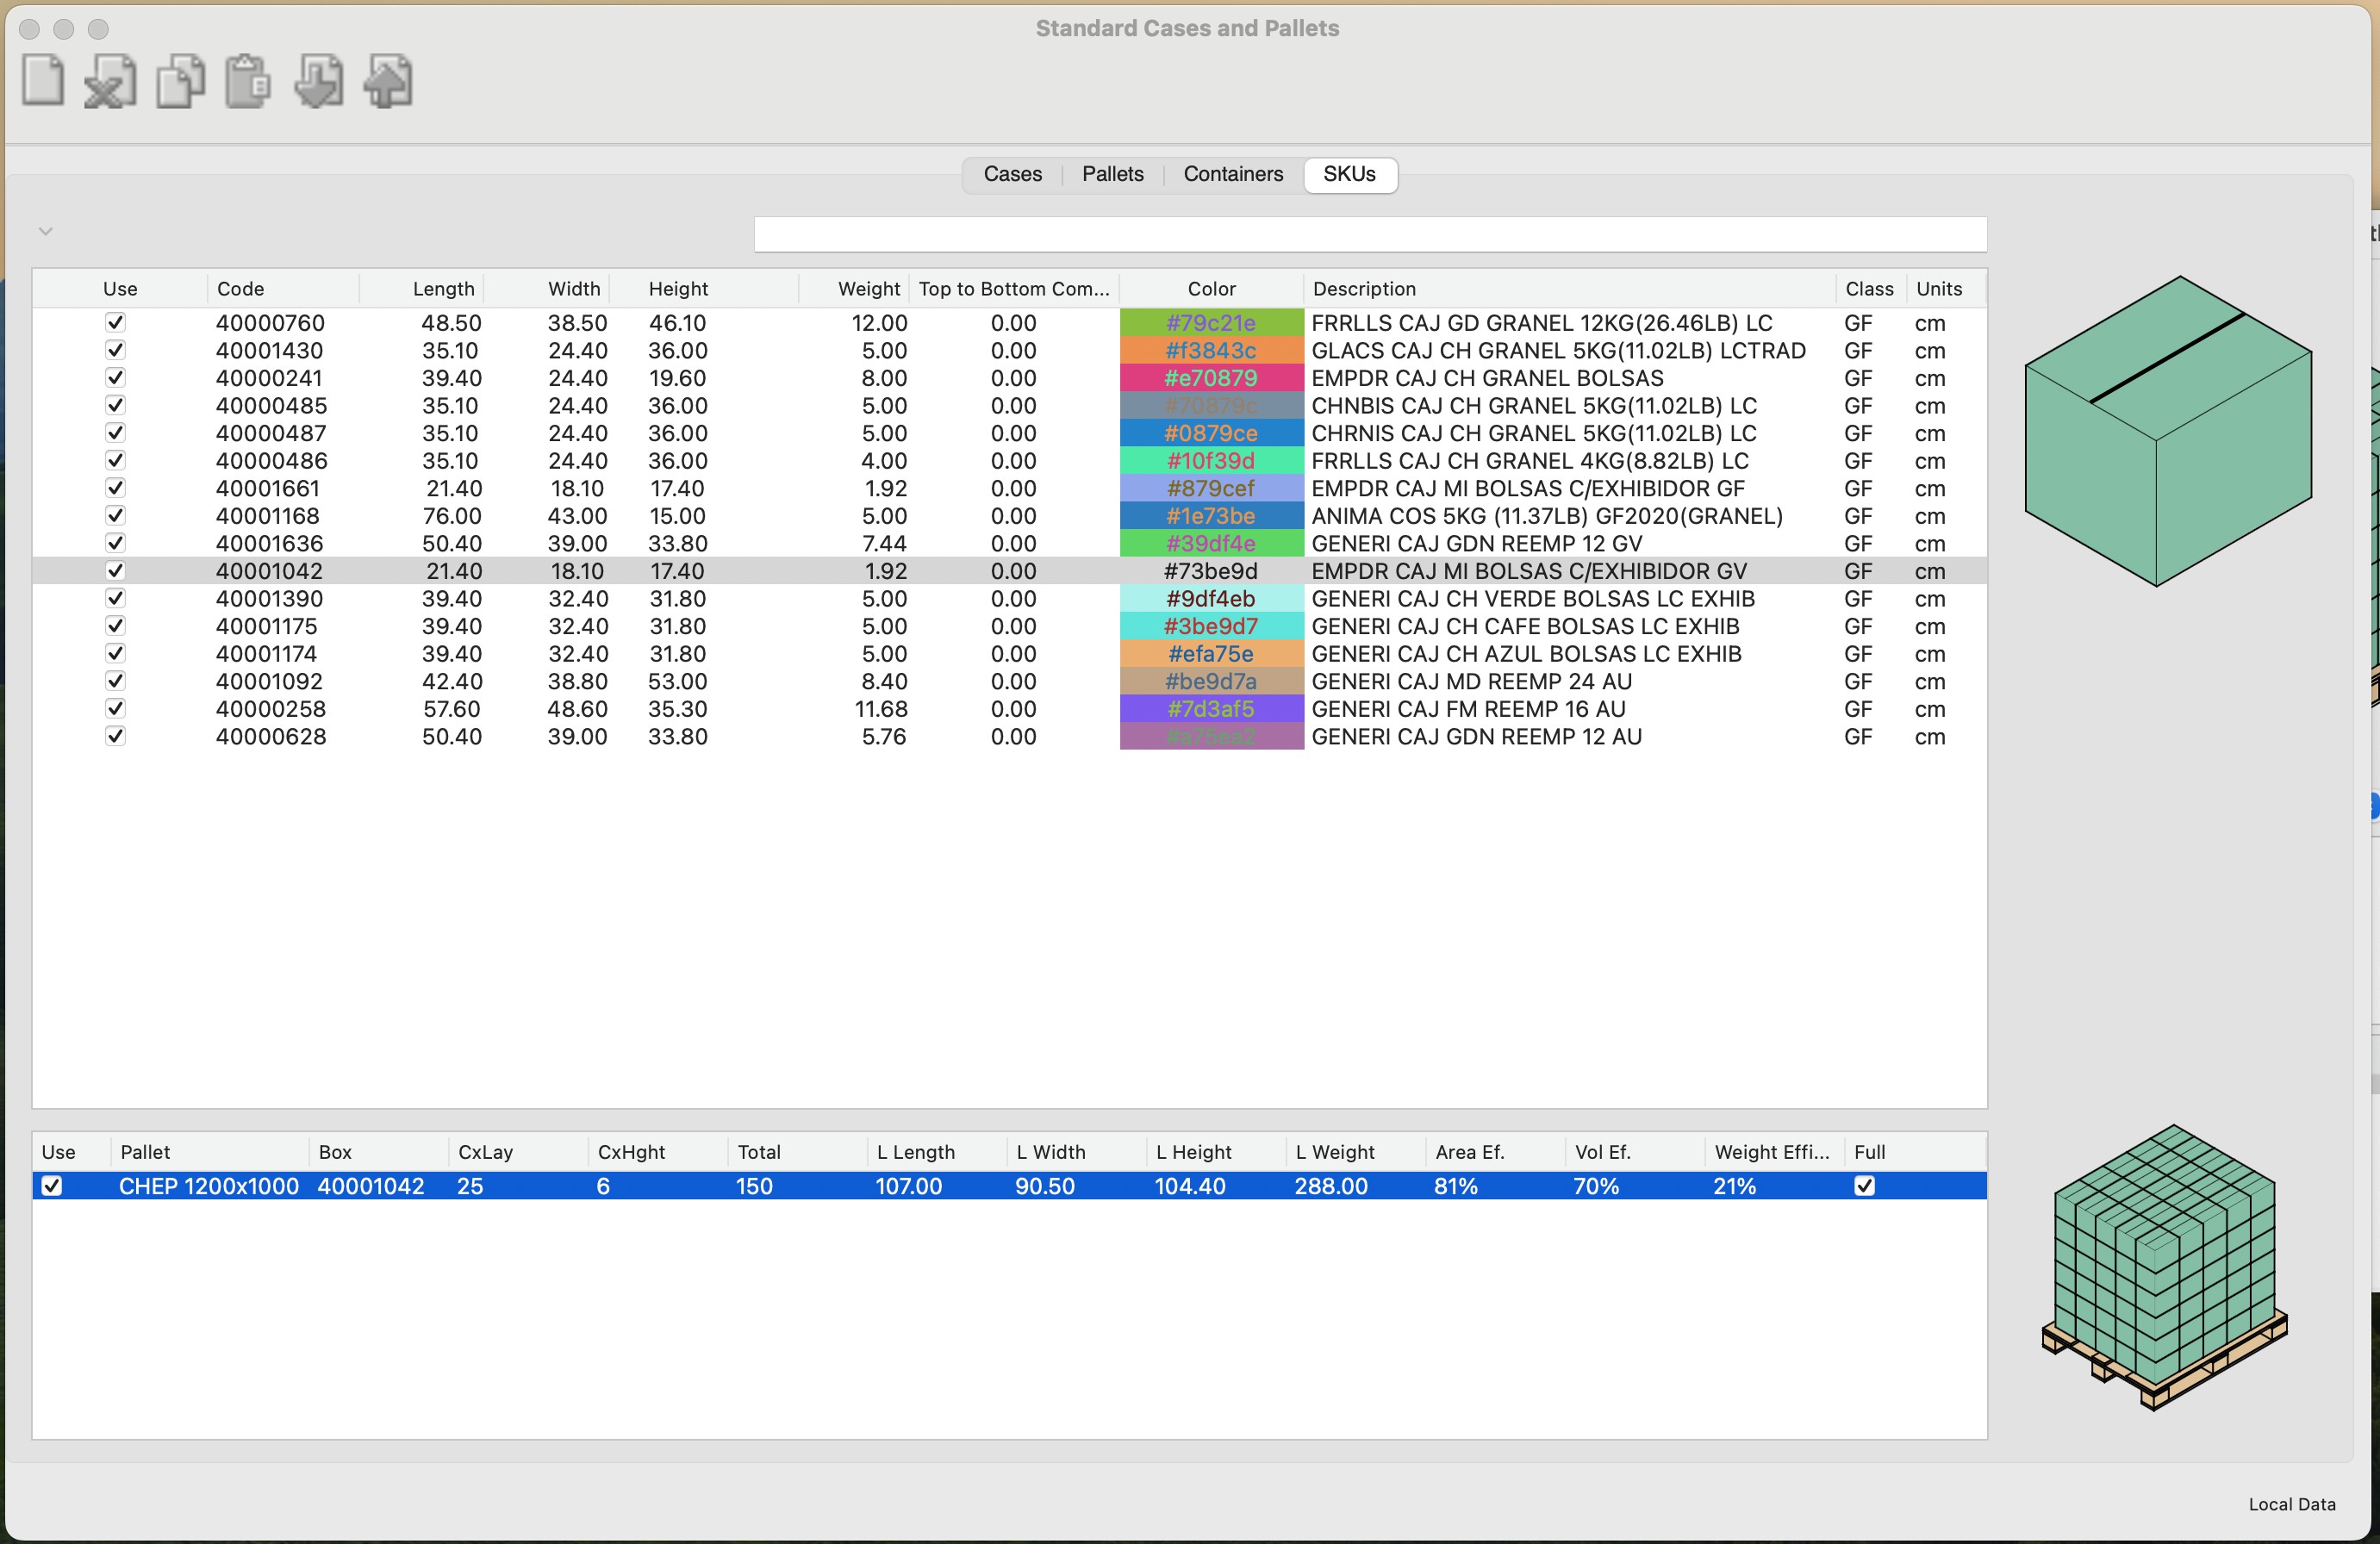
Full Product Pallet
Now we can test the full product pallet in a box shipment. The purpose of this configuration is to standardize full pallets so they don't have to go through the picking process. If QPM calculated full pallets differently from the ones already available, then it would represent an issue when specifying the loads to the warehouse. In the Box on Pallet window, we first select Tools -> Change Data and then change the number of boxes to 400.
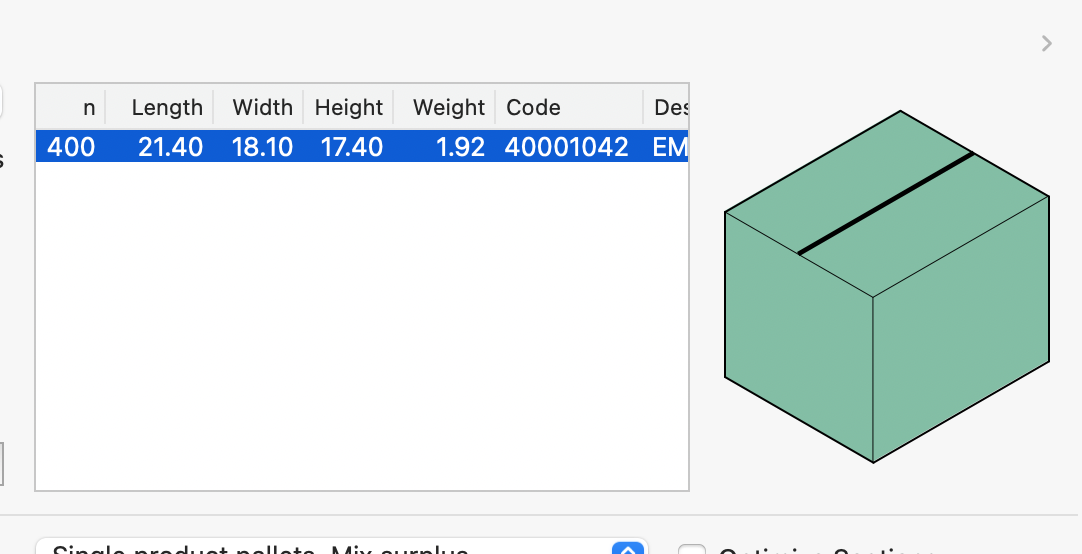
Box Table
The command we will use now to calculate the box shipment is Tools -> Calculate Box Shipment. This will generate as many pallets are needed to pack all the boxes.
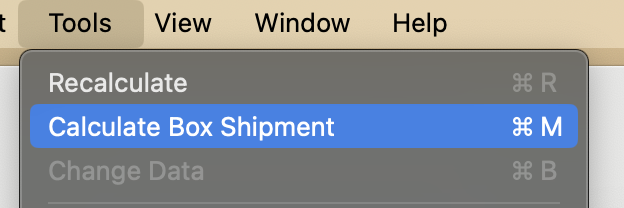
Calculate Box Shipment
This calculation will product three pallets. The first two will have 150 boxes and the last one will carry the remaining 100 boxes. If we hadn't use saved pallets, the first two pallets would've contained the maximum number of boxes, which is 168.
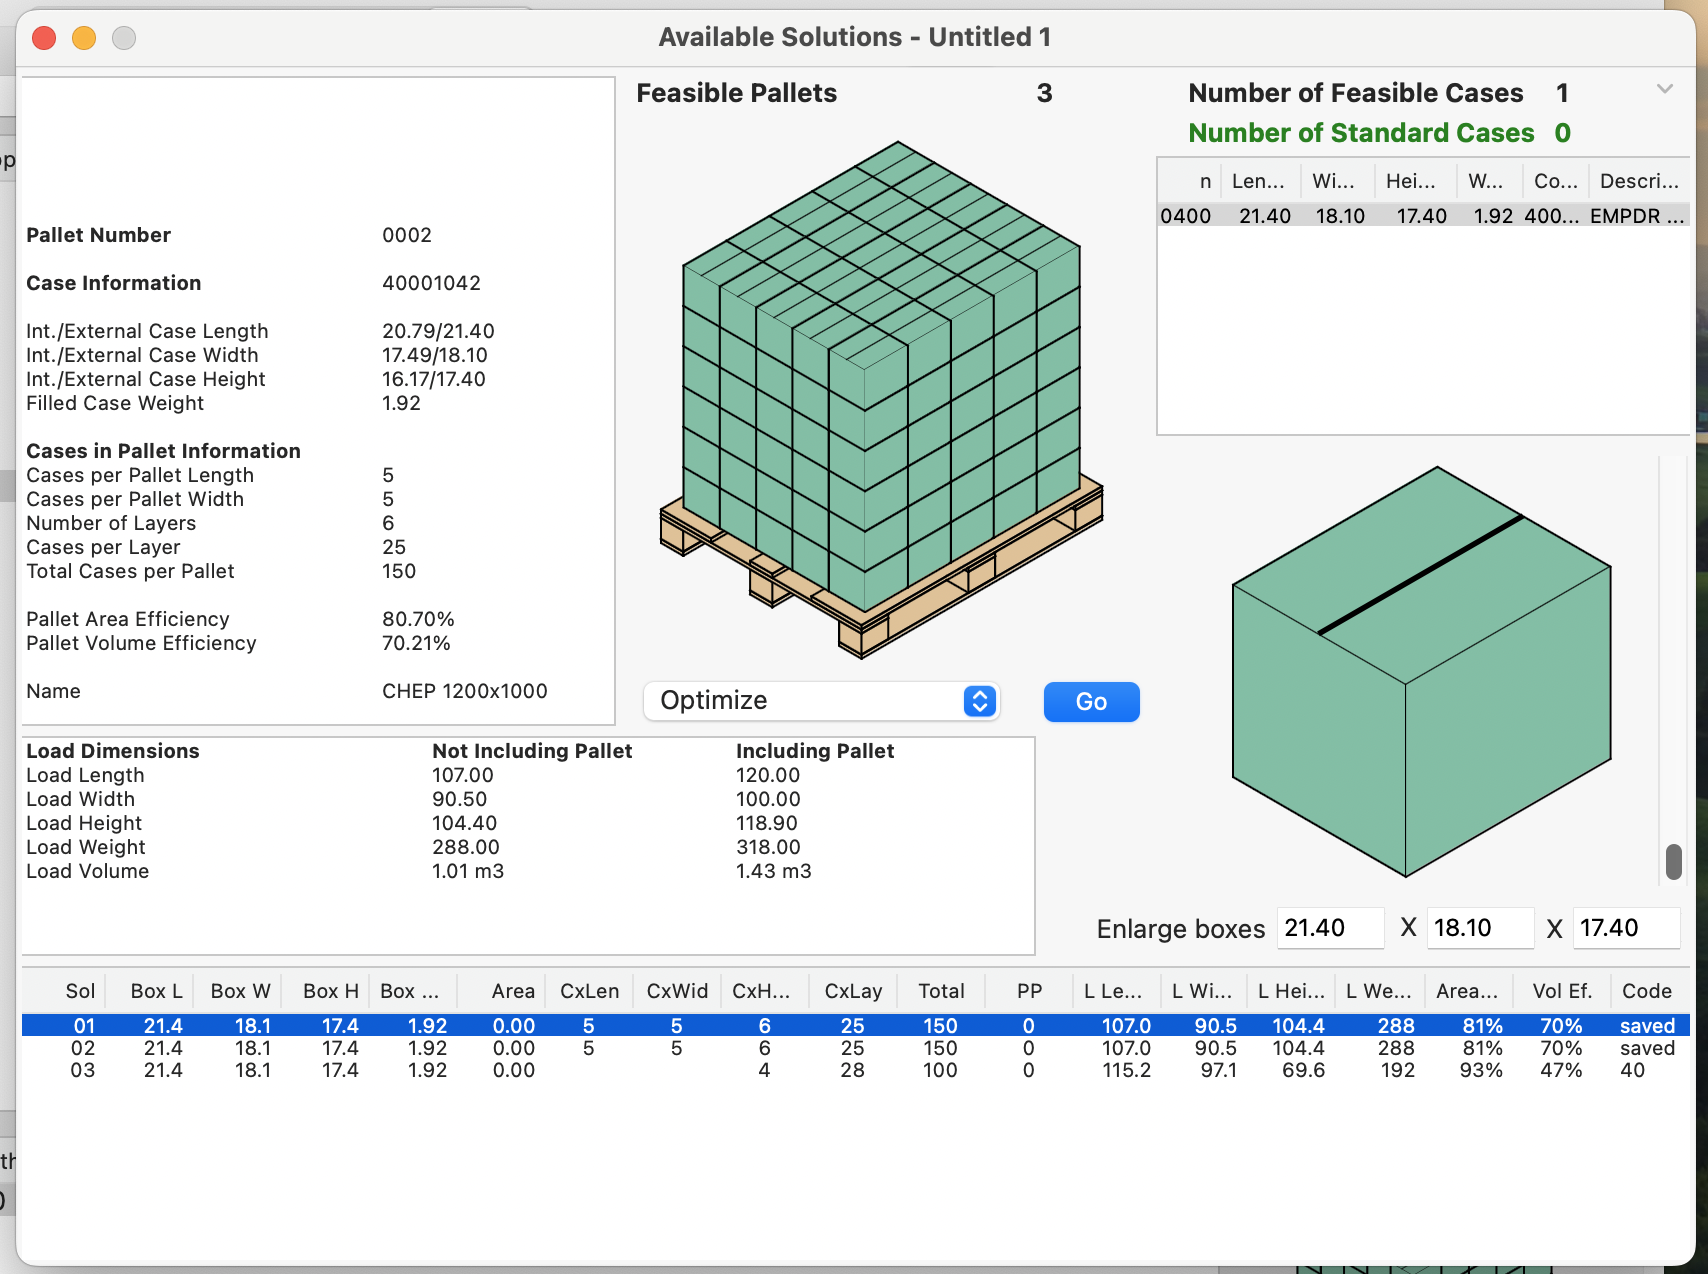
Shipment Result
Finally, we can view a report of the three pallets by choosing the File -> Print Report command.
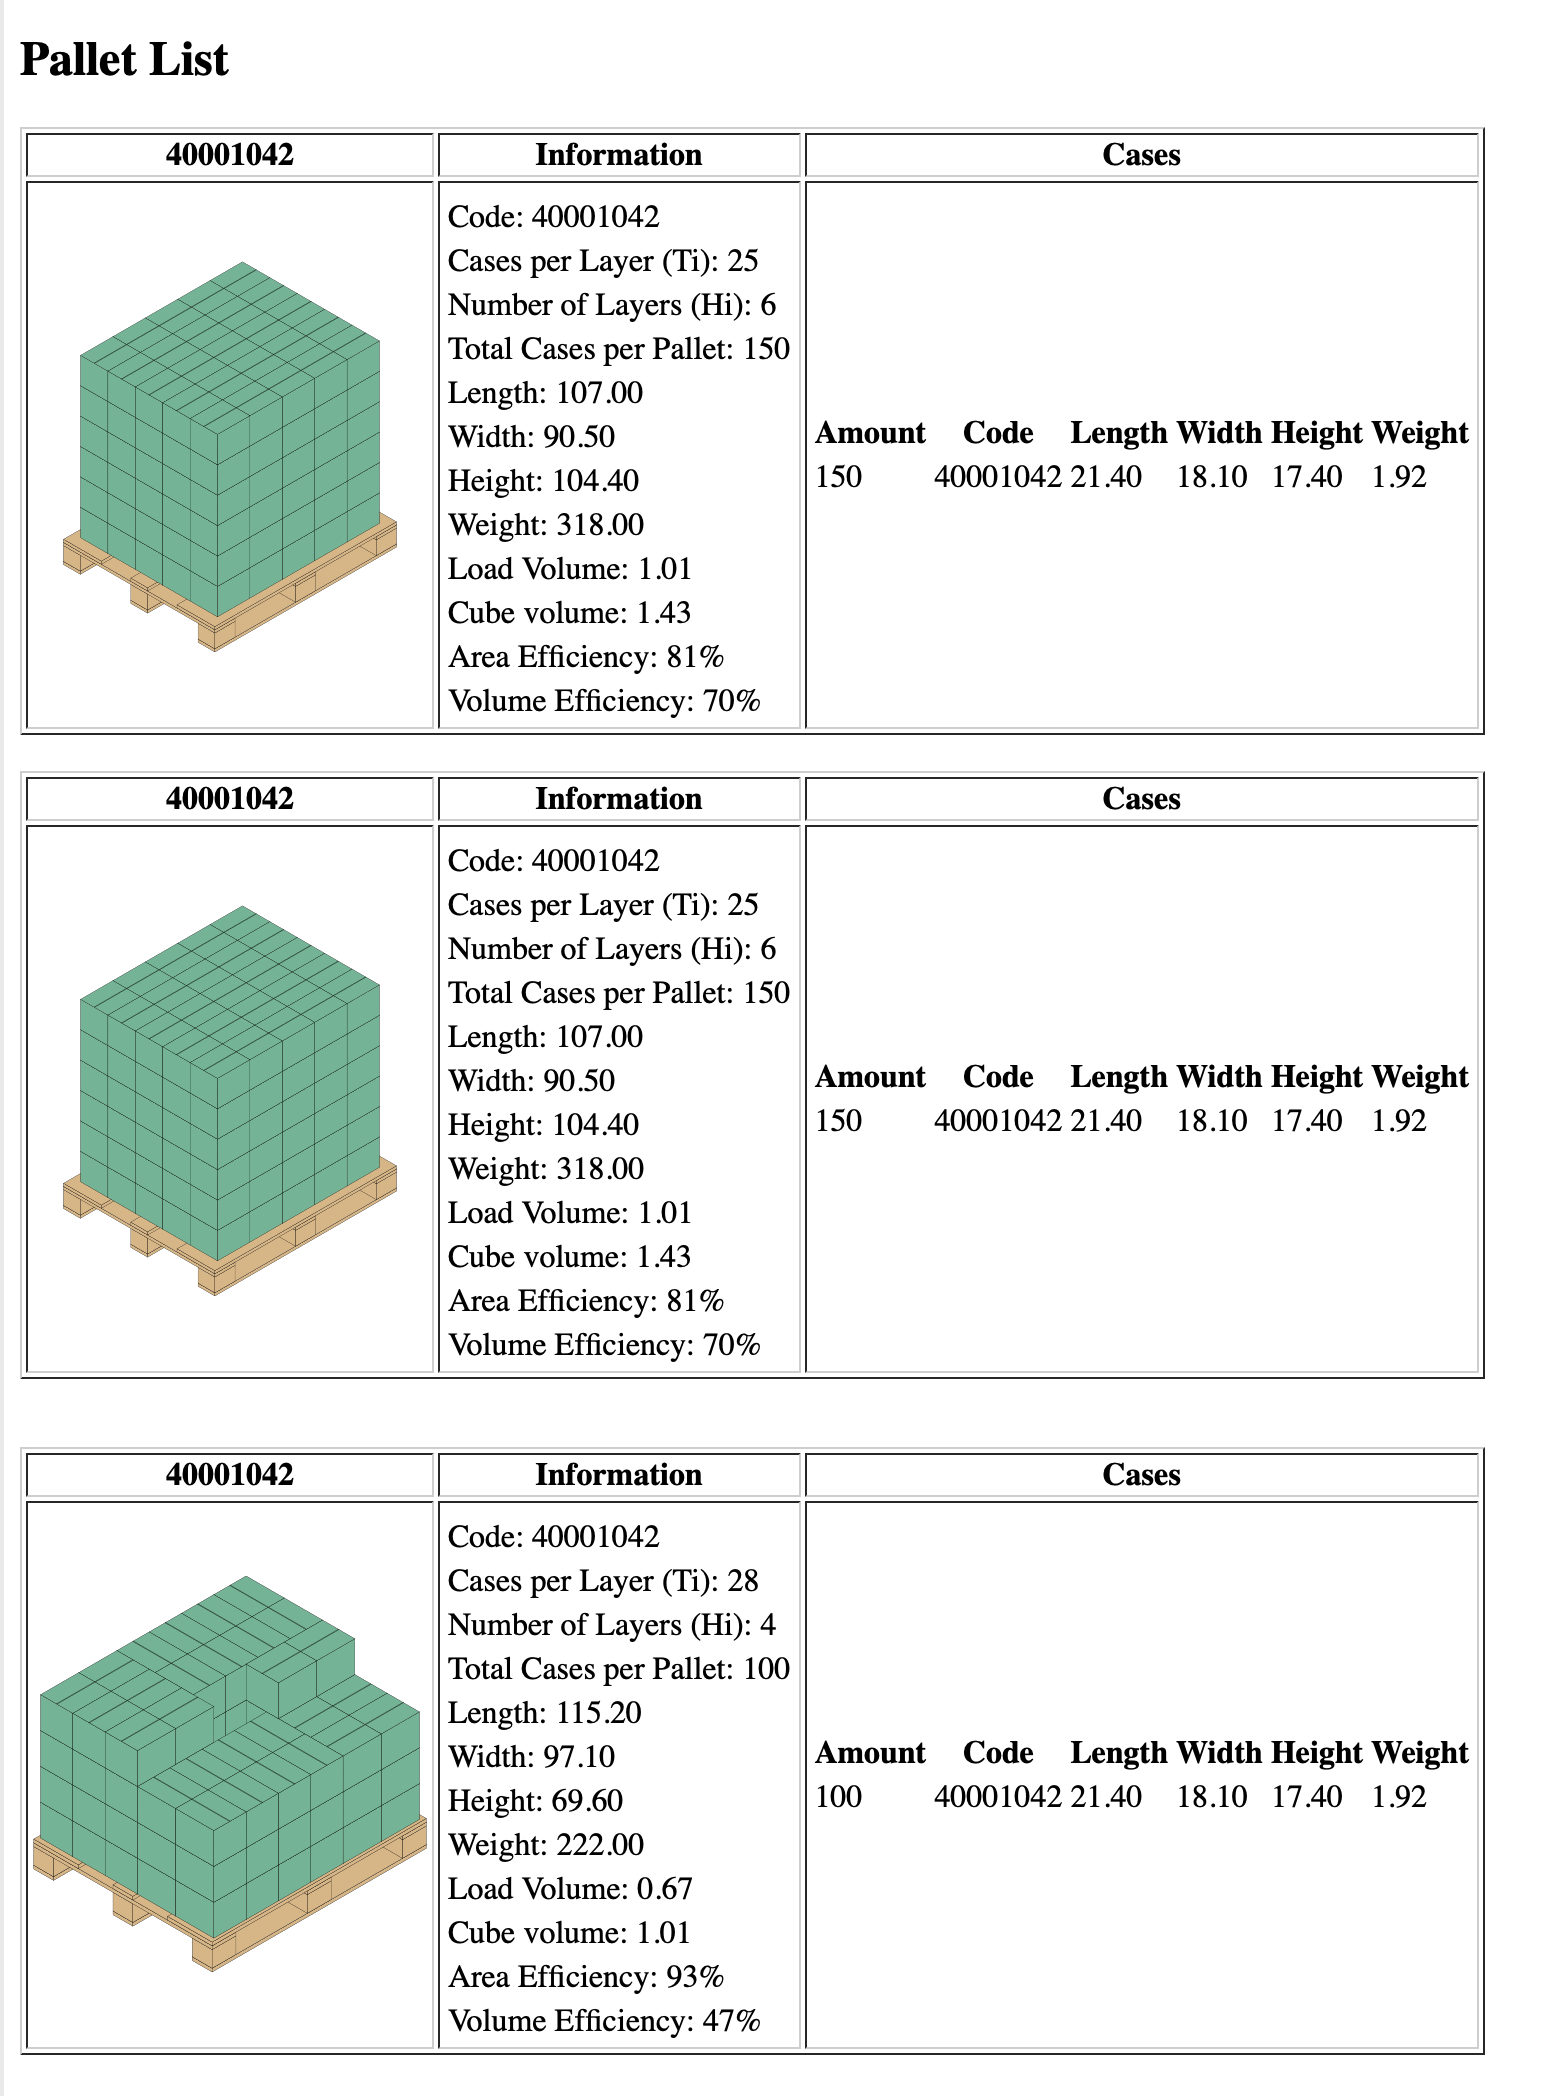
Pallet Shipment Report
Watch the video
This example is also available as a YouTube video.YouTube Video