Using The Layer Editor - Part II
This example explains how the Layer Editor can be used for mixing different boxes in the same pallet with custom configurations. In this case, the shipper wants to send a pallet with trays and brown boxes to a customer. The customer requested 60 trays and as many brown boxes they could fit.
Start from the previous example, if you do not know the previous steps, please visit: Using The Layer Editor - Part I. Download this box, you will use it during this example.
Start from the previous example, if you do not know the previous steps, please visit: Using The Layer Editor - Part I. Download this box, you will use it during this example.
We are going to move the boxes at the bottom of the view to the bottom edge of the pallet to make a space in the middle. Set the Y value to 630 in the Position section.
Press the button Copy Selected Layer to duplicate the layer we just did to the entire pallet. If you would like to check the new pallet arrangement use Show Full Pallets option and Toggle Pallet View on the View menu.
Press the button Copy Selected Layer to duplicate the layer we just did to the entire pallet. If you would like to check the new pallet arrangement use Show Full Pallets option and Toggle Pallet View on the View menu.
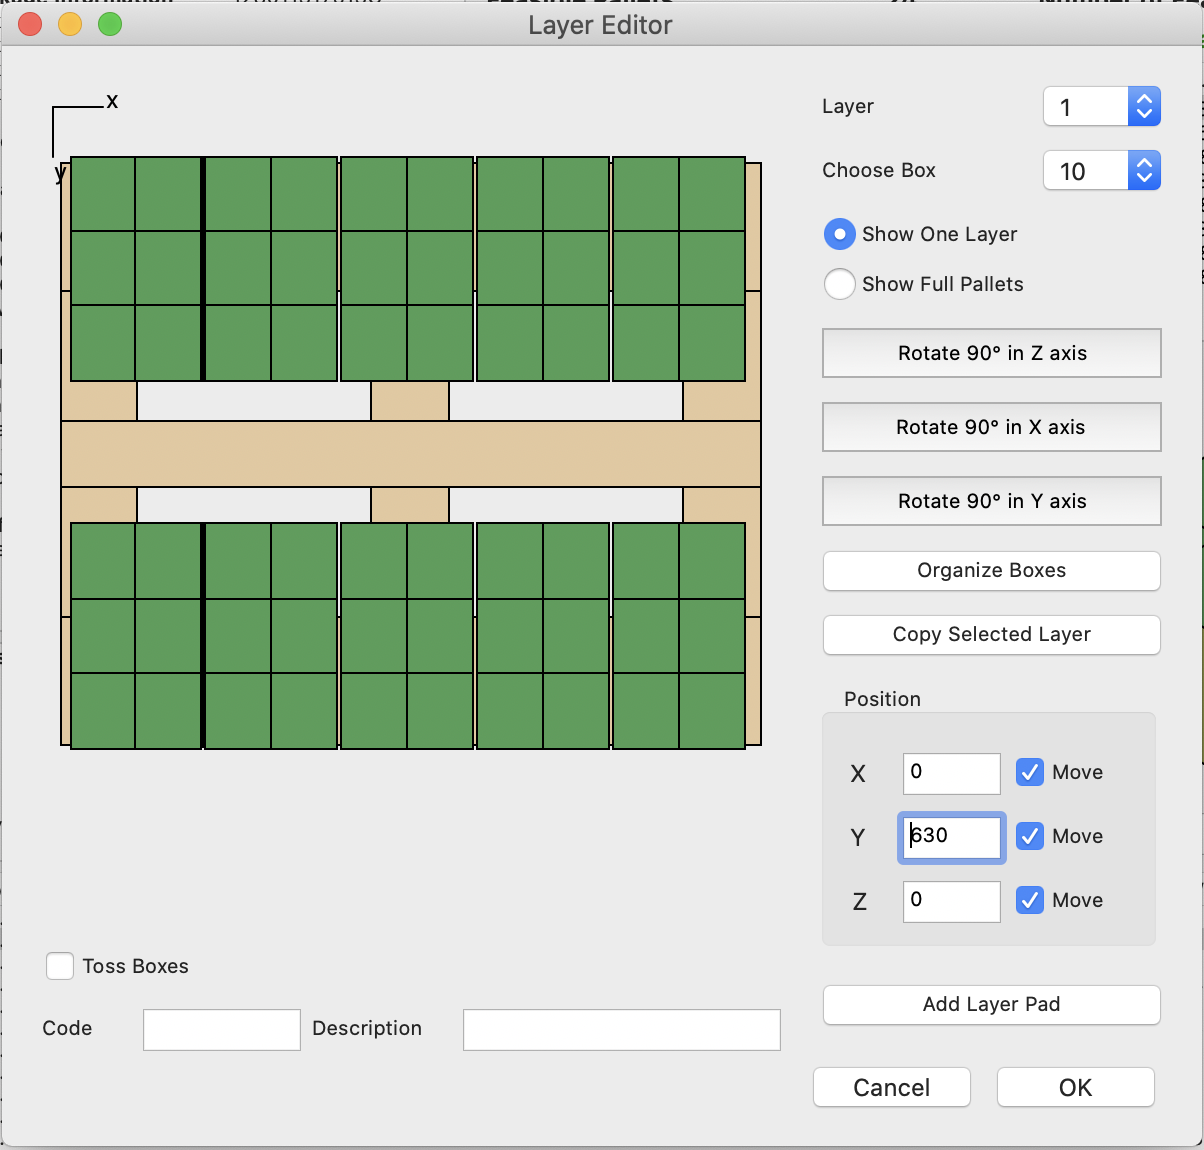
Layer Editor
To import the brown boxes go to File > Insert > Box and select the brown box you just downloaded at the beginning of this exercise.
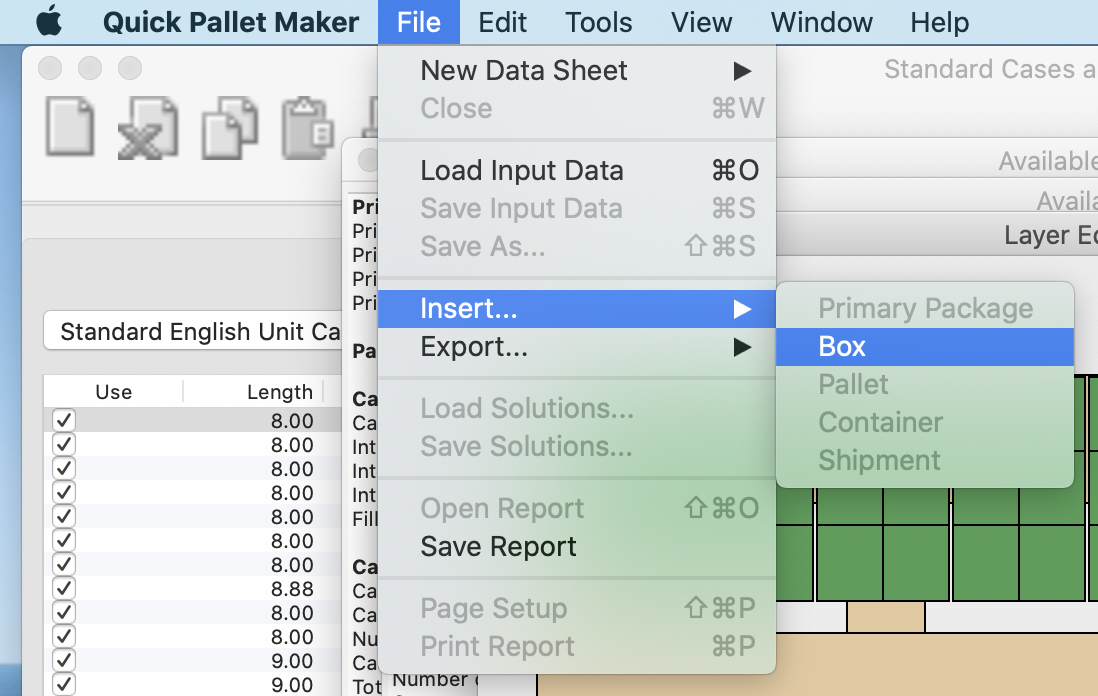
File - Insert Box
The imported box should appear to one side of the pallet layer, like in the image to the right.
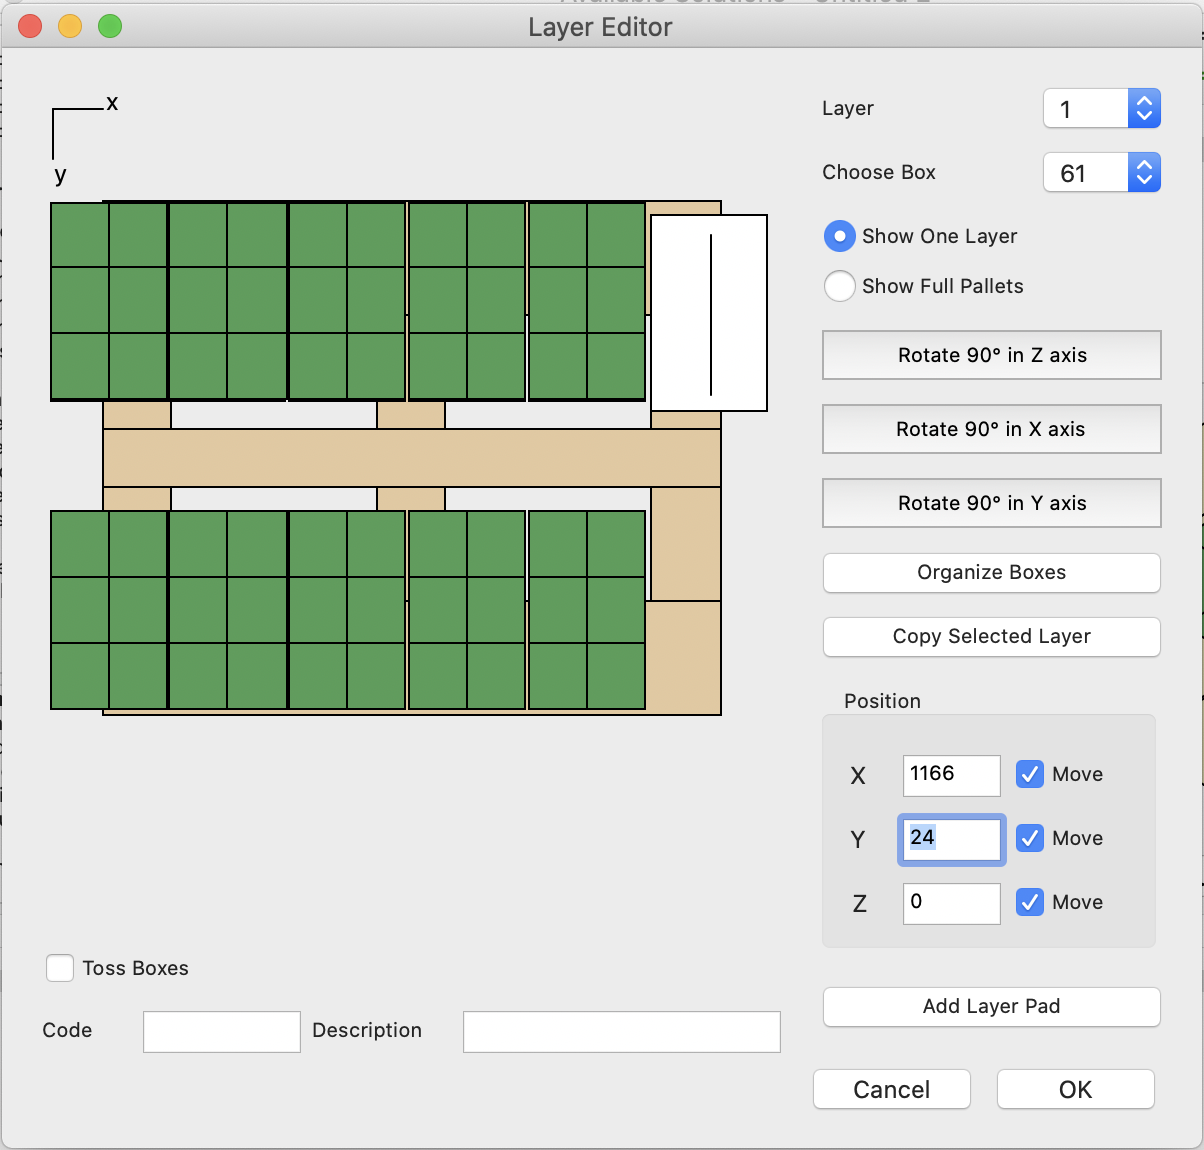
Moving Boxes
Place the imported box between the trays, to do that you can drag and drop the brown box to the final position and use the Position section.
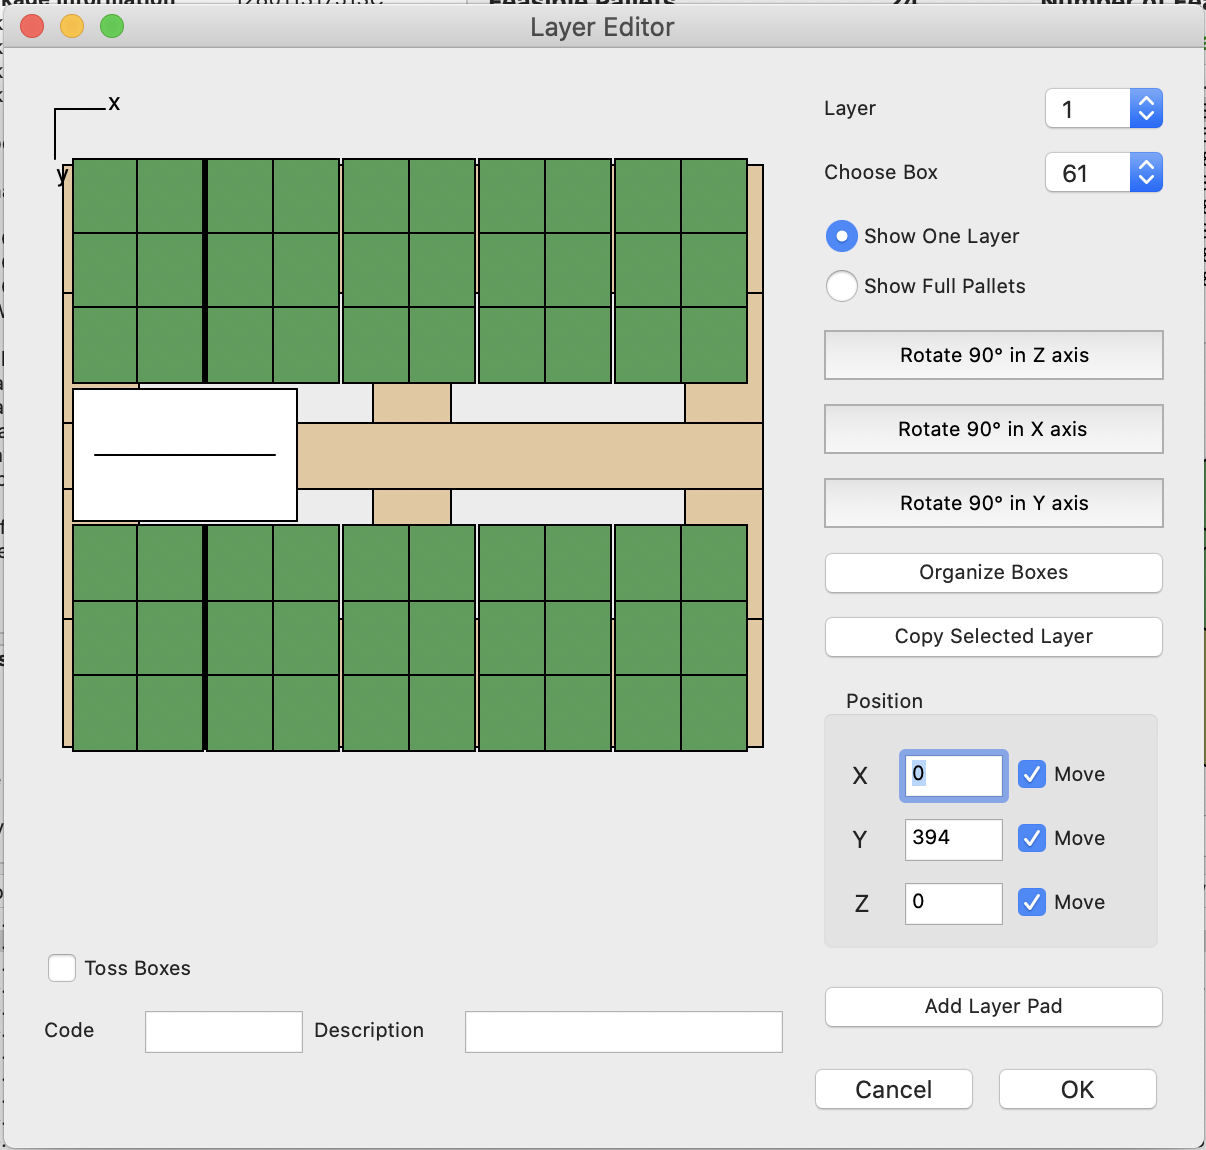
Placing Middle Box
Once the box is in place, select the brown box and go to Edit > Duplicate and a new box will appear. Drag the box next to the first.
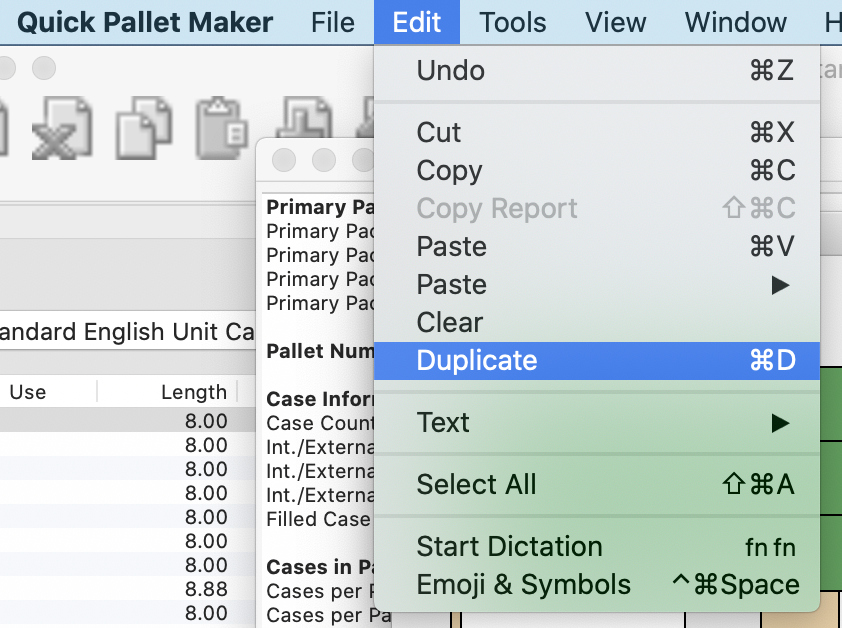
Edit - Duplicate
Repeat this step to fill the empty space between the trays.
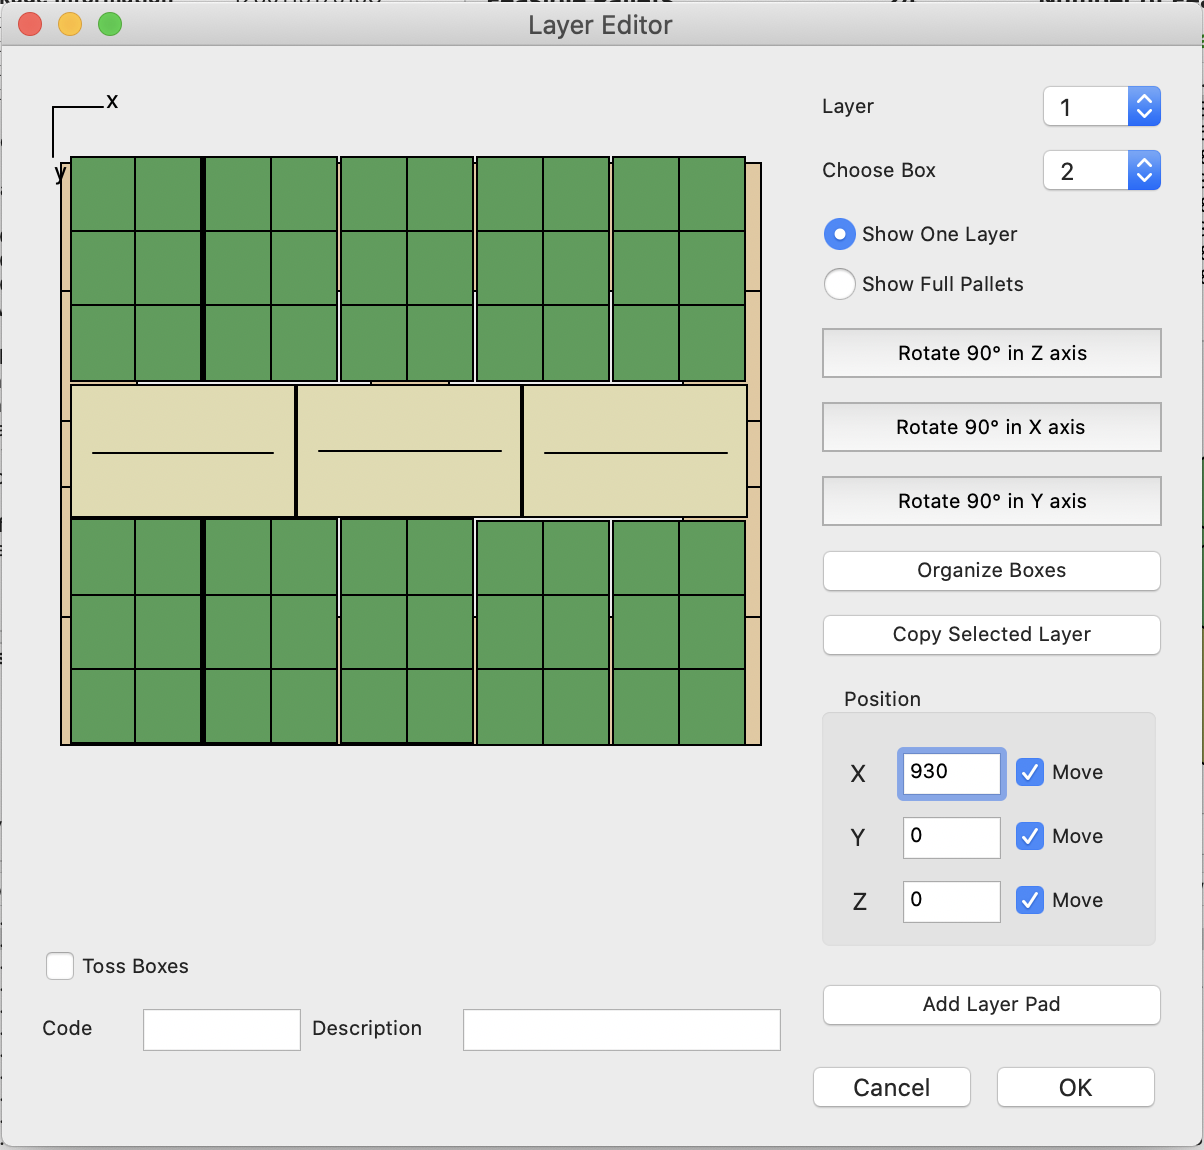
Edited Arrangement - Top View
Click on Organize Boxes and then View > Toggle Pallet View to see a representation of the first pallet layer with both types of boxes.
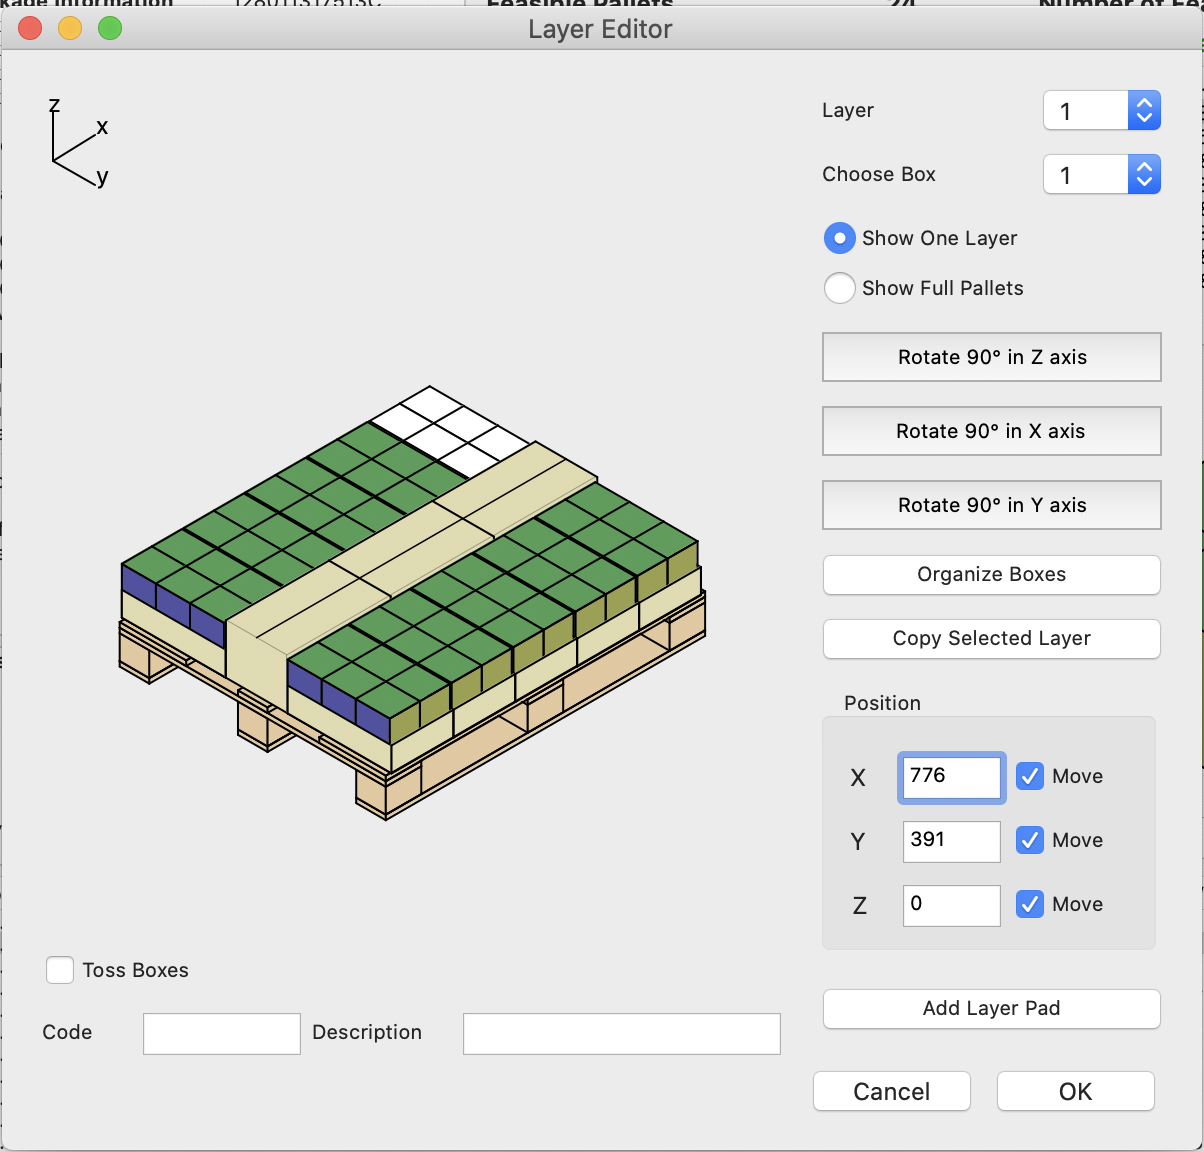
First Layer - Isometric View
Press the Copy Selected Layer button to replicate the first layer arrangement to the entire pallet. If you would like to check how the pallet looks use Show Full Pallets option.
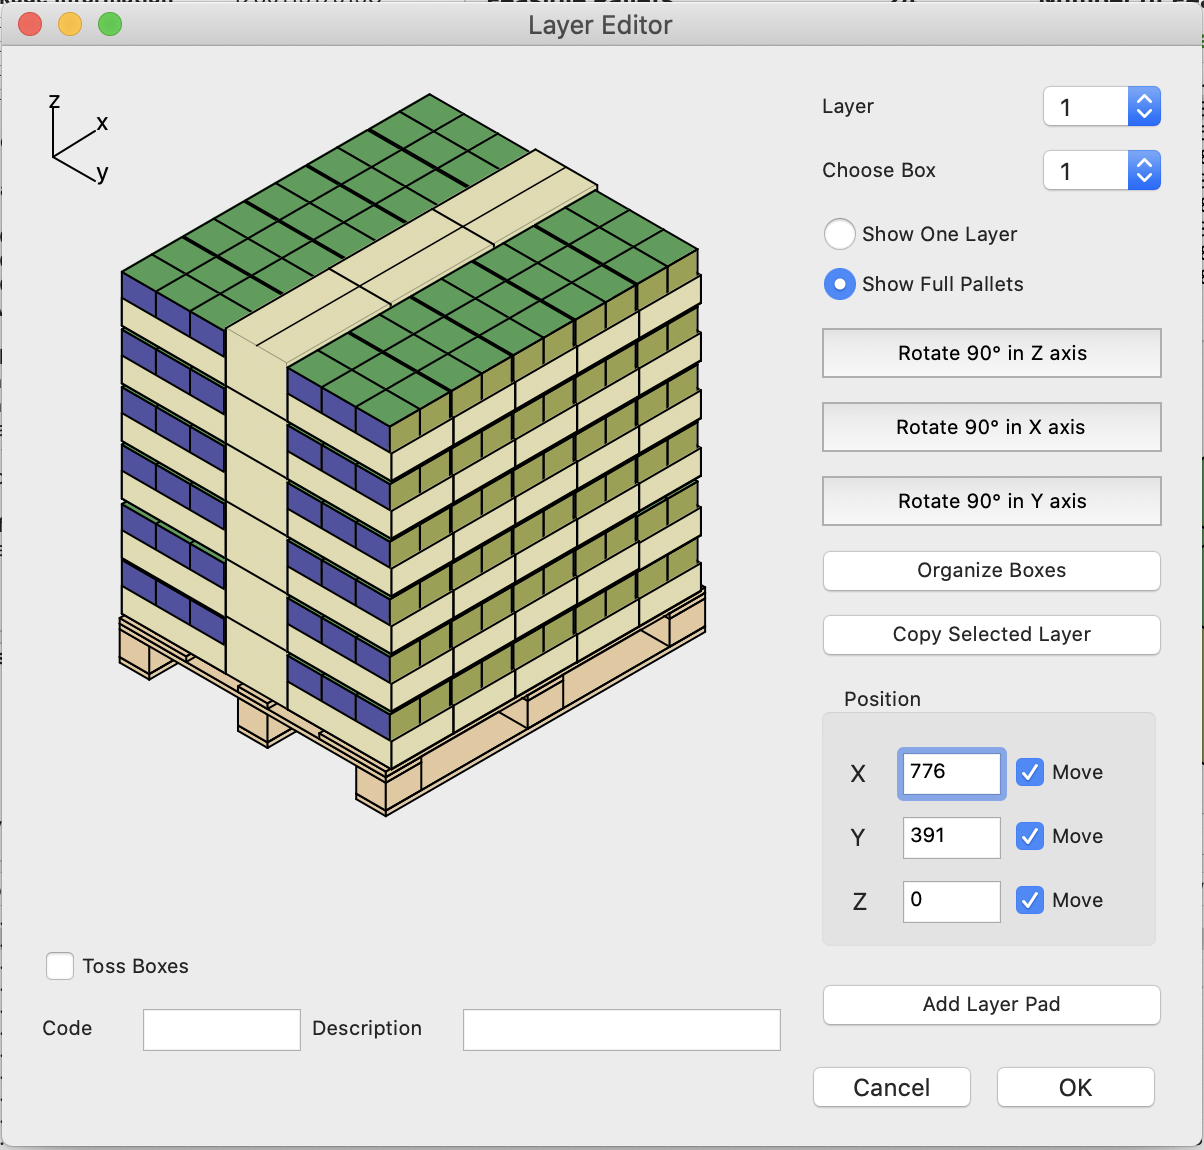
Full Pallet in Layer Editor
Press the OK button to use this pallet.
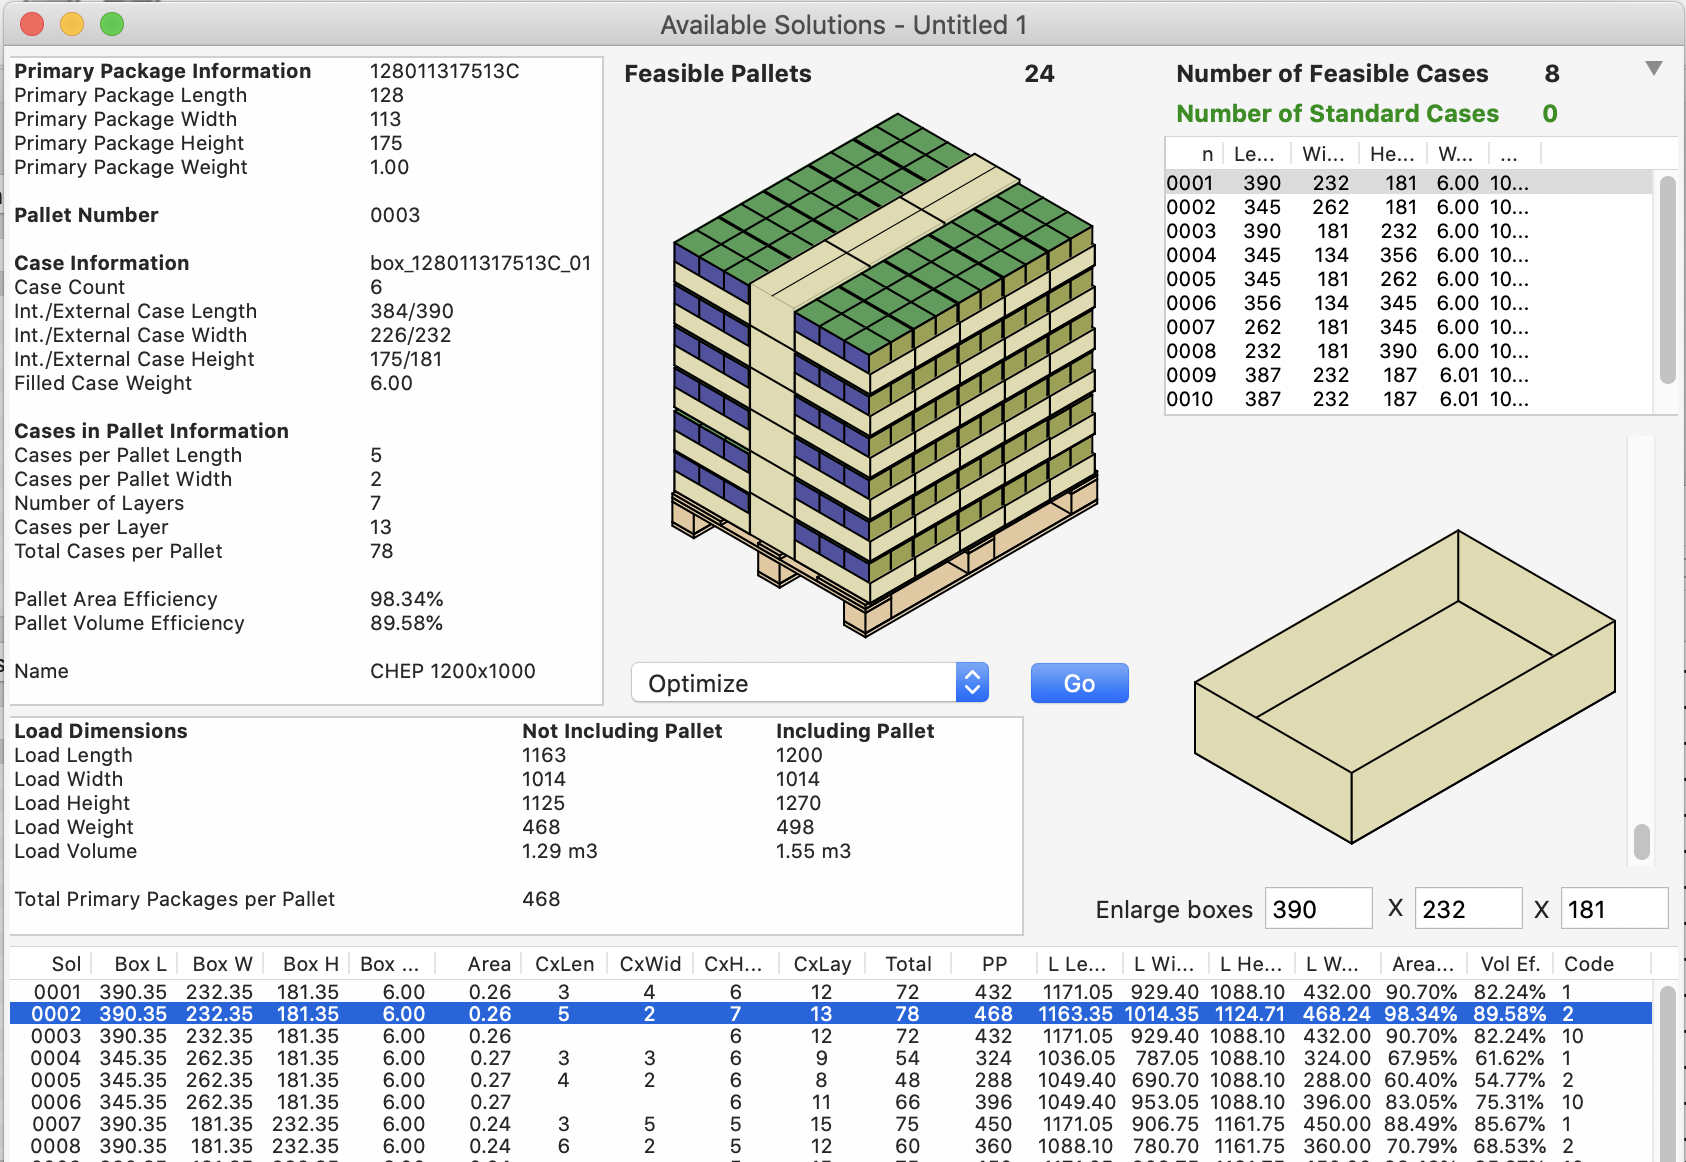
Full Pallet in Available Solutions
You can add corner posts and pallet straps to the pallet using the View > Show Corner Posts and View > Show Pallet Straps commands, respectively.
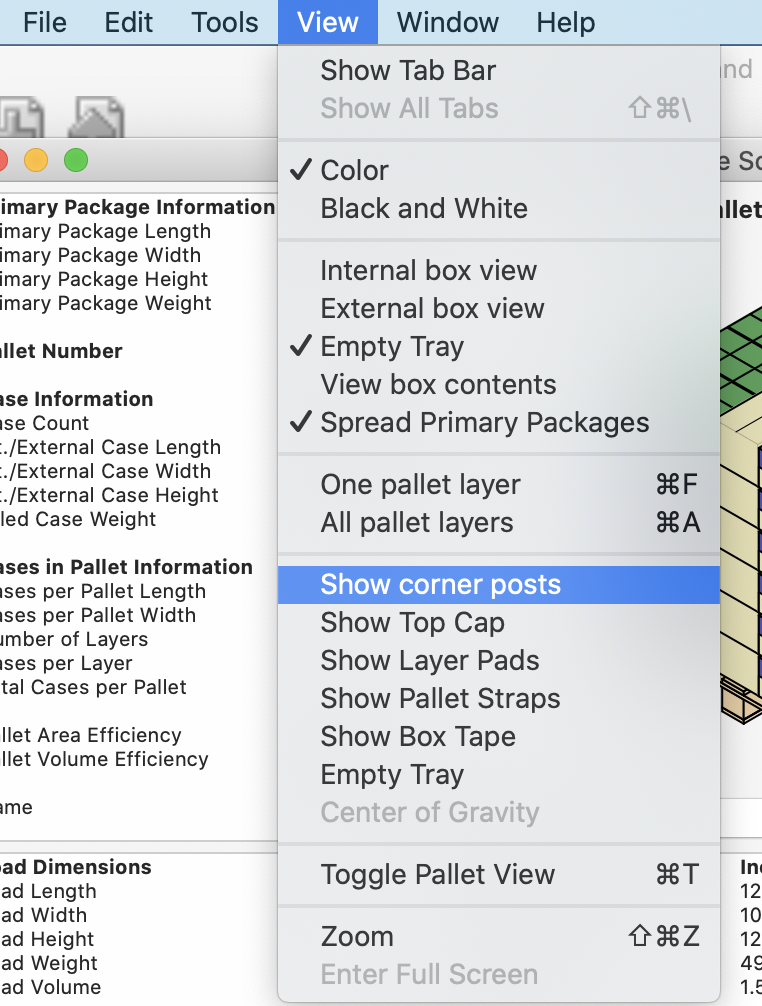
View - Show Corner Posts
The resulting pallet should look like the one at right.
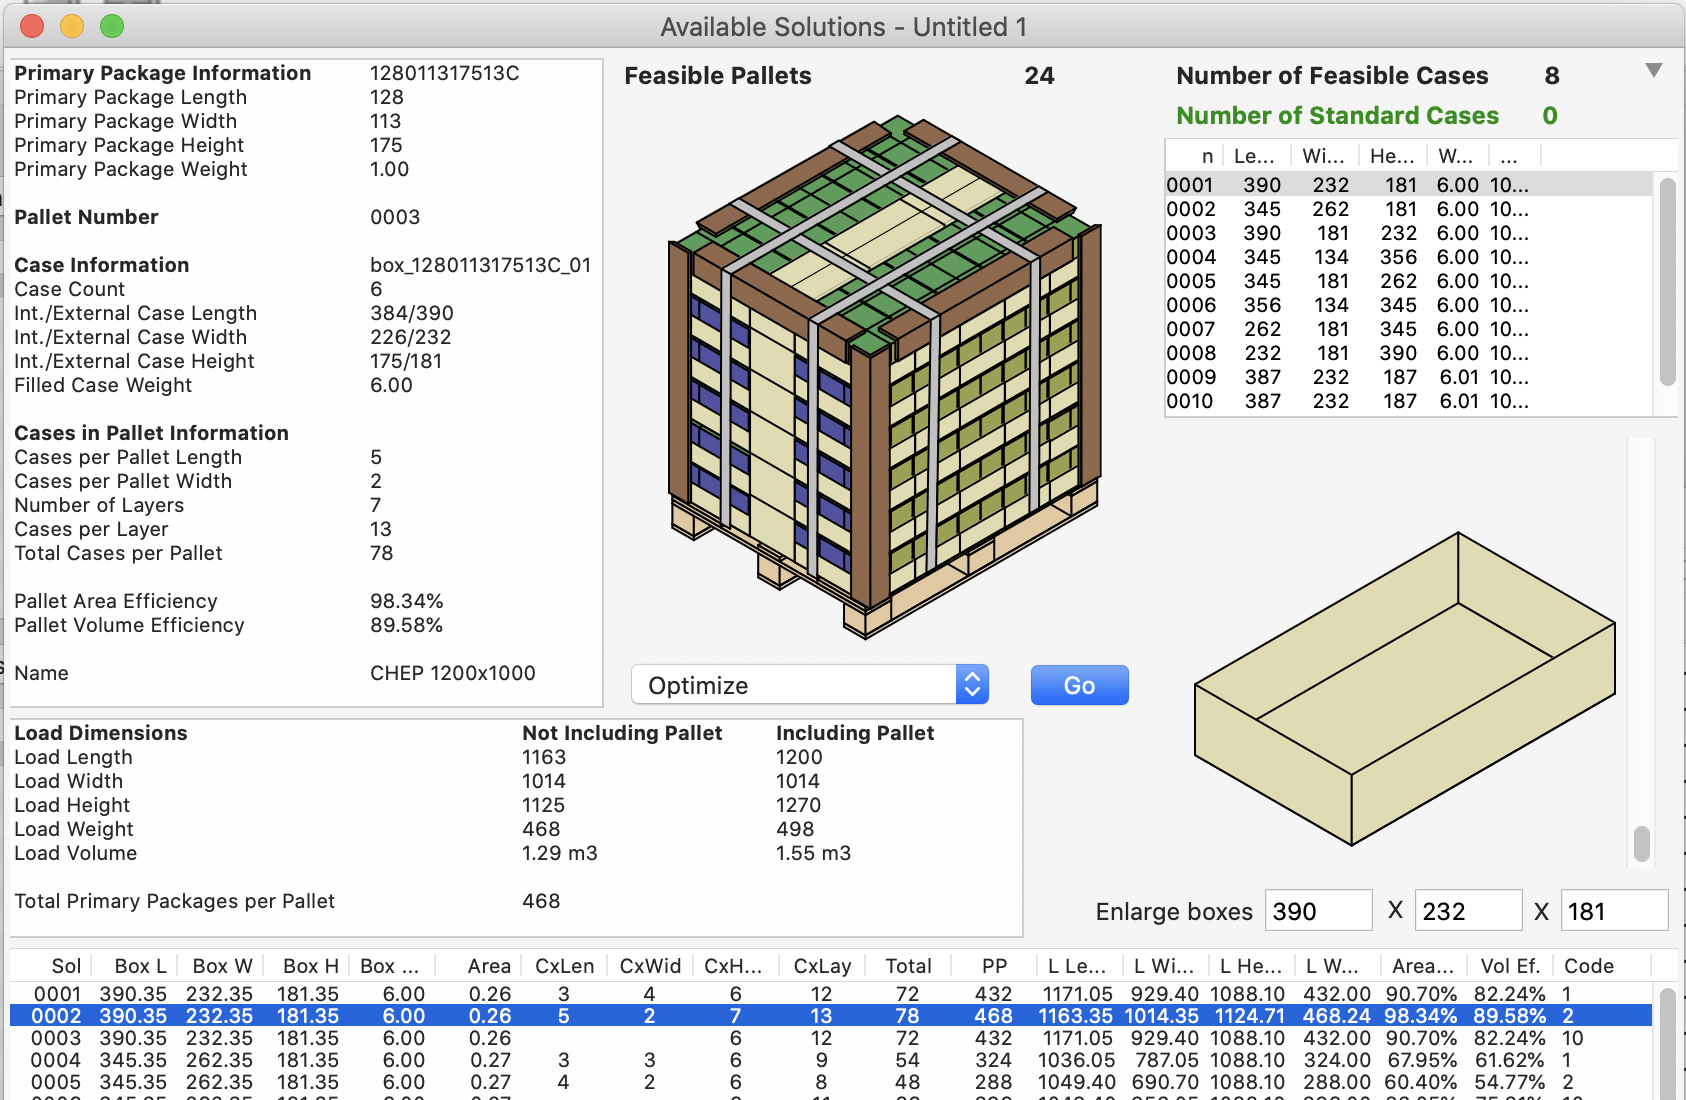
Corner Posts in Available Solutions
You can select Window > Detailed Report to view all the information in one report.
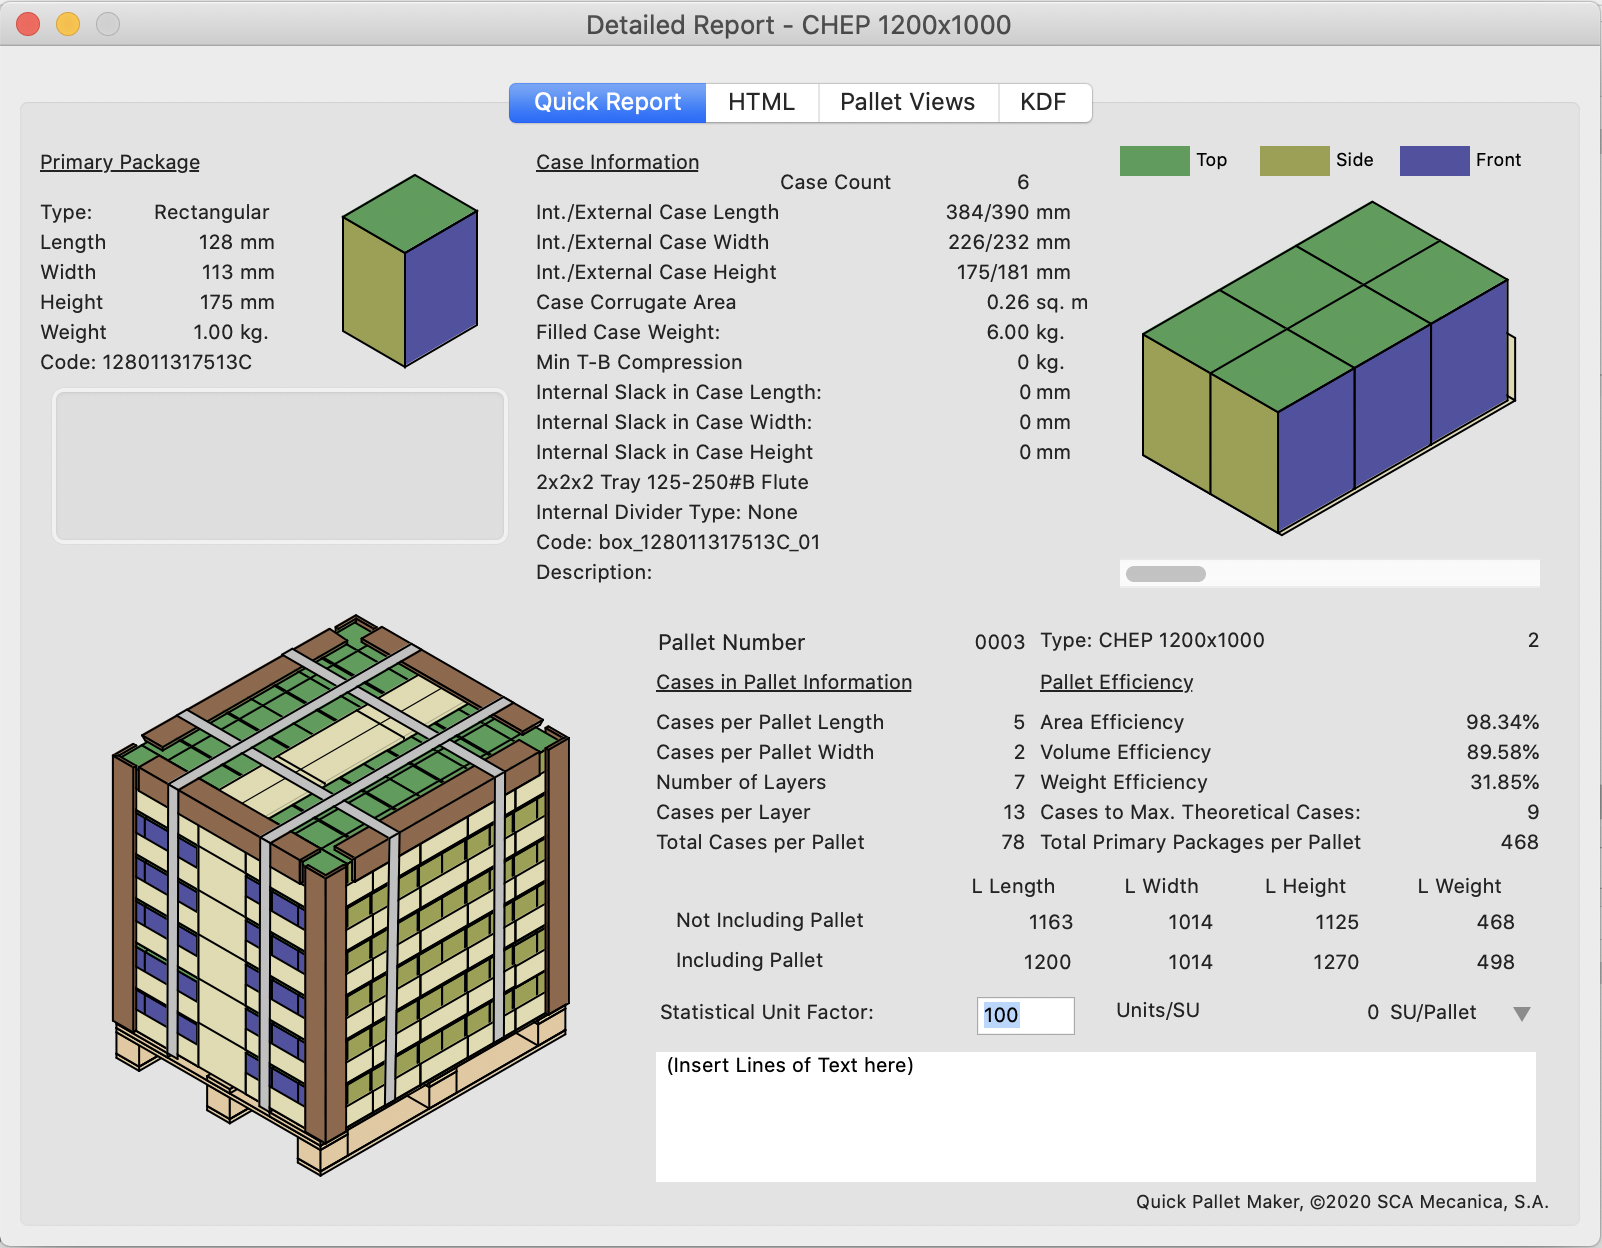
Detailed Report
Watch the video
This example is also available as a YouTube video.YouTube Video