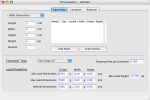
| The previous example can be run in a quicker way by pasting the box data directly on top of the Container Fill window. The first step is to open the Container Fill window. If it was already open, then the first step is to clear the boxes or pallets from the main list. The MS Excel file that is shown in this example can be downloaded by clicking here. |
 |
| The next step is to copy the text from a spreadsheet. Note that the conditions for the copied text are the following: it must be separated by tabs and the column order must be Unit (0 = mm/kg, 1 = cm/kg, 2 = inches/lbs), Type (0 = pallet, 1 = box), Length, Width, Height, Weight, Color ("web" format or #RRGGBB), Amount, Code and Description. Note that the last two are optional. |
 |
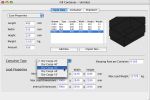
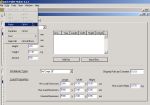
| Once the data is copied, we paste it by selecting "Paste" from the Edit menu. Then, we choose the same container as in the previous example. |
 |
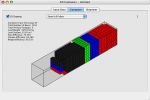
| After using the "Recalculate" command from the Tools menu, we should see the same results as in the previous example. |
 |
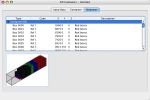
| The advantage to copying and pasting from a spreadsheet is that the code and description of the boxes is already included in the shipment list that can be exported to another spreadsheet file. |
 |
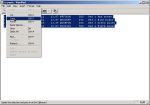
| To run this example, you do not need to have a spreadsheet program. You can use any text editor and enter the data separated by columns as shown in the screenshot at right. |
 |
| The data is pasted in the same way. |
 |
| Pasting the data will deliver the same result. |
 |


