| Here's another example for calculating a container shipment using an order that has been pasted from a MS Excel spreadsheet. The first step is to create the columns with the information that QPM will use for reading the box information from the orders. In this case, we had two different files, one with the order information and the other one with a list of SKUs and their case dimensions. We created the extra columns linking the information in the order file with the dimensions file. The MS Excel file with just the final data for this example can be downloaded through this link. |
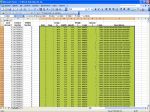 |
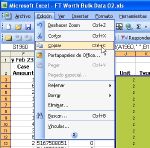
| Once we have created the data table and selected the area in yellow (the area with data, although selecting the headers won't make a difference), we use the copy command in the spreadsheet application. The data will be copied onto the clipboard. For a detailed explanation of its contents, please visit the following page. |
 |
| The next step is to open Quick Palle Maker and then a new window starting from box dimensions. This is done through the File menu. In this example, we are working with Imperial units, so it is important to make sure that the units have been set correctly, either through the Preferences window (Tools -> Options for Windows and Apple Menu -> Preferences for Mac OSX) or through the Tools -> Units command. Changing the units through the Preferences will keep them that way for future work. If you use different units, then QPM will convert the dimensions. |
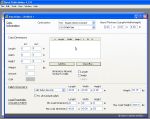 |
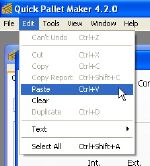
| The next step is to click on the empty table in the middle of the Start From Box window and use the Edit -> Paste command to place all of the data onto this table. |
 |
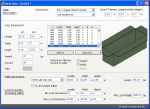
| After some seconds, the table will be populated with the boxes that have been pasted. In this example, we have selected the 48"x40" pallet. |
 |
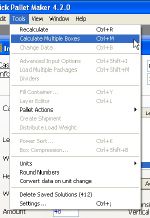
| The next step is to select "Calculate Multiple Boxes" from the Tools menu. Please note that if we use "Recalculate", Quick Pallet Maker will return three pallets for each box that has been entered and would take quite a while for this example, that contains more than 1,000 boxes. |
 |
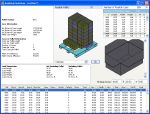
| After calculating, Quick Pallet Maker will show the list of pallets that have been created. Please note that the pallets will be calculated respecting the order of the boxes. If your order is to only one client, then you can work with the box dimensions (using the largest boxes first). This would improve the fit of the first pallet (see screenshot to the right). |
 |
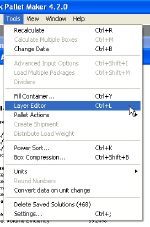
| Since we do not like the stability of the first pallet that was created and can't fool around with the box order, we will use the Layer Editor to make it more stable. For this, we use the Tools -> Layer Editor command. |
 |
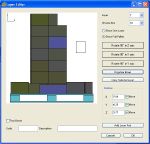
| We use the Layer Editor (see tutorial here for using this window) to remove boxes from the top and adding them to the lower layers. |
 |
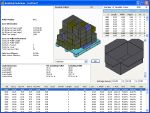
| The resulting pallet is more stable. |
 |
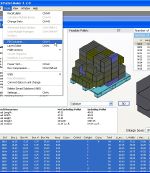
| The next step is to select all the pallets in the list and then use the Tools -> Fill Container command to open the Container Fill window. Please note that using the File -> New Document -> Fill Container command will also open a new Container Fill window but without the list of pallets. |
 |
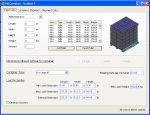
| For the purpose of this example, we have used the 20' Container so the first tab of the Container Fill window should look like the one in the screenshot to the right. |
 |
| When we click on the second tab, QPM calculates the container fill and shows the first container drawing. |
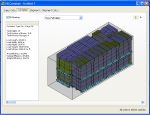 |
| We can click on the arrow on the top-right corner of the window to look at the other containers. |
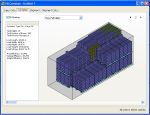 |
| We can also click on the Shipment tab to see several containers at once. |
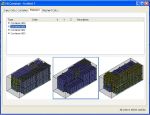 |
| As in this screenshot, too. |
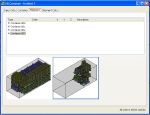 |
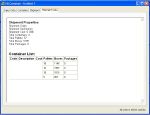
| Finally, Quick Pallet Maker version 4.2 will allow the user to view and print a HTML report based on a XSLT template as in the screenshot to the right. |
 |


