| This example explains how Quick Pallet Maker can be used to create a container load with a certain number of primary packages of known dimensions into standard cases, then into standard pallets and finally into a standard container. Nice that we use standards, isn't it? Ok, for starters, you will need to boot QPM and open a new window. In this case, we are working with Imperial (i.e. English) units because there are more standard cases available. We could have done the same thing with metric units but would have had to enter the box dimensions prior to opening a new document window. |
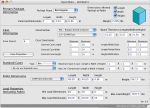 |
| The next step is to enter the dimensions of the primary package into a special window that can be used to enter multiple types of Primary Packages and where the user can enter the quantity that will be used in the shipment. For this example, we used the default dimensions and typed in a value of 12000 widgets to ship somewhere. |
 |
| After entering the primary package dimensions and closing the smaller window, the top of the input window will be grayed. For this example, we choose "Fill Standard Cases" to add as many packages as possible to the standard cases. |
 |
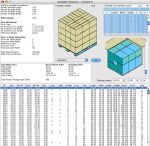
| After entering the final input settings, select "Recalculate" from the Tools menu to obtain a list of pallets. The first step is to sort this list by the number of primary packages per pallet in order to fit as many as possible in the shipment. |
 |
| When this has been done, the Results Window should look like the attachment, in which a very efficient pallet tops the list. |
 |
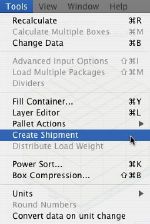
| Next, select "Create Shipment" from the Tools menu. This procedure will copy the selected pallet and use as many boxes as primary packages need to be shipped. |
 |
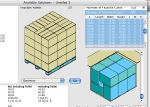
| A certain number of pallets have been created. The last pallet will contain only the amount of boxes that are needed to fulfill the shipment. |
 |
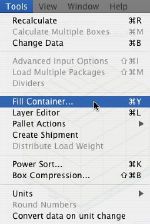
| Once the pallets from the shipment are ready, we will need to select them all and then the Container Fill feature that is available from the Tools menu. |
 |
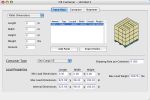
| The Container Fill window should look like in the attached window. From this window, the user can select the type of container and the internal dimensions and weight constraints in case they do not match the default values. In this example, we will select all the pallets from the table and group them by clicking on the table with the right mouse button (Windows) or using ctrl+click (Mac OS). We selected the last pallet because it was identical to the rest. |
 |
| Instead of having 25 pallets with an amount equal to zero, we will now have one pallet with an amount equal to 25. We set the container to the biggest available size (53 foot). |
 |
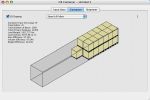
| To calculate a new container, all is needed is to press the second tab in the page. The drawing on the second tab will show a container that has been filled with full pallets and one incomplete pallet. |
 |
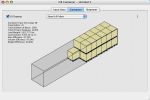
| Since the user has the possibility of using the a smaller container, he/she will note that it optimizes better the available space. This small report can be printed or copied onto a third-party application. |
 |