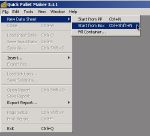
| The first step is to run QPM and load a new window starting from box dimensions as in the screenshot at right. |
 |
| Next, we click on the "Import Box..." button to open the box files that we have downloaded from the links above. |
 |
| The "Import Box" command allows you to select from any box file that you have saved with Quick Pallet Maker or created with a text editor or application that works with XML files. |
 |
| Once they are both open, the window should look like in the screenshot at right. Please note that the amounts have been increased from 8 to 800 and from 10 to 1000, respectively. |
 |
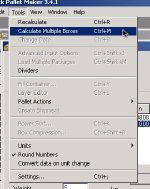
| If we use the default pallet and pallet constraints, the next step is to calculate multiple boxes using the command in the Tools menu. |
 |
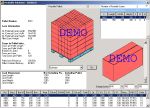
| Once the calculation is made, the resulting window should look like the image to the right. |
 |
| The next step is to select all the pallets in the list at the bottom of the window. This can be done by using the "Select All" command from the Edit menu. |
 |
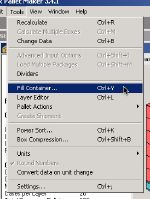
| With all the pallets selected, use the "Fill Container..." command from the Tools menu as in the screenshot to the right. |
 |
| A new window will open and the central table will contain all of the pallets that were calculated previously. Selecting the last pallet in the list will show the one that combines the two different box types (see screenshot to the right). |
 |
| To fill a container, we will need to simplify the list to include only the 3 pallet types. The first type contains only the red boxes, the second contains only blue boxes and the third type contains the mix of boxes. To do this, we select only the pallets with red boxes and click with the right button (ctrl+click on the Mac) and then use the "Group" command as in the screenshot to the right. |
 |
| When this is done with the red and the blue pallets, we will obtain 6 of the former and 16 of the latter. |
 |
| The next step before calculating is to change the amount of the mixed pallet from 0 to 1. This is done by double-clicking on the "Amount" cell and then editing the number (see screenshot). |
 |
| Next, we select the container type. There's no reason for selecting the 45' container other than that it works best with this specific example as the load is well distributed and stable. |
 |
| After selecting the container, we choose "Recalculate" from the Tools menu or simply click on the "Container" tab. The full container will appear as in the screenshot to the right. |
 |
| There's a problem here, however: the last pallet looks too much like the other red ones and the container loaders may not be able to tell the difference. Therefore, we change the color of the pallet by right-clicking on the drawing (ctrl+click on a Mac) and calculate again. |
 |
| Now, after calculating again, we can tell the loaders that the orange pallet is different from the rest. |
 |
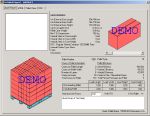
| To further explain the loading process, we need to create reports for each one of the pallets. Therefore, we close the container window (after printing or copying the container drawing) and choose "Detailed Report" from the Available Solutions window after selecting the first pallet. This report can also be printed. |
 |
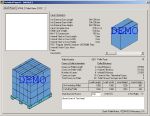
| We select one of the blue pallets and do the same. |
 |
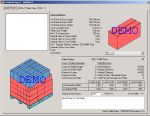
| And finally, we select the last pallet and display the output. Note that a palletization movie can be made so the loaders can view the exact box order in an easier fashion. |
 |


