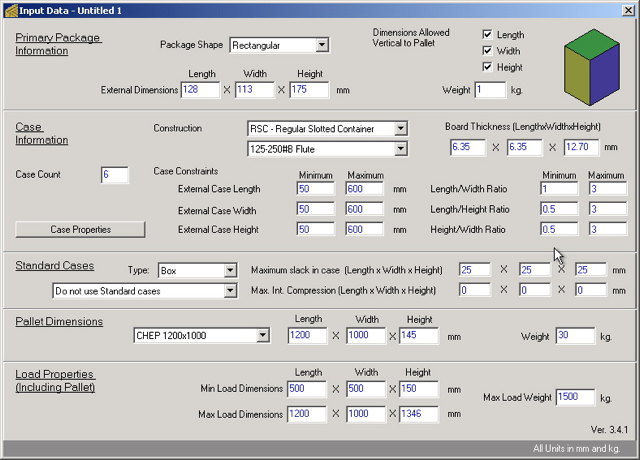
| The first step for solving this problem is to open a new window starting from Primary Package dimensions. |
 |
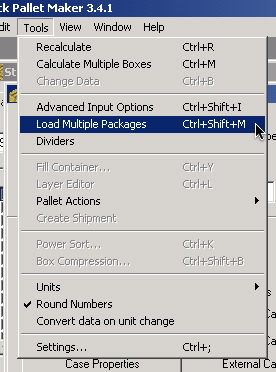
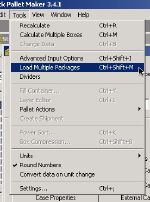
| Next, we open the "Load Multiple Packages" window so that we can set a finite amount of packages for the given shipment. |
 |
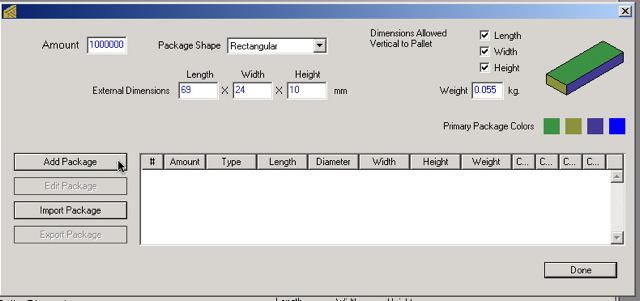
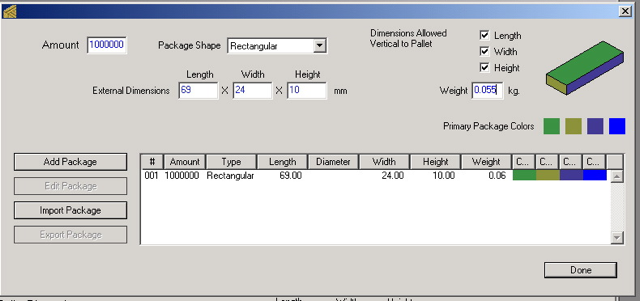
| In this window, we will enter the dimensions and the amount of packages we will use and then click on "Add Package" button to include it in the list. |
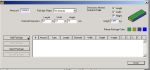 |
| Once the package has been added to the list, we will click on "Done". |
 |
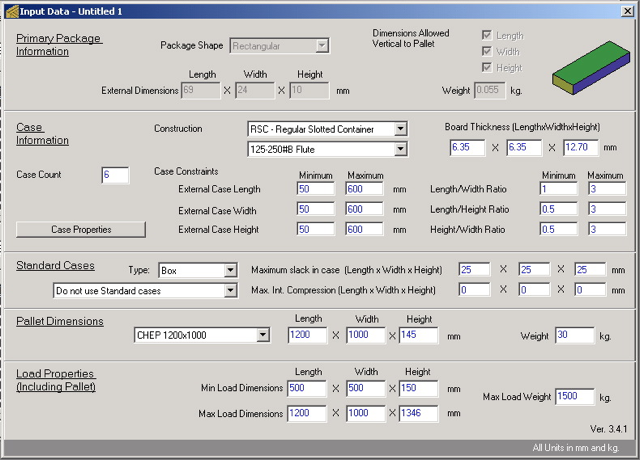
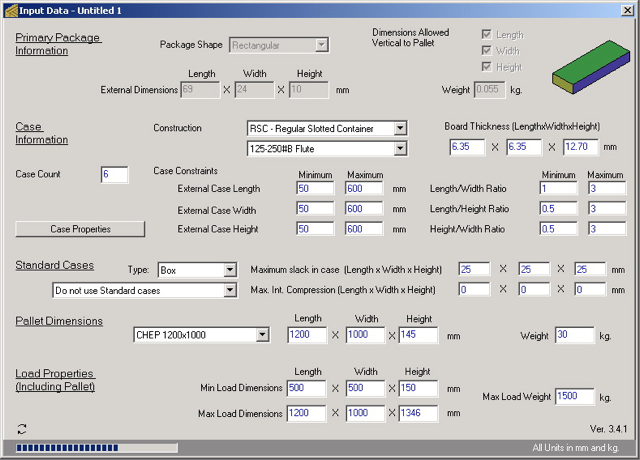
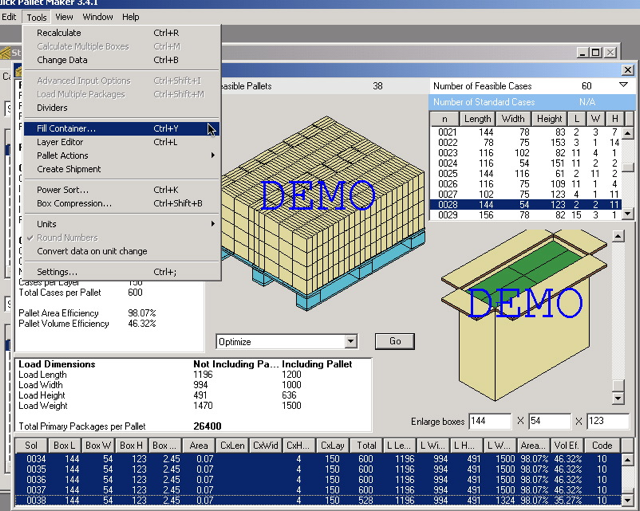
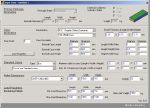
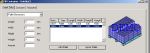
| The primary package input window should appear with the top part greyed out as in the screenshot below. In this example, we will leave the default pallet and load dimensions, along with the box restrictions. Since no case count was specified, we will calculate the optimal count for this example. |
 |
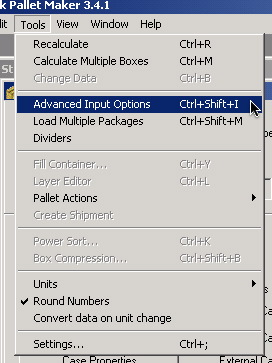
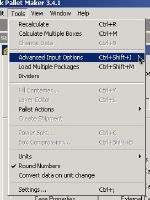
| The next part is to open the Advanced Input Options window. |
 |
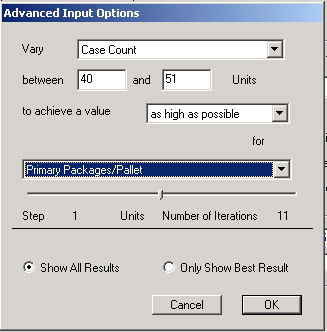
| And enter the data. In this case, we will vary the case count from 40 to 50 packs because we figured lower case counts wouldn't be very efficient and higher case counts would make the example longer. We want to order the results automatically by primary packages per pallet. |
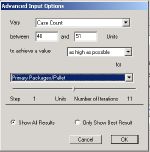 |
| When we're done, we click on the "OK" button and the calculation commences. The time it takes will depend on your computer's speed. |
 |
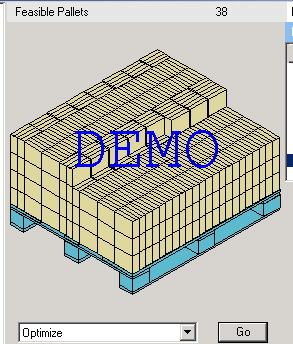
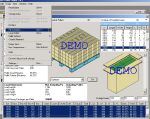
| When we obtain the list of pallets, we pick the second one because it ships the same amount of packs as the first (26,400) but it has a great area efficiency (and thus, greater stability). |
 |
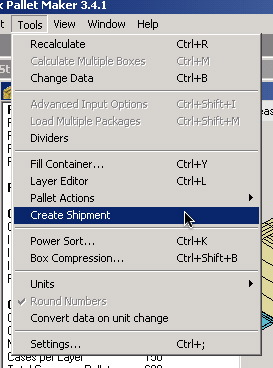
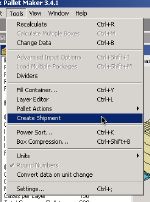
| The next step is to select the "Create Shipment" command from the Tools menu. |
 |
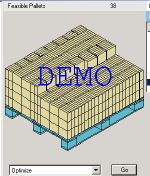
| What QPM did was to copy the resulting pallet as many times as possible to fill the amount of packages (1,000,000) that we wanted to ship. In this case, we obtained 37 full pallets and 1 incomplete pallet (see screenshot). |
 |
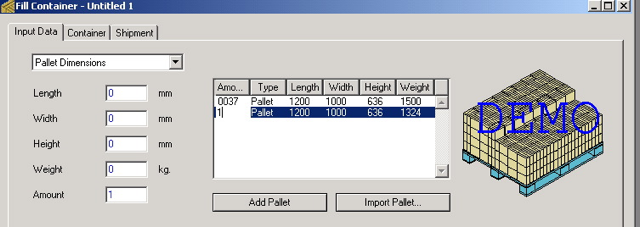
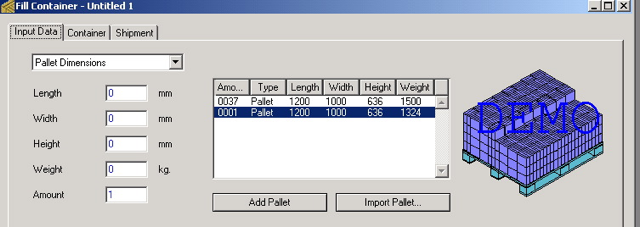
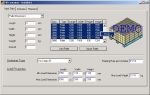
| The next step is to select all the pallets (including the incomplete on) and then "Fill Container". We will see a new window in which we have the 38 pallets in a list. |
 |
| We select the first 37 pallets (i.e. all except the incomplete pallet) and click on the right button (ctrl+click on a Mac) on the table to group them. |
 |
| Then we double-click on the amount cell in the incomplete pallet to change the amount to 1. |
 |
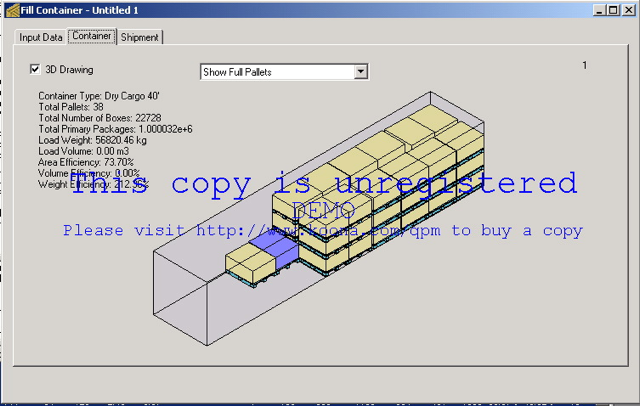
| We also change the color of the incomplete pallet and change the container to 40' before calculating. |
 |
| Finally, we click on the second tab of the Container Fill window and see how 1,000,032 objects fit into a 40' container. |
 |