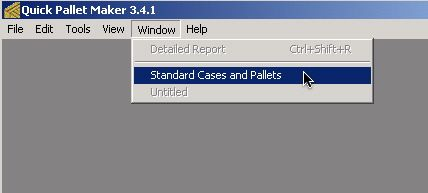
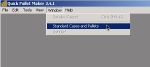
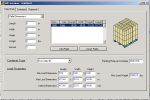
| The first step in this example is to check the default container data that is stored in the QPM preferences. To do this, select "Standard Cases and Pallets window" from the Window menu. |
 |
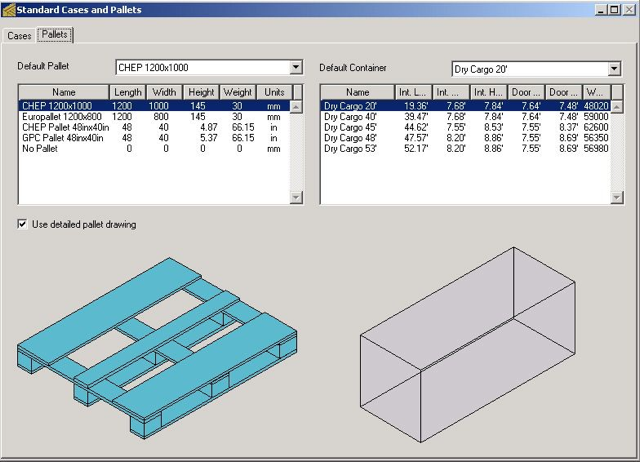
| A window will show up that has two tabs. Clicking on the second tab reveals the saved standard pallets and containers. |
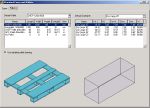 |
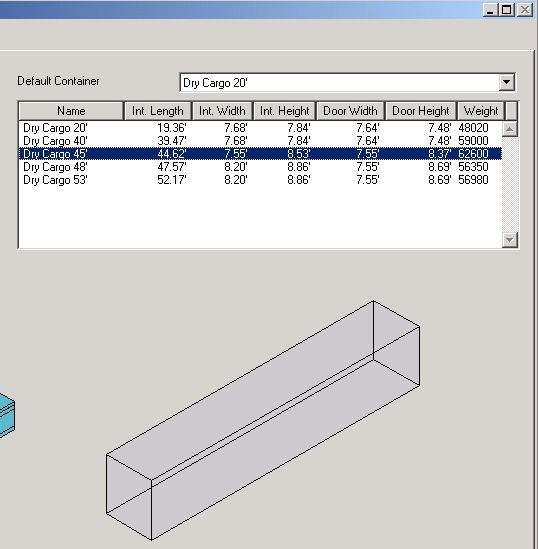
| When we scroll through the containers, we can see that the drawing changes. Note that the name, dimensions and weight constraint of the containers can be edited from this window. Also note that the dimensions are in feet and pounds because we had previously set the default QPM dimensions to inches/lbs. |
 |
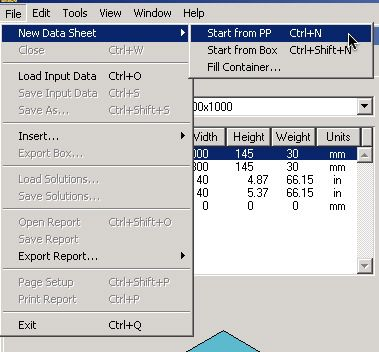
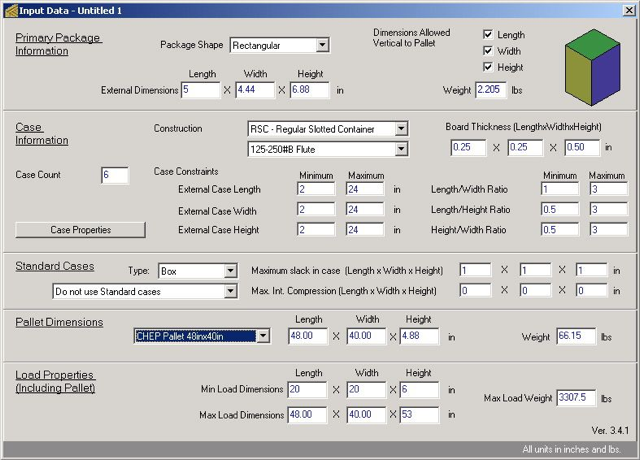
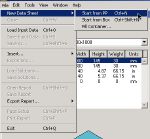
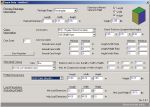
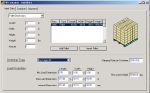
| To calculate a pallet configuration, we will begin by opening a new document window starting from primary package dimensions. This command is available from the File menu. |
 |
| We will enter the dimensions as in the screenshot at right. For simplicity, we have chosen the default dimensions and changed the pallet to a 48x40 CHEP pallet. |
 |
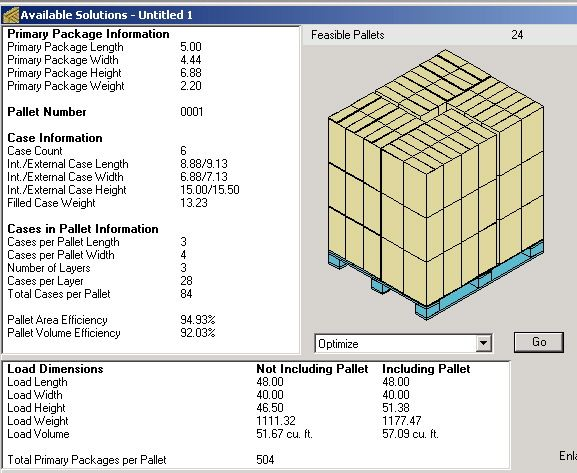
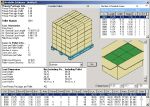
| After selecting "Recalculate" from the Tools menu, we will see a list of different pallet solutions. |
 |
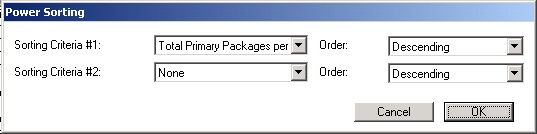
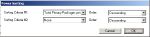
| To sort the solutions, we use the "Power Sort" feature that is available from the Tools menu. The criteria we set is Primary Packages per Pallet in descending order. |
 |
| After clicking "OK", we will see the reordered list and select the topmost pallet. With the pallet selected, we choose "Fill Container..." from the Tools menu. |
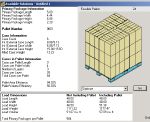 |
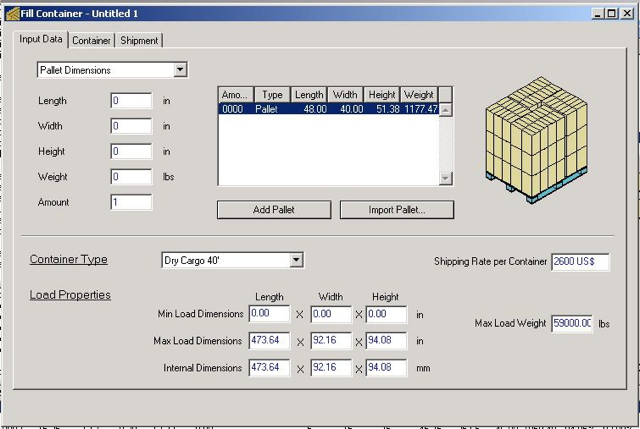
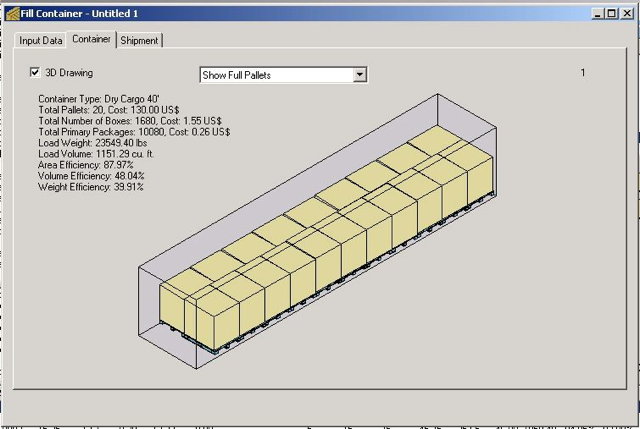
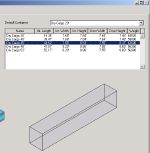
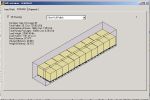
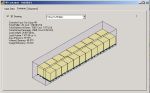
| This command will open a new window from which we select the pallet to reveal its drawing. The shipping company charges US$ 2600 for a given distance with a 40' container and US$ 2800 using a 45' container. First, we select the 40' container from the menu and enter the shipping cost per container. |
 |
| After selecting "Recalculate" from the Tools menu, we will see that the 40' container has been filled very inefficiently, making the cost per package a high 0.26$ per pack. |
 |
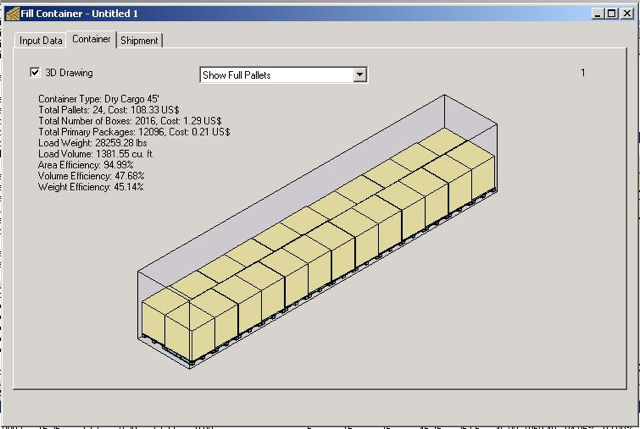
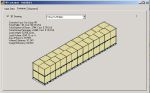
| If we go back and change the container type to 45', we will see that there is only one row of pallets per container and that the cost is still high. The reason for this is that the pallet load is too tall and that we will need to select another pallet arrangement. |
 |
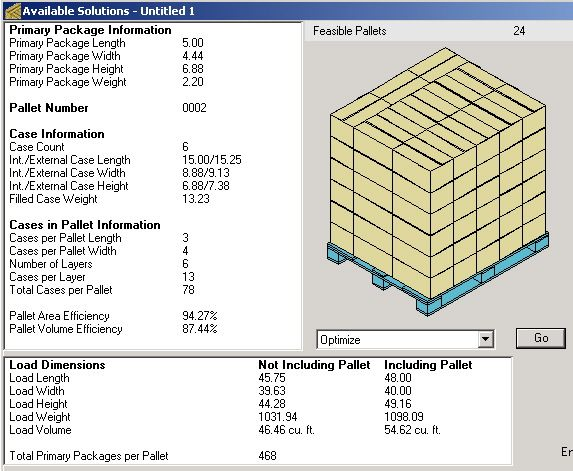
| We close the Container Fill window and choose the second best pallet configuration, which happens to be shorter. |
 |
| When we select the pallet and then "Container Fill" from the Tools menu, we can see the window from which we will select the 40' container and enter the shipping cost. |
 |
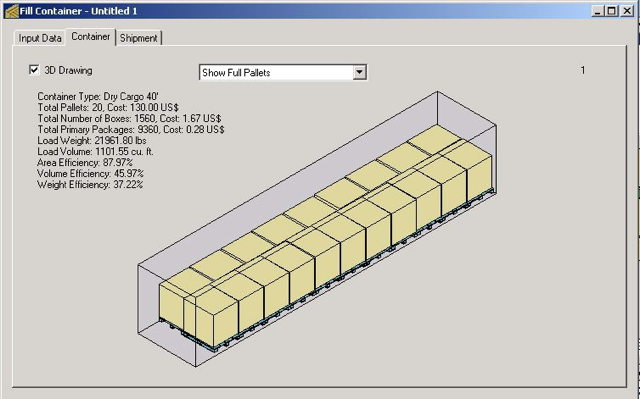
| After calculating again, we see that the 40' container is not the best option for this pallet size. |
 |
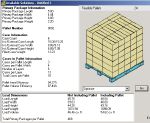
| We go back to the "Input Data" window and change the container to 45' and enter the higher cost associated to this container for this example. |
 |
| After recalculating, we can see that the packs now cost $0.12 to ship, which is acceptable for the client. |
 |