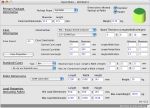
| The following example explains how to create boxes from primary package dimensions when we know the case count. The boxes will be floor-loaded onto a 40' High Cube container. The first step is to open a new document window starting from primary package dimensions and enter the dimensions for the cylinder we will pack: 115 mm diameter and 115 mm height. The weight is 0.15 kg. The case count is 45 and the board thickness is 8 x 8 x 16 mm per length, width and height, respectively. |
 |
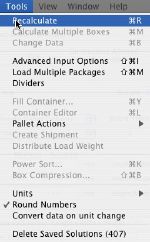
| After selecting Recalculate from the Tools menu... |
 |
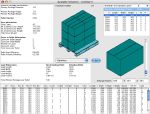
| We obtain a list of boxes and a list of pallets. We won't be doing anything with the pallets so we pay attention to the box list at the top-right. There we notice that some boxes are identical so we pick just four from the list (numbers 1;2;5 and 6). |
 |
| To save the boxes, we select them and then choose "File -> Export -> Box -> File (XML). It is a good idea to create a new folder for these box files in order to open them more quickly. |
 |
| Then, we open a new Container Fill window to pack the boxes. The first step is to select "Case Properties" from the pull-down menu. |
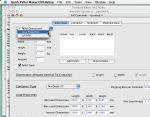 |
| As we keep the ctrl-key pressed, we click on the "Import Box" button and are able to select a folder from which we can load the list of boxes that we had saved previously. |
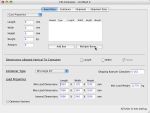 |
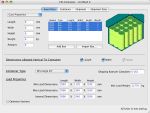
| Once they have been loaded, we can select them all and check the boxes that allow them to be placed on their sides within the floor-loaded container. |
 |
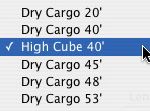
| We also select the container type by using the menu at the bottom of the window. |
 |
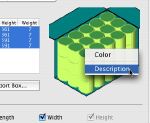
| To aid in the identification of the boxes within the containers, we click on the drawing with the right mouse button (ctrl+click on a single-button Mac) and add a code or ID to the boxes. |
 |
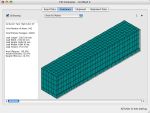
| Choosing "Recalculate" from the Tools menu generates as many containers as there were boxes in the list. We can move from one to the other to select which box type is more efficient. |
 |
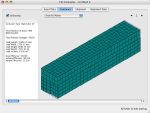
| The screenshot to the right shows another container. |
 |
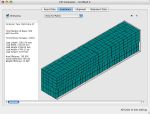
| Same here. |
 |